Finding the right wheels for your vehicle can be frustrating when you don’t know your lug pattern specifications. We’ve all been there – falling in love with a set of wheels only to discover they won’t fit our car. Understanding how to measure your lug pattern is essential for any wheel upgrade or replacement project.
Your lug pattern, also known as bolt pattern or PCD (pitch circle diameter), determines which wheels will properly mount to your vehicle’s hub. Getting this measurement wrong means wasted time and money on incompatible parts. Whether you’re shopping for aftermarket wheels or need replacements for damaged ones, accurate lug pattern measurements are crucial.
We’ll walk you through the simple process of measuring both 4-lug and 5-lug patterns using basic tools you likely already have. By the end of this guide, you’ll confidently identify your vehicle’s specifications and make informed wheel purchasing decisions.
What Is a Lug Pattern and Why Does It Matter
A lug pattern represents the exact arrangement of bolt holes on your vehicle’s wheel hub and the corresponding holes on aftermarket wheels. This measurement system consists of two critical components: the number of lug holes and the diameter of the circle that passes through the center of each hole.
The bolt circle diameter (BCD) forms an imaginary circle connecting all lug hole centers on your wheel hub. Manufacturers design this pattern with precise specifications to ensure proper wheel mounting and vehicle safety. Common configurations include 4×100, 5×114.3, and 6×139.7 patterns where the first number indicates bolt count and the second represents the diameter in millimeters.
Pattern compatibility directly affects these essential vehicle functions:
- Wheel mounting security and proper torque distribution
- Brake system alignment and rotor clearance
- Suspension geometry and handling characteristics
- Hub bearing stress and longevity
- Vehicle safety during acceleration and braking
Mismatched lug patterns create dangerous driving conditions even when wheels appear to fit initially. Force distribution becomes uneven across fewer contact points, leading to premature wheel stud failure and potential wheel separation. Insurance companies often deny claims for accidents caused by improper wheel fitment.
OEM specifications vary significantly between manufacturers and model years. Toyota vehicles commonly use 5×114.3 patterns while Honda employs 5×114.3 and 4×100 configurations depending on the model. European manufacturers like BMW and Mercedes-Benz use unique patterns such as 5×120 that differ from domestic and Asian specifications.
Aftermarket wheel selection expands dramatically when you know your exact lug pattern measurements. Performance wheels, custom designs, and specialty applications become available options rather than guesswork purchases. Professional shops require these specifications before ordering wheels to prevent costly returns and installation delays.
Tools You’ll Need to Measure a Lug Pattern
Measuring lug patterns requires only basic tools that most vehicle owners already have in their garage or toolbox. We recommend gathering these essential items before starting the measurement process to ensure accurate results.
Primary Measuring Tools:
- Ruler or measuring tape (minimum 12-inch length)
- Digital or dial calipers for precise measurements
- Straight edge or level for alignment verification
Additional Equipment:
- Flashlight or work light for better visibility
- Clean cloth to remove dirt from lug holes
- Notepad and pen for recording measurements
- Vehicle owner’s manual for reference specifications
Digital calipers provide the most accurate measurements with precision up to 0.001 inches. Standard rulers work effectively for basic measurements but may introduce slight variations that could affect wheel fitment. We find that calipers eliminate guesswork and deliver professional-level accuracy.
Clean lug holes ensure proper tool placement and measurement reliability. Dirt and debris can cause measuring tools to slip or provide false readings. Most measurement errors occur when tools aren’t positioned correctly in the center of each lug hole.
Work lighting improves measurement accuracy by allowing clear visibility of lug hole centers and tool positioning. Poor lighting conditions often lead to misaligned measurements that result in incorrect pattern calculations.
How to Measure a 4-Lug Pattern
Measuring a 4-lug pattern represents the most straightforward wheel measurement process. The symmetric layout of four evenly spaced holes makes this pattern easier to measure than odd-numbered configurations.
Finding the Center Point
Locating the exact center point establishes the foundation for accurate measurements. We identify this center as the midpoint where an imaginary circle passes through each lug hole’s center on the wheel. Four lug holes position themselves at equal intervals around this circle, creating a perfectly symmetrical pattern.
The center point serves as our reference for all subsequent measurements. Identifying this location correctly ensures that our bolt circle diameter calculations remain precise and reliable for wheel compatibility purposes.
Measuring Bolt Circle Diameter
Measuring the bolt circle diameter for a 4-lug pattern requires only one direct measurement. We measure from the center of one lug hole straight across to the center of the opposite lug hole, passing through the wheel’s center point.
This measurement gives us the bolt circle diameter in millimeters or inches depending on our measuring tool preference. A 4×100 bolt pattern indicates four lug holes with a 100mm diameter circle passing through their centers.
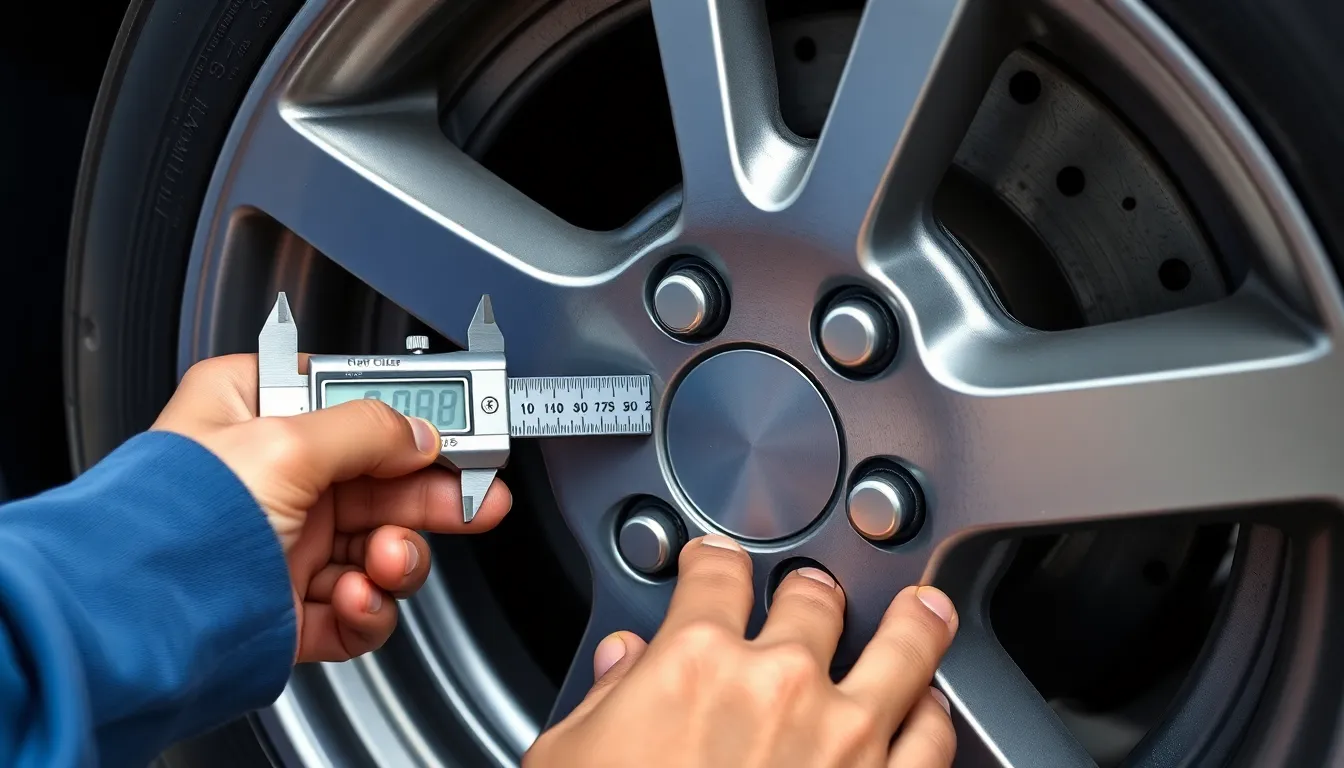
Digital calipers provide the most accurate measurements for this process. We position the caliper jaws at the center of opposing lug holes to capture the precise diameter measurement.
| Pattern Example | Hole Count | Diameter (mm) | Diameter (inches) |
|---|---|---|---|
| 4×100 | 4 | 100 | 3.94 |
| 4×10⁸ | 4 | 108 | 4.25 |
| 4×114.3 | 4 | 114.3 | 4.50 |
Bolt circle templates and gauges can improve measurement accuracy when available. These specialized tools eliminate guesswork and provide consistent results across multiple measurements.
Confirming measured patterns against manufacturer specifications ensures compatibility with your vehicle’s wheels and hubs. This verification step prevents costly mistakes when selecting aftermarket wheels or adapters for your vehicle.
How to Measure a 5-Lug Pattern
Measuring a 5-lug pattern requires a different approach since no lug hole sits directly opposite another. We use the skip-one method to determine the bolt circle diameter accurately.
Using the Skip-One Method
The skip-one method measures from the center of one lug hole to the center of the lug hole two positions clockwise from it. We position our measuring tool at the center point of any lug hole and count two holes clockwise to find our target measurement point. This technique works because the geometry of a 5-lug pattern creates equal spacing between all holes when we skip one position.
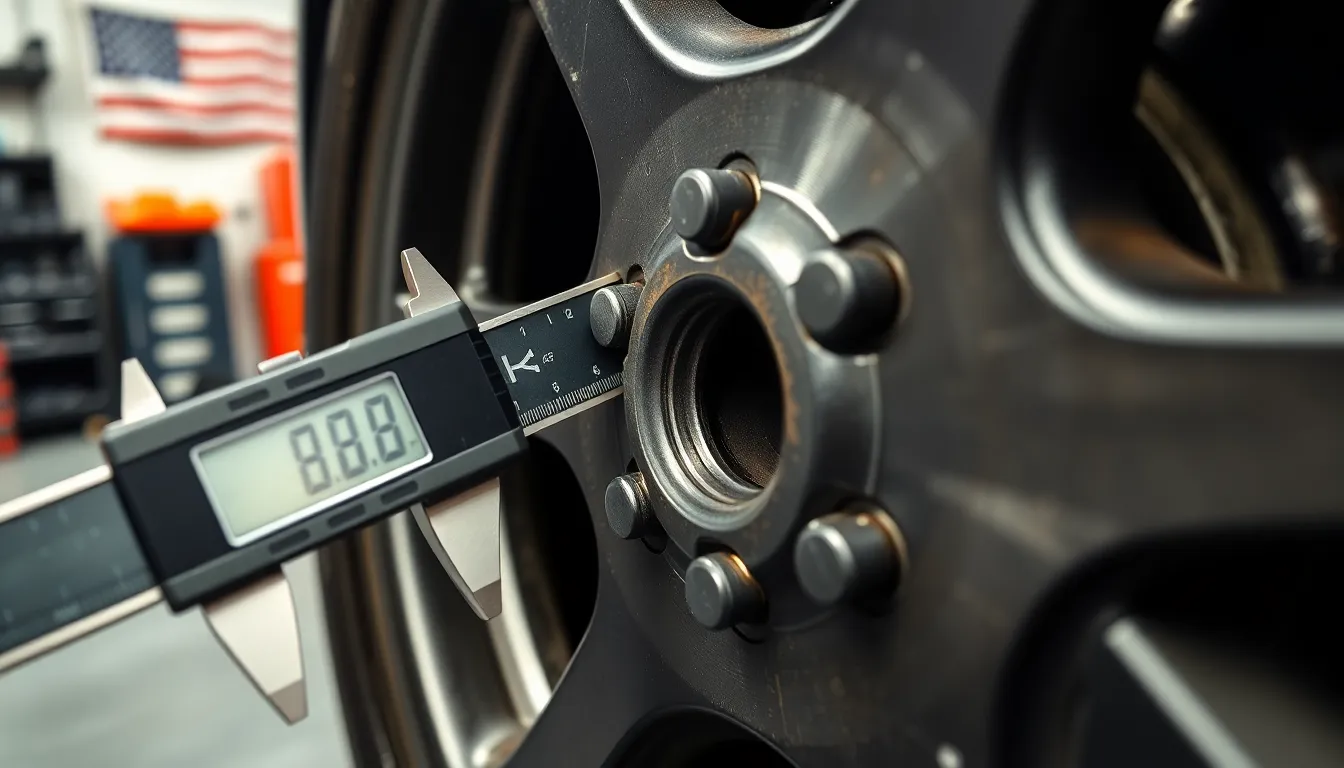
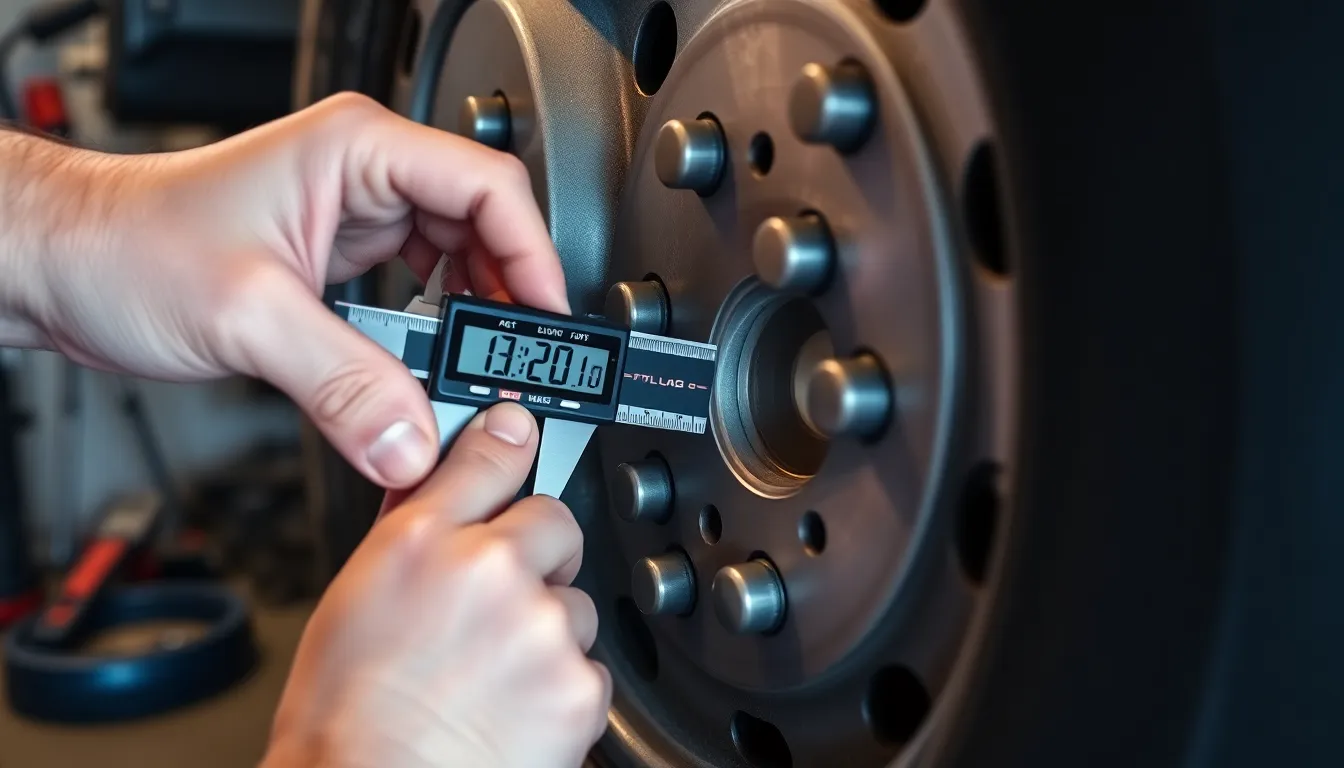
Digital calipers provide the most precise measurements for this method. We place one caliper jaw at the center of our starting lug hole and extend the other jaw to the center of the second hole clockwise. The measurement appears directly on the caliper display in either millimeters or inches depending on your tool settings.
Clean lug holes ensure accurate measurements since dirt and debris can affect the center point location. We recommend using a clean cloth to remove any buildup before taking measurements.
Calculating the Bolt Circle Diameter
The bolt circle diameter represents the distance between centers of two opposite lug holes in standard patterns. For 5-lug patterns we calculate this diameter using the skip-one measurement and applying a conversion factor of 1.701.
We multiply our skip-one measurement by 1.701 to determine the actual bolt circle diameter. Common 5-lug patterns include 5×100, 5×10⁸, 5×114.3, and 5×120, with the second number representing the bolt circle diameter in millimeters.
Bolt circle templates and gauge tools provide alternative measurement methods for improved accuracy. These specialized tools eliminate calculation requirements and reduce measurement errors that can occur with manual methods.
Manufacturer specifications confirm our measured patterns and ensure proper wheel compatibility. We always verify our calculations against official vehicle documentation before purchasing aftermarket wheels or adapters.
How to Measure a 6-Lug Pattern
Six-lug patterns appear on trucks, SUVs, and larger vehicles that require enhanced load capacity. We measure these patterns differently than 4-lug configurations since opposing holes create a straight line across the wheel center.
Direct Measurement Technique
Position your ruler or caliper across the wheel center, aligning it with one lug hole’s center point. Extend the measurement tool directly across to the opposite lug hole’s center, ensuring the line passes through the wheel’s central axis. Record this distance in inches to determine your bolt circle diameter (BCD).
Digital calipers provide the most accurate readings for 6-lug measurements. Clean each lug hole thoroughly before measuring to remove dirt and debris that could affect measurement precision. Verify your measurement by taking readings from different opposing hole pairs to confirm consistency.
Common 6-lug patterns include 6×139.7 (found on Toyota Tacoma and Chevy Colorado) and 6×135 (used on Ford F-150). Double-check your measured value against manufacturer specifications to ensure compatibility with your intended wheel selection.
Alternative Calculation Method
Calculate the bolt circle diameter using trigonometry when direct measurement isn’t practical. Measure the distance from the wheel center to any lug hole center, then multiply this radius by 2 to get the diameter. This method requires identifying the precise wheel center point for accurate results.
Use the formula: BCD = 2 × (distance from center to lug hole) for mathematical verification. Professional wheel shops often employ this calculation method when working with damaged or obscured lug holes. Geometric calculations provide backup verification when physical measurements seem inconsistent.
Precision tools like depth gauges help locate the exact wheel center point for calculation purposes. Cross-reference calculated values with direct measurements whenever possible to ensure accuracy before making wheel purchase decisions.
Common Lug Pattern Measurements by Vehicle Type
Different vehicle categories use exact lug pattern configurations based on their weight requirements and performance demands. Understanding these standard measurements helps us identify the correct wheel fitment for various vehicle types.
Passenger Cars
Passenger cars predominantly feature 4 or 5 lug patterns designed for lighter vehicle weights and standard driving conditions. Common 4 lug configurations include 4×100 millimeters for compact cars like Honda Civic and Toyota Corolla models, while 4×10⁸ millimeters appears on Ford Focus and Peugeot vehicles.
Standard 5 lug patterns cover 5×100 millimeters found on Subaru WRX and Volkswagen Golf models, and 5×114.3 millimeters used across Honda Accord, Nissan Altima, and many Toyota sedan applications. European luxury vehicles often use 5×112 millimeters, including BMW 3 Series and Mercedes C Class models.
Measuring passenger car lug patterns requires precision since bolt circle diameters differ by small increments. We recommend using digital calipers to distinguish between similar measurements like 5×114.3 and 5×115 millimeters, which can cause fitment issues if confused.
Trucks and SUVs
Trucks and SUVs typically employ 5 or 6 lug patterns to accommodate higher load capacities and towing requirements. Popular 5 lug configurations include 5×115 millimeters on Chevrolet Equinox and Buick Enclave models, and 5×127 millimeters standard across Ford F150 and Jeep Wrangler applications.
Six lug patterns dominate heavy duty truck applications, with 6×135 millimeters appearing on Ford F150 Super Duty and Lincoln Navigator models. The 6×139.7 millimeter pattern serves Chevrolet Silverado, GMC Sierra, Toyota Tacoma, and Nissan Titan vehicles across multiple model years.
| Vehicle Type | Common Patterns | Examples |
|---|---|---|
| Compact Cars | 4×100, 4×10⁸ | Honda Civic, Ford Focus |
| Mid Size Sedans | 5×100, 5×114.3 | Subaru WRX, Honda Accord |
| Full Size SUVs | 5×115, 6×135 | Chevrolet Tahoe, Ford Expedition |
| Heavy Duty Trucks | 6×139.7, 6×135 | Chevrolet Silverado, Ford Super Duty |
Large SUV platforms like Chevrolet Tahoe and Cadillac Escalade share the 6×139.7 pattern with their truck counterparts, ensuring parts compatibility across model lines. Measuring these larger patterns requires careful attention to wheel center positioning since the increased diameter magnifies measurement errors.
Tips for Accurate Lug Pattern Measurement
Precision tools make the difference between a perfect wheel fit and costly mounting problems. Digital calipers deliver measurements accurate to 0.01 millimeters, which eliminates the guesswork associated with standard rulers or measuring tapes. We recommend investing in quality calipers since they provide consistent readings across multiple measurement attempts.
Clean lug holes before taking any measurements to remove dirt, rust, or debris that can affect accuracy. Brake dust and road grime commonly accumulate in these areas, creating false measurement points that lead to incorrect readings. A wire brush or compressed air effectively removes these contaminants from the hole surfaces.
Multiple measurements verify our initial readings and catch potential errors before ordering wheels. We take at least three separate measurements for each lug pattern, recording each result to identify any inconsistencies. This repetition process catches measurement mistakes that could result in wheels that don’t fit properly.
Proper lighting illuminates the exact center points of each lug hole for precise caliper placement. Flashlights or work lights positioned at multiple angles eliminate shadows that obscure hole edges. We position the light source directly above the wheel hub to create even illumination across all measurement points.
Manufacturer specification charts confirm our measured values match the vehicle’s documented lug pattern. These charts list exact measurements for each model year and trim level, providing verification against our field measurements. Cross referencing our results with OEM documentation prevents compatibility issues that arise from measurement errors.
Straight edge tools help align calipers correctly across opposing lug holes for consistent measurements. A machinist’s straight edge ensures our measuring tool remains perpendicular to the wheel surface during measurement. This alignment prevents angular errors that can add or subtract millimeters from the actual bolt circle diameter.
Troubleshooting Common Measurement Issues
Incorrect measurement represents the most frequent challenge when determining lug patterns. Center point identification causes confusion for many vehicle owners, particularly when lug holes appear worn or damaged from repeated tire changes. We recommend using a small punch or awl to mark the exact center of each hole before measuring to eliminate guesswork.
Misaligned measuring tools produce inaccurate readings that can cost hundreds of dollars in returned wheels. Digital calipers positioned at slight angles create measurement variations of 2-3 millimeters, enough to select the wrong bolt pattern entirely. Establishing a consistent measurement plane across the wheel face prevents these angular errors from affecting your results.
Pattern verification becomes essential when measurements fall between standard specifications. Common lug patterns include precise dimensions like 5×114.3 millimeters or 6×139.7 millimeters, yet amateur measurements often yield results like 114.8 or 139.2 millimeters. Cross referencing your measured values against manufacturer specification charts confirms whether slight variations indicate measurement error or actual pattern differences.
Template tools eliminate measurement uncertainty for complex patterns or when working with damaged wheels. Bolt circle gauges feature pre-cut holes matching standard lug patterns, allowing direct comparison without calculations. These specialized tools cost $15-30 but prevent expensive wheel ordering mistakes that occur from manual measurement errors.
Rust accumulation and debris inside lug holes creates false readings that inflate actual measurements. Wire brushes remove oxidation buildup while compressed air clears metal shavings from drilling operations. Clean holes reveal their true dimensions and prevent calipers from resting on contaminants rather than the actual hole edges.
Lighting conditions significantly impact measurement accuracy, especially when working in garage environments with overhead shadows. LED flashlights directed at exact measurement points illuminate caliper markings and hole centers clearly. Poor visibility causes misreading of caliper scales and incorrect center point identification during the measurement process.
Multiple measurement verification catches initial errors before wheel purchases become final. Taking three separate measurements of the same lug pattern and averaging the results reduces random measurement variations. Consistent readings within 0.5 millimeters indicate accurate technique, while larger variations suggest measurement method problems requiring correction.
Conclusion
We’ve covered the essential techniques for measuring lug patterns accurately across different wheel configurations. From 4-lug patterns to complex 6-lug arrangements the key lies in using precision tools and following systematic measurement approaches.
Remember that digital calipers and proper lighting make all the difference in achieving accurate readings. Taking multiple measurements and cross-referencing with manufacturer specifications ensures you’ll select wheels that fit perfectly and maintain your vehicle’s safety standards.
With these measurement skills you’ll confidently navigate aftermarket wheel options while avoiding costly fitment mistakes. Clean preparation careful tool alignment and verification steps will save you time and frustration in your wheel selection process.
Frequently Asked Questions
What is a lug pattern and why is it important?
A lug pattern is the arrangement of bolt holes on your vehicle’s wheel hub, consisting of the number of lug holes and the bolt circle diameter (BCD). It’s crucial for proper wheel mounting security, brake system alignment, suspension geometry, and overall vehicle safety. Mismatched lug patterns can create dangerous driving conditions and may void insurance claims.
What tools do I need to measure a lug pattern accurately?
You’ll need a ruler or measuring tape, digital or dial calipers for precision, and a straight edge for alignment verification. Digital calipers are recommended as they provide the most accurate measurements (up to 0.01 millimeters). Ensure you have good lighting and clean lug holes before measuring.
How do I measure a 4-lug pattern?
For 4-lug patterns, find the center point of the wheel and measure the distance between opposing lug holes directly across from each other. The measurement represents the bolt circle diameter. Common 4-lug patterns include 4x100mm for compact cars. Always confirm your measurements against manufacturer specifications.
How do I measure a 5-lug pattern?
Use the skip-one method: measure from the center of one lug hole to the center of the lug hole two positions clockwise (skipping one hole). This measurement gives you the bolt circle diameter. Common 5-lug patterns include 5×114.3mm for mid-size sedans and 5x115mm for some SUVs.
How do I measure a 6-lug pattern?
For 6-lug patterns, use direct measurement by positioning your ruler or caliper across the wheel center to measure the distance between opposing lug holes. Digital calipers are essential for accuracy. Common 6-lug patterns include 6×139.7mm and 6x135mm, typically found on trucks and SUVs.
What are the most common lug patterns by vehicle type?
Passenger cars typically use 4 or 5 lug patterns (4x100mm for compact cars, 5×114.3mm for mid-size sedans). Trucks and SUVs generally employ 5 or 6 lug patterns to handle higher loads (5x115mm for some SUVs, 6×139.7mm for heavy-duty trucks). Each configuration is designed for specific weight and performance demands.
What are common mistakes when measuring lug patterns?
Common errors include dirty lug holes affecting accuracy, poor lighting causing misalignment, not taking multiple measurements for verification, and incorrect tool positioning. Mark the center of each lug hole to avoid confusion, use proper lighting, clean all surfaces, and always take several measurements to ensure consistency.
How can I ensure my lug pattern measurements are accurate?
Use digital calipers for precision, clean all lug holes before measuring, take multiple measurements and average the results, and verify against manufacturer specification charts. Use straight edge tools for consistent alignment and consider bolt circle gauges for complex patterns. Cross-reference all measurements before purchasing wheels.

