Getting your wheel setup wrong can turn your dream ride into a nightmare. We’ve seen countless car enthusiasts make costly mistakes simply because they didn’t understand rim offset – that crucial measurement that determines how your wheels sit in relation to your vehicle’s body and suspension components.
Rim offset isn’t just a number on a spec sheet. It directly impacts your car’s handling, tire wear, suspension stress, and overall appearance. Get it wrong and you’ll face rubbing issues, poor performance, or worse – safety concerns that could leave you stranded on the roadside.
The good news? Determining the correct rim offset for your vehicle doesn’t require a engineering degree. We’ll walk you through the simple steps to measure and calculate the perfect offset for your exact setup, ensuring your wheels not only look incredible but perform flawlessly for years to come.
What Is Rim Offset and Why It Matters
Rim offset measures the distance between the wheel’s mounting surface and its centerline. Positive offset occurs when the mounting surface sits toward the wheel’s face, while negative offset happens when the mounting surface moves toward the back of the wheel.
Most modern vehicles use positive offset configurations ranging from +15mm to +50mm. Zero offset places the mounting surface exactly at the wheel’s centerline, creating a balanced position that many classic cars originally featured.
Offset directly affects these critical vehicle systems:
| Component | Impact of Incorrect Offset | Measurement Range |
|---|---|---|
| Suspension geometry | Alters scrub radius by 1-3 inches | +/-10mm to +/-40mm |
| Steering feel | Changes leverage by 15-25% | Beyond +/-20mm |
| Brake clearance | Reduces clearance by 5-15mm | Varies by wheel width |
| Wheel bearing stress | Increases load by 20-40% | Outside OEM specs |
Changing offset from stock specifications modifies the scrub radius, which affects how your steering responds during braking and acceleration. Excessive positive offset pushes wheels inward, potentially causing tire rubbing against suspension components or fender wells.
Negative offset extends wheels outward from the vehicle, creating a wider stance but increasing stress on wheel bearings and suspension components. This configuration also affects the vehicle’s track width, changing handling characteristics and potentially requiring fender modifications.
Manufacturers calculate optimal offset based on suspension design, brake component clearance, and intended handling characteristics. Deviating from these specifications by more than 10-15mm typically requires additional modifications to maintain safe operation and proper vehicle dynamics.
Tools and Information You’ll Need

Before we begin measuring rim offset, we must gather exact tools and information to ensure accurate results. Having the right equipment and vehicle details makes the entire process straightforward and eliminates guesswork.
Vehicle Specifications
We require your vehicle’s make, model, and year to determine proper wheel compatibility. These specifications help us verify that our offset measurements align with manufacturer requirements and safety standards.
Original equipment manufacturer (OEM) wheel specifications provide baseline measurements for comparison. Factory offset values serve as reference points when selecting aftermarket wheels or verifying existing measurements.
Measuring Equipment
We need a tape measure or ruler for precise distance measurements between wheel surfaces. A straight edge helps us establish accurate reference lines when identifying the wheel’s centerline and mounting surface.
Removing the tire from the wheel improves measurement accuracy by eliminating rubber thickness variables. Clean measuring surfaces ensure our tools make proper contact with metal wheel components.
Calipers provide enhanced precision for smaller measurements when standard rulers prove insufficient. Digital calipers offer millimeter readings that match industry offset specifications.
Method 1: Reading the Wheel Markings
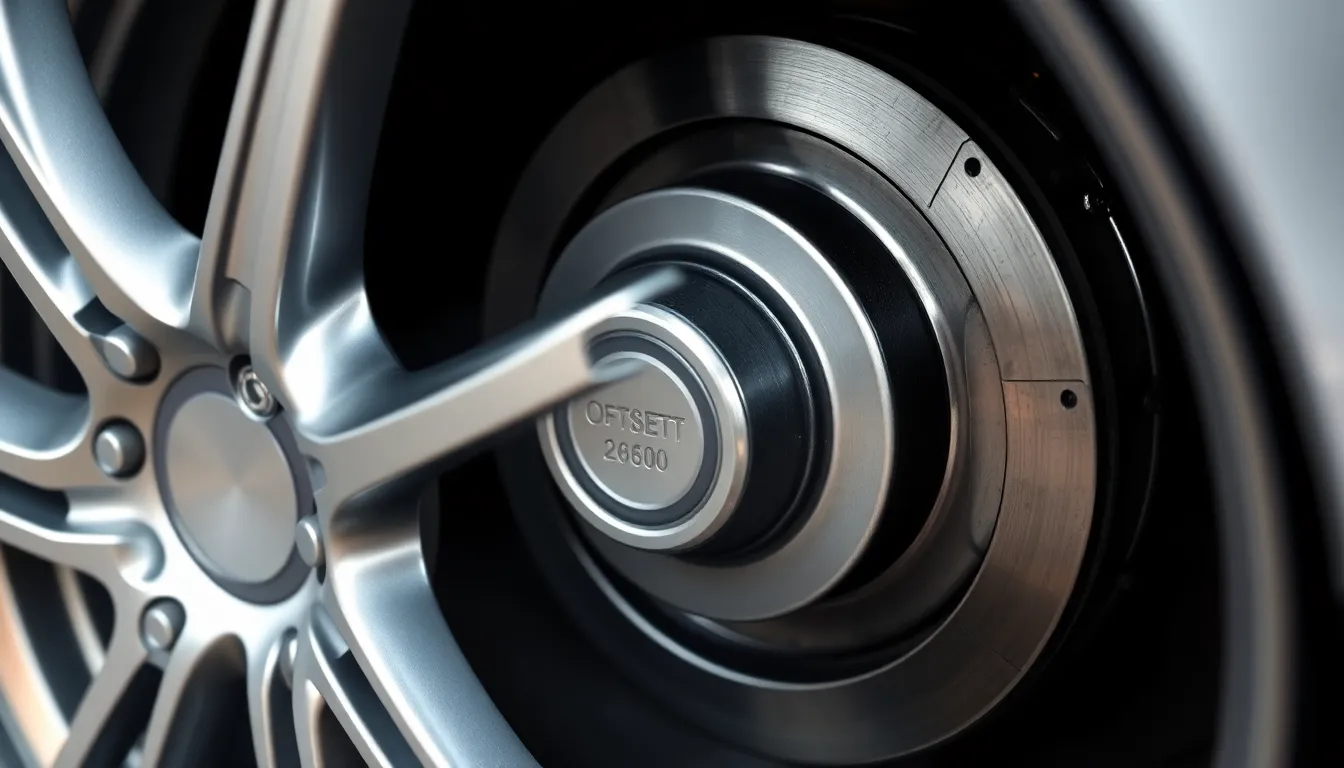
Reading wheel markings represents the simplest approach to determining rim offset. Most manufacturers stamp this critical information directly onto the wheel itself.
Locating the Offset Information
We can find offset markings by examining the rear section of the wheel first. Manufacturers typically stamp offset values on the mounting surface or along one of the alloy wheel spokes. The information appears on the back side of the wheel where it contacts the vehicle hub.
Check behind each spoke systematically if the marking isn’t immediately visible on the mounting surface. Some manufacturers place offset stamps in less obvious locations depending on the wheel design. Clean any dirt or brake dust from these areas to reveal faded or obscured markings.
Decoding the ET Value
The offset marking displays as “ET” followed by a number representing millimeters from the wheel centerline. ET stands for “Einpresstiefe,” the German term meaning offset depth. Common examples include ET38, ET45, or ET15 depending on the exact wheel application.
Positive ET values indicate the mounting surface sits closer to the wheel’s front face. ET38 means the mounting surface positions 38mm forward of the wheel centerline toward the outside edge. Negative ET values place the mounting surface behind the centerline toward the wheel’s inner edge.
Zero offset wheels show ET0, positioning the mounting surface exactly at the wheel centerline. These wheels distribute weight evenly across the wheel width but appear less common on modern vehicles compared to positive offset configurations.
Method 2: Manual Measurement Technique
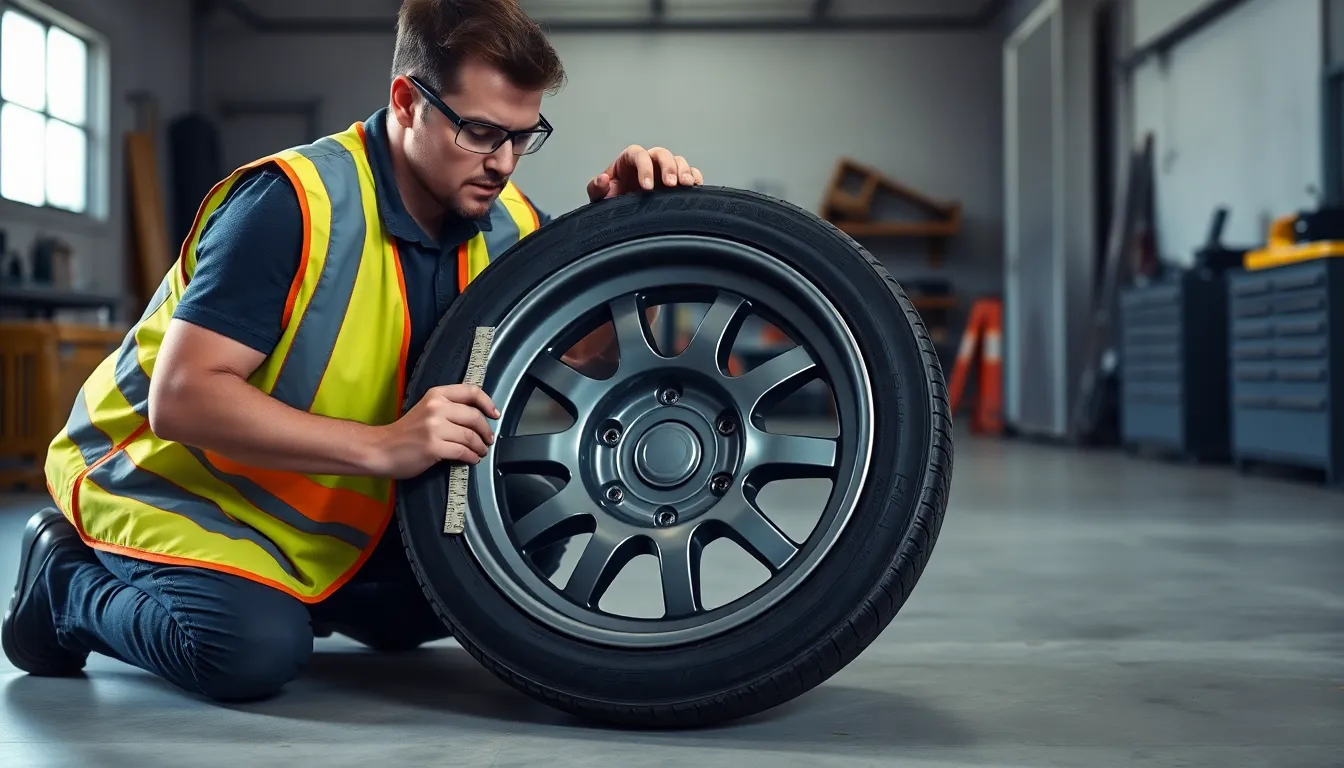
Manual measurement provides a reliable way to determine rim offset when wheel markings aren’t visible or legible. This hands-on approach requires basic tools and delivers accurate results for any wheel type.
Measuring Wheel Width
Place the wheel face down on a flat surface to begin the measurement process. Lay a straight edge such as a ruler or level across the rim’s top edge, ensuring it spans the wheel’s widest point completely. Measure the distance from the flat surface up to the bottom of the straight edge in millimeters. This measurement represents the overall wheel width, which forms the foundation for calculating offset accurately.
Finding the Centerline
Divide the overall wheel width by 2 to locate the centerline position. A wheel with 242 mm total width has its centerline at 121 mm from either edge. This centerline measurement becomes the reference point for determining whether your wheel has positive, negative, or zero offset. Mark this centerline location mentally or physically for the next calculation step.
Calculating the Offset
Measure the distance from the wheel’s mounting surface to the rim’s back edge (the side against the flat surface). This distance represents measurement A in the offset formula. Subtract the centerline measurement (B) from measurement A using the formula: Offset = A – B.
Results below the centerline indicate negative offset, while measurements above create positive offset. A wheel with mounting surface distance of 109 mm and centerline at 121 mm produces an offset of -12 mm (109 – 121 = -12). This calculation method works for all wheel types when you measure the mounting surface and overall width accurately. Always use the actual overall width rather than inner bead width for precise results.
Understanding Offset Types and Their Impact

Understanding rim offset types helps us select wheels that deliver optimal performance and desired aesthetics. Each offset configuration creates distinct effects on vehicle handling, clearance, and appearance characteristics.
Positive Offset Effects
Positive offset configurations position the mounting surface toward the wheel’s front face, creating deeper wheel placement into the wheel well. Front wheel drive vehicles commonly use this setup for enhanced stability and handling characteristics.
Performance Benefits:
- Enhanced handling stability during cornering maneuvers
- Improved steering response and road feedback
- Better weight distribution over suspension components
- Reduced stress on wheel bearings and hub assemblies
Aesthetic Advantages:
- Cleaner, more refined appearance with wheels tucked properly
- Flush fitment that complements modern vehicle designs
- Professional look that maintains manufacturer intended proportions
Negative Offset Effects
Negative offset positions the mounting surface toward the wheel’s back section, pushing wheels outward from the vehicle body. Trucks and off road vehicles frequently employ this configuration for exact performance advantages.
Clearance Benefits:
- Increased space for larger brake components and calipers
- Enhanced clearance for oversized tire installations
- Better accommodation for suspension modifications and upgrades
- Improved access for maintenance and component servicing
Visual Impact:
- Aggressive, muscular stance with wider track width
- Enhanced presence that emphasizes vehicle’s rugged character
- Pronounced wheel well fill that creates dramatic proportions
Zero Offset Considerations
Zero offset places the mounting surface precisely at the wheel centerline, creating balanced wheel positioning. Classic cars and exact performance applications often use this symmetrical configuration.
Application Scenarios:
- Restoration projects requiring original equipment specifications
- Performance builds where precise weight distribution matters
- Custom applications demanding exact centerline positioning
- Vehicles with exact suspension geometry requirements
- Maintains neutral impact on suspension geometry
- Preserves original steering characteristics and feel
- Ensures compatibility with existing brake and suspension components
- Provides baseline reference point for offset modifications
Common Mistakes to Avoid When Determining Offset
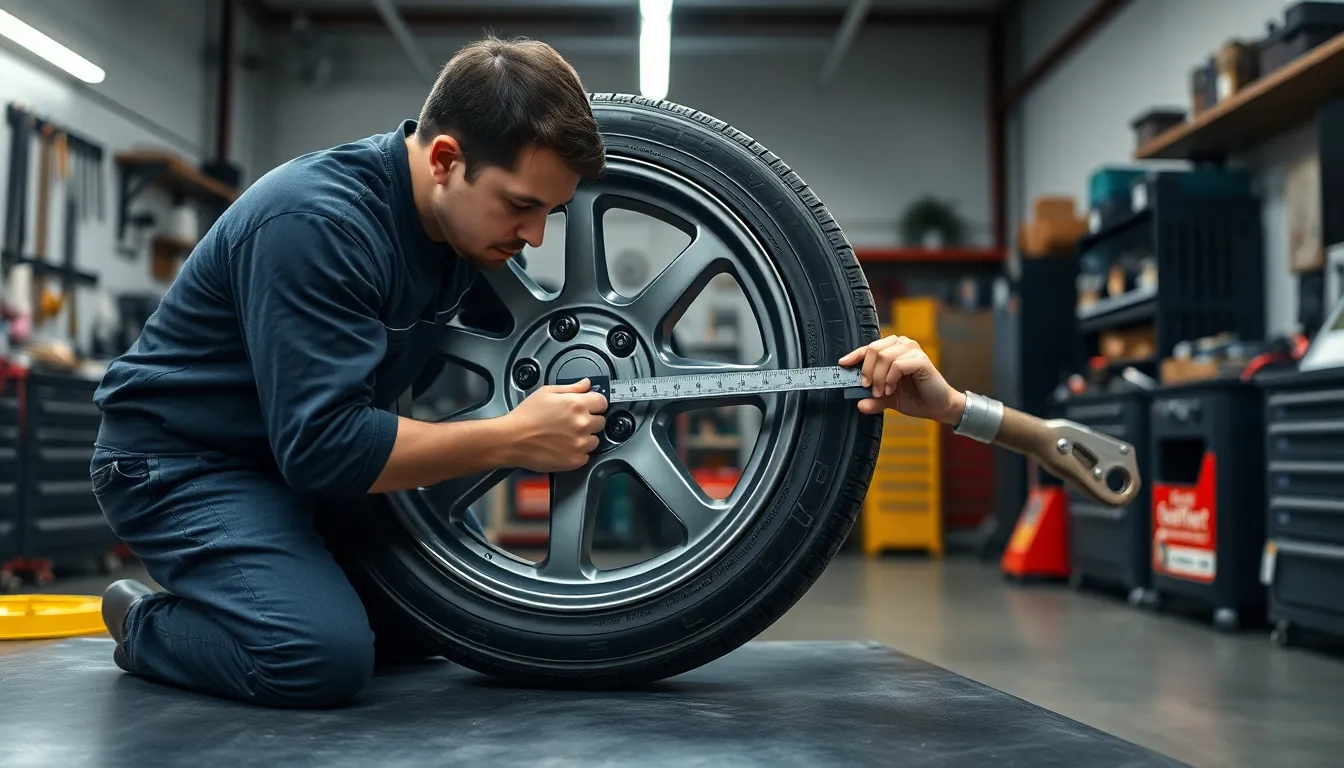
Measuring from outside edge to outside edge rather than inside lip to inside lip creates inaccurate wheel width calculations. We’ve observed this error leads to offset measurements that can be off by several millimeters, potentially causing fitment issues.
Forgetting to account for wheel flange specifications causes measurement discrepancies in certain wheel designs. Some measurement methods require adding 1 inch to the measured width before dividing by 2, though this depends entirely on your exact wheel’s construction details.
Using uneven surfaces during measurement distorts the accuracy of our calculations. We recommend placing wheels on completely flat, level surfaces to ensure precise measurements and avoid skewed results.
Converting between inches and millimeters incorrectly produces important calculation errors. Remember that 25.4 mm equals 1 inch when translating measurements, and double-check all unit conversions before finalizing offset calculations.
Confusing backspacing measurements with offset calculations leads to incorrect wheel fitment decisions. Backspacing measures from the mounting surface to the wheel’s back edge, while offset compares the mounting surface position to the wheel’s centerline.
Skipping verification steps on manual calculations results in costly fitment mistakes. We always recommend rechecking mathematical work and comparing results against manufacturer specifications when available to ensure accuracy before purchasing wheels.
Choosing the Right Offset for Your Vehicle
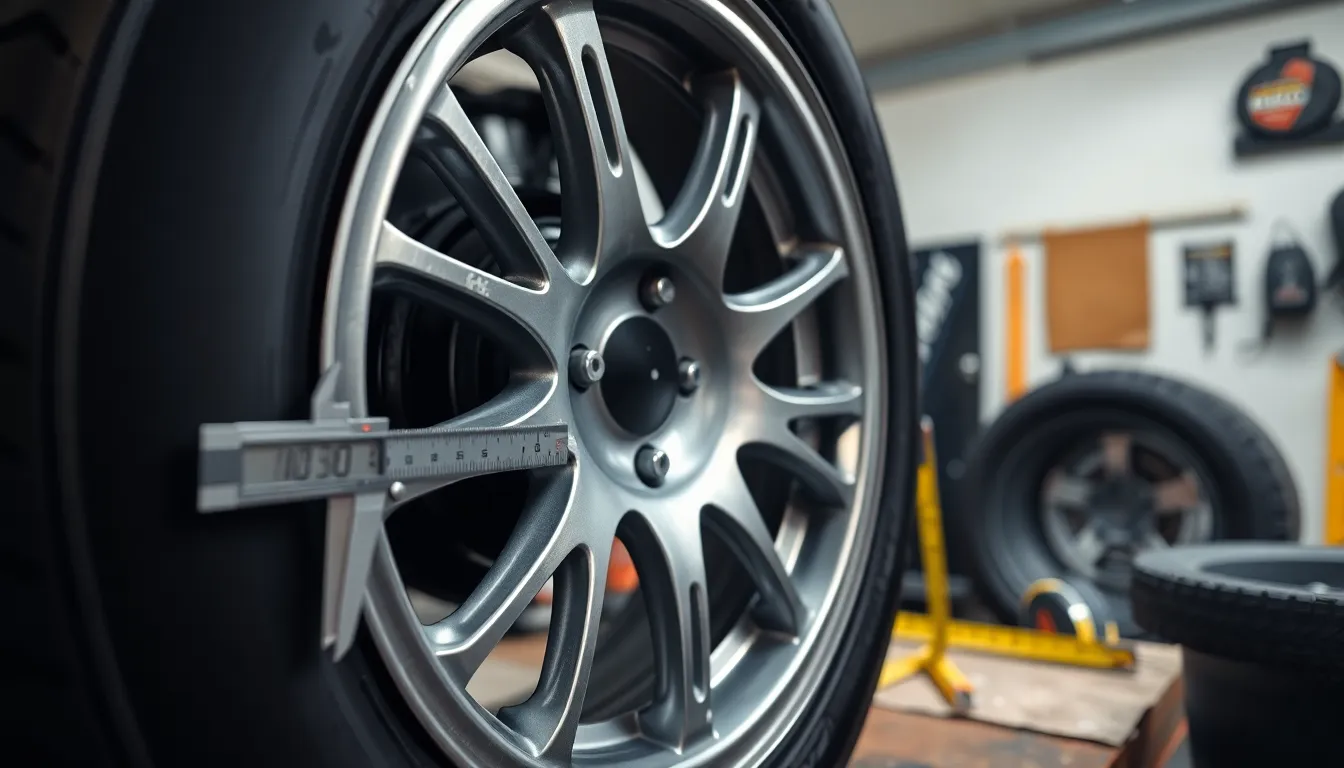
Selecting the correct rim offset requires matching your vehicle’s exact requirements with the wheel’s mounting characteristics. We recommend starting with your manufacturer’s original equipment specifications as the baseline for safe fitment. Most vehicle manufacturers engineer wheels with offset ranges between +15mm to +50mm to optimize suspension geometry and handling dynamics.
Factory specifications provide the foundation for wheel selection because they account for brake clearance, suspension travel, and steering geometry. We’ve found that deviating more than 10-15mm from stock offset values can significantly impact vehicle performance and safety systems. Your vehicle’s manual or dealership parts department can provide the exact offset specifications for your make and model.
Performance Considerations
Positive offset wheels enhance stability and steering response in most passenger vehicles because the mounting surface positions closer to the wheel’s face. We observe improved weight distribution and reduced stress on wheel bearings when using appropriate positive offset configurations. Front-wheel-drive vehicles particularly benefit from positive offset because it maintains proper scrub radius and steering feel.
Negative offset applications work best for trucks and off-road vehicles where aggressive appearance and larger brake component clearance matter most. We recommend negative offset when installing wider wheels or accommodating performance brake upgrades. These configurations provide enhanced stability during off-road driving but can increase steering effort and suspension wear on paved surfaces.
Fitment Guidelines
Check your fender clearance before finalizing wheel offset selections because improper measurements can cause tire rubbing during suspension compression or steering lock. We suggest measuring the distance between your current tire’s sidewall and the fender well at full steering lock and maximum suspension compression. Allow at least 0.5 inches of clearance on all sides to accommodate suspension movement and tire flex.
Brake caliper clearance represents another critical measurement point when selecting wheel offset. We recommend verifying that new wheels provide adequate space around brake components, especially when upgrading to larger diameter wheels. Performance brake systems often require exact offset ranges to maintain proper clearance during wheel rotation.
Load Rating Compatibility
Match your wheel’s load rating with your vehicle’s gross vehicle weight rating to ensure structural integrity during operation. We emphasize that offset changes can affect load distribution across wheel components, making proper load ratings essential for safety. Consult your vehicle’s door jamb sticker or owner’s manual for the exact weight specifications.
Calculate the per-wheel load by dividing your vehicle’s GVWR by four, then select wheels rated for at least 20% above this calculated value. We recommend this safety margin because ever-changing loading during cornering and braking can exceed static weight calculations.
Conclusion
Getting rim offset right isn’t just about looks—it’s about keeping your vehicle safe and performing at its best. We’ve shown you two reliable methods to determine offset accurately whether you’re reading wheel markings or taking manual measurements.
Remember that staying within 10-15mm of your vehicle’s original specifications ensures optimal handling and prevents costly modifications. When in doubt always reference your manufacturer’s recommendations and double-check your measurements.
With the right offset knowledge and careful attention to fitment details you’ll confidently select wheels that enhance both your vehicle’s appearance and performance. Take your time with measurements and don’t rush the selection process—your safety depends on getting it right.
Frequently Asked Questions
What is rim offset and why is it important?
Rim offset measures the distance between the wheel’s mounting surface and its centerline. It’s crucial because incorrect offset can cause handling problems, excessive tire wear, suspension stress, and safety issues. Most modern vehicles use positive offset configurations between +15mm to +50mm to optimize performance and ensure proper fitment with brake components and suspension geometry.
How can I find my wheel’s offset without measuring?
Most manufacturers stamp offset information directly on the wheel, usually on the rear section or along the spokes. Look for “ET” followed by a number (like ET38 or ET45) representing millimeters from the centerline. Positive ET values mean the mounting surface is toward the wheel’s front face, while ET0 indicates zero offset.
What’s the difference between positive, negative, and zero offset?
Positive offset occurs when the mounting surface is toward the wheel’s face, common in front-wheel-drive vehicles for better stability. Negative offset has the mounting surface toward the back, often used in trucks for aggressive stance. Zero offset balances the mounting surface at the centerline, typical in classic cars and performance applications.
How do I manually measure rim offset?
Place the wheel face down on a flat surface and measure the overall width using a straight edge. Calculate the centerline by dividing width by two. Measure the distance from the mounting surface to the rim’s back edge. Use the formula: Offset = Mounting surface distance – Centerline measurement.
What tools do I need to measure rim offset accurately?
You’ll need a tape measure or ruler, a straight edge for reference lines, and calipers for enhanced precision. It’s recommended to remove the tire for better accuracy and ensure clean measuring surfaces for proper contact with metal wheel components. Having your vehicle’s make, model, and year information is also essential.
Can I use wheels with different offset than my stock wheels?
Deviating from stock specifications by more than 10-15mm can require additional modifications for safe operation. Always check fender and brake caliper clearance to avoid tire rubbing and ensure adequate space around brake components. Match the wheel’s load rating with your vehicle’s requirements for safety and structural integrity.
What are common mistakes when measuring rim offset?
Avoid measuring from the outside edge instead of the inside lip, which leads to inaccurate calculations. Don’t confuse backspacing with offset, ensure you’re using level surfaces, and correctly convert between inches and millimeters. Always verify manual calculations and account for wheel flange specifications to prevent costly fitment mistakes.


