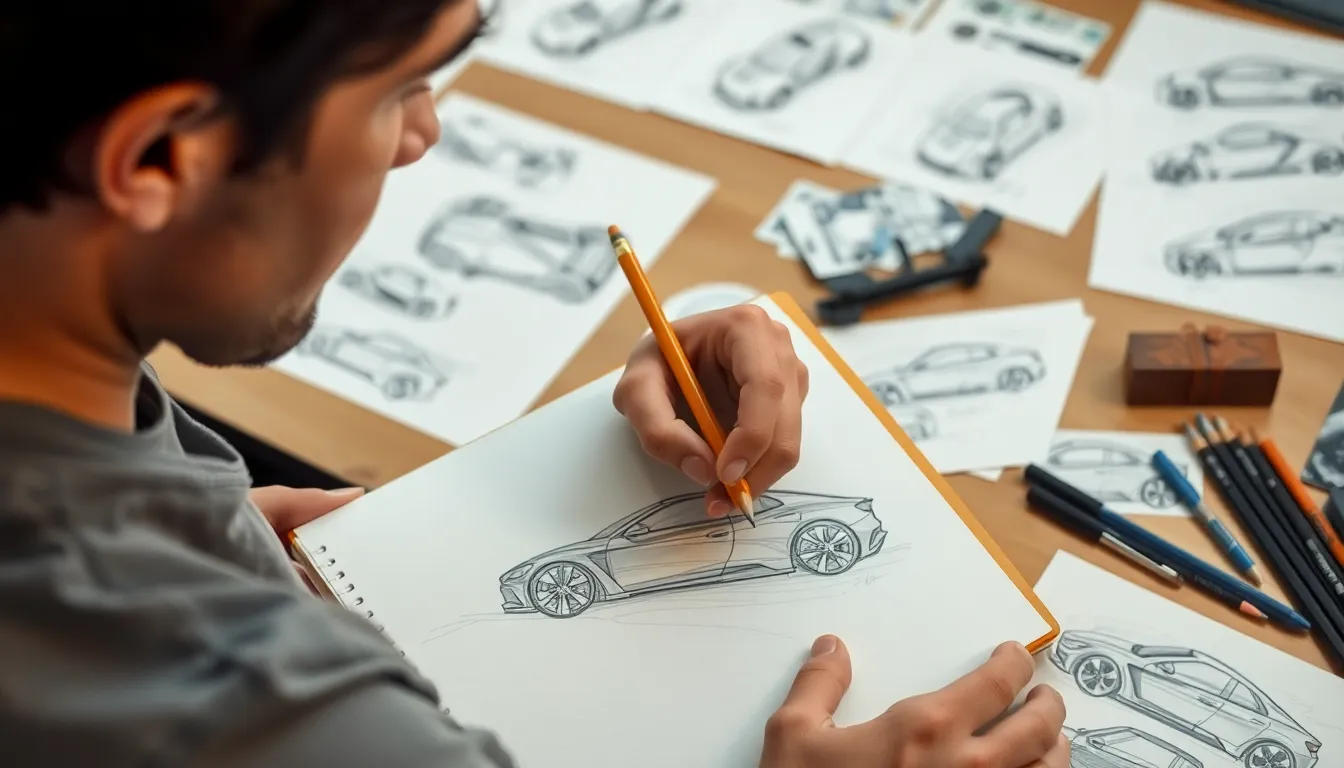
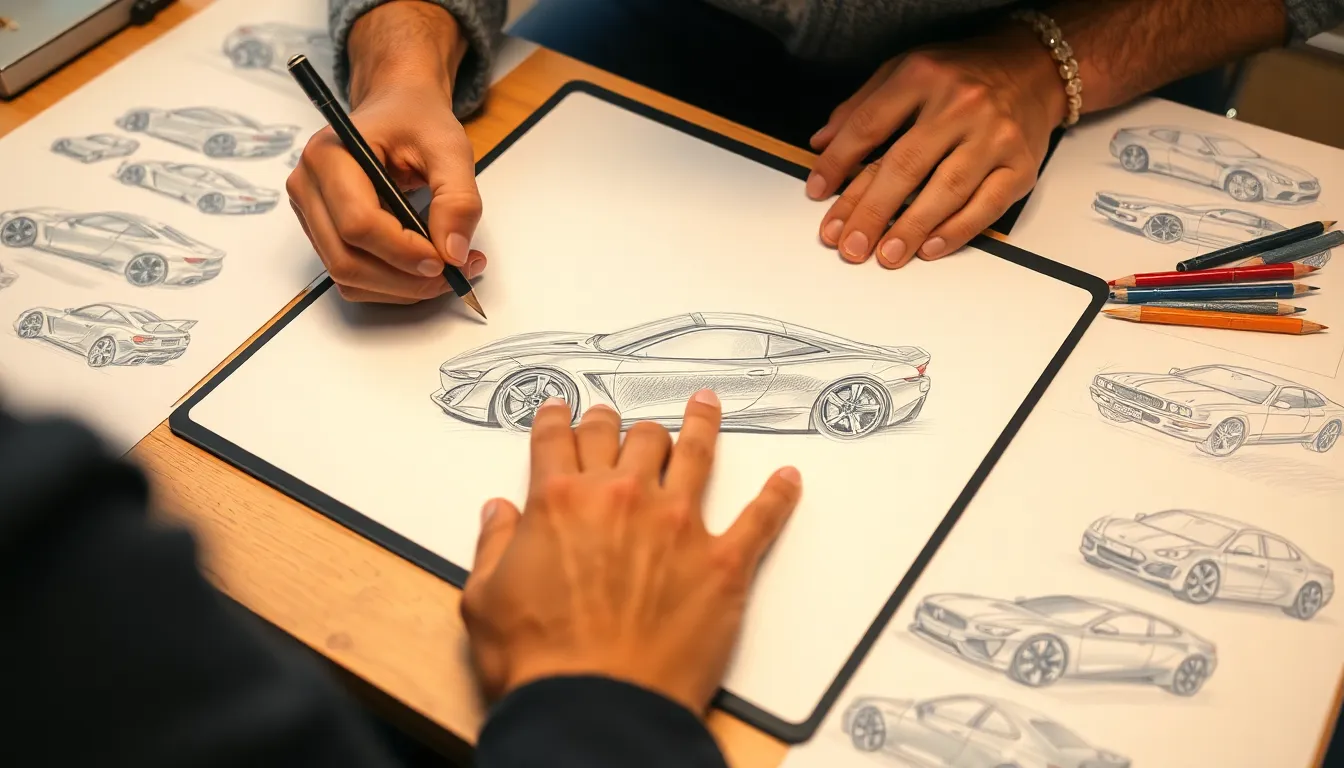
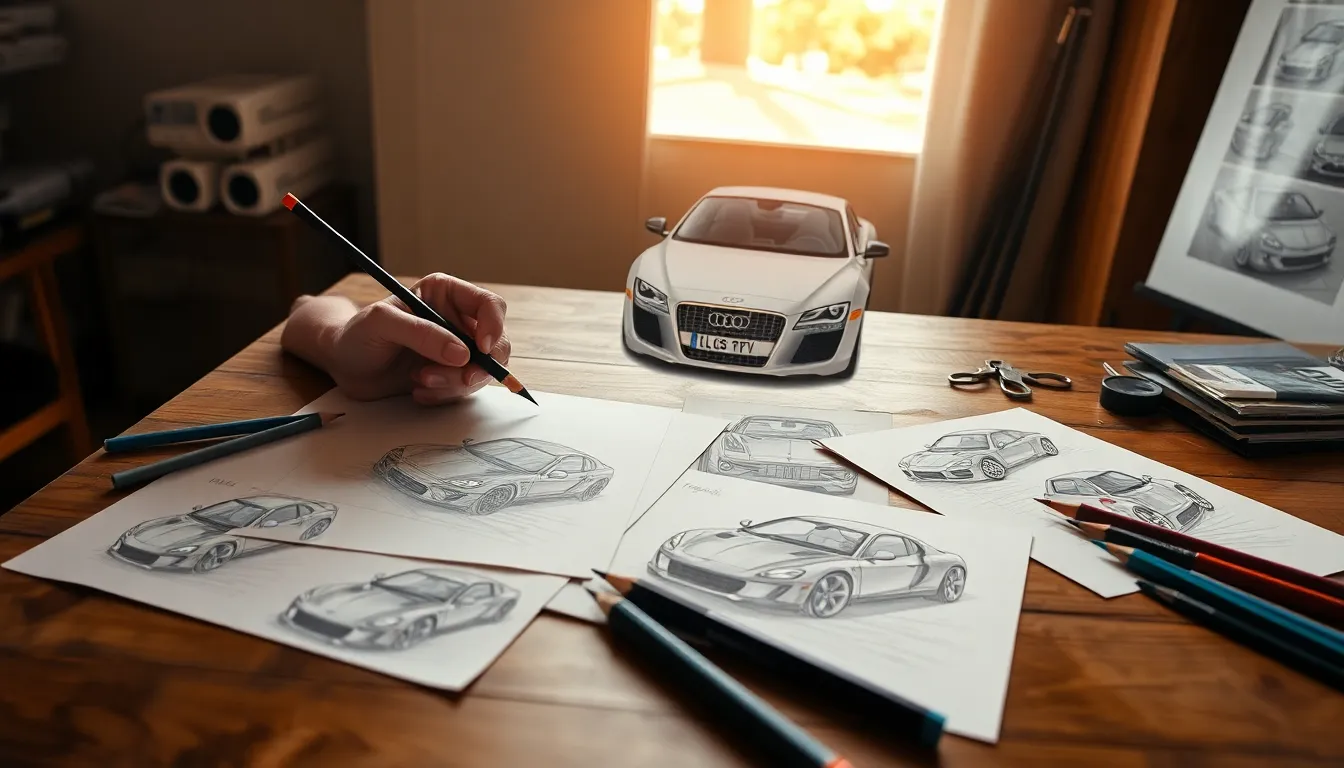
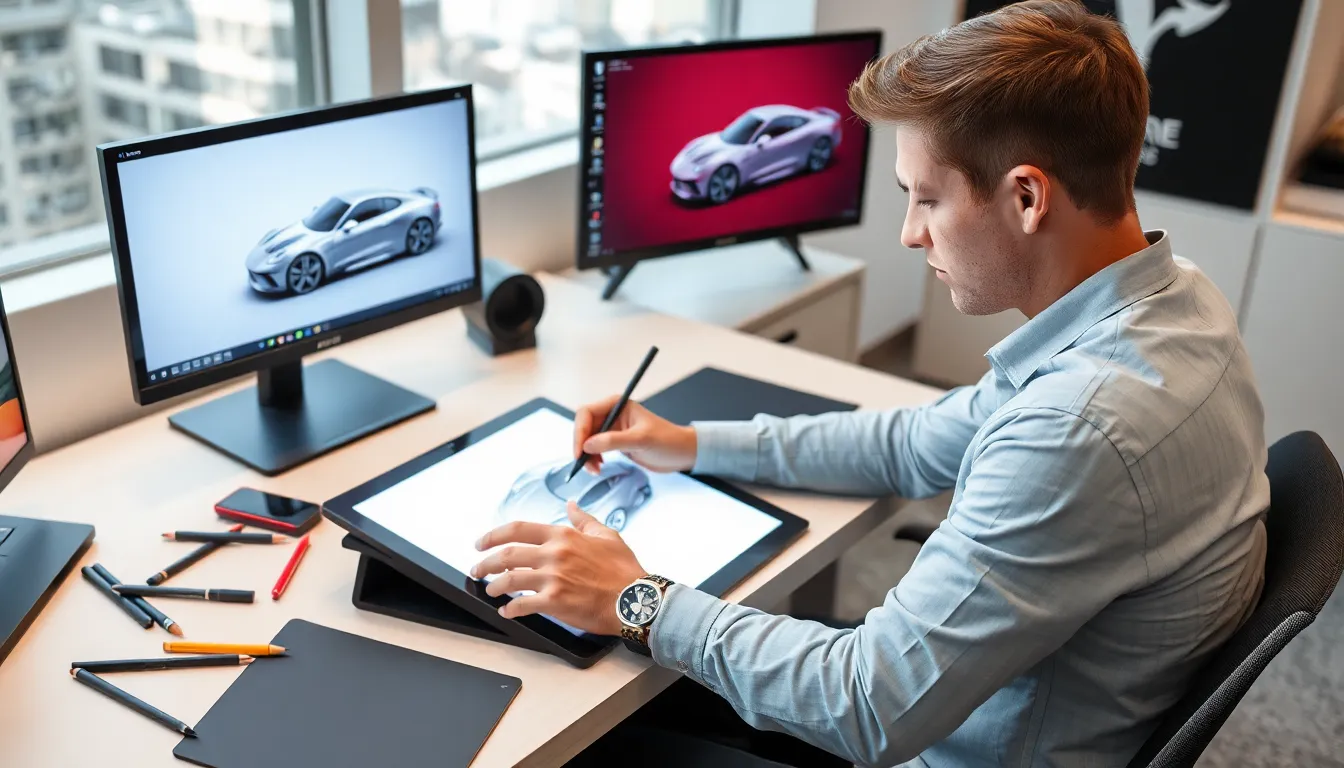
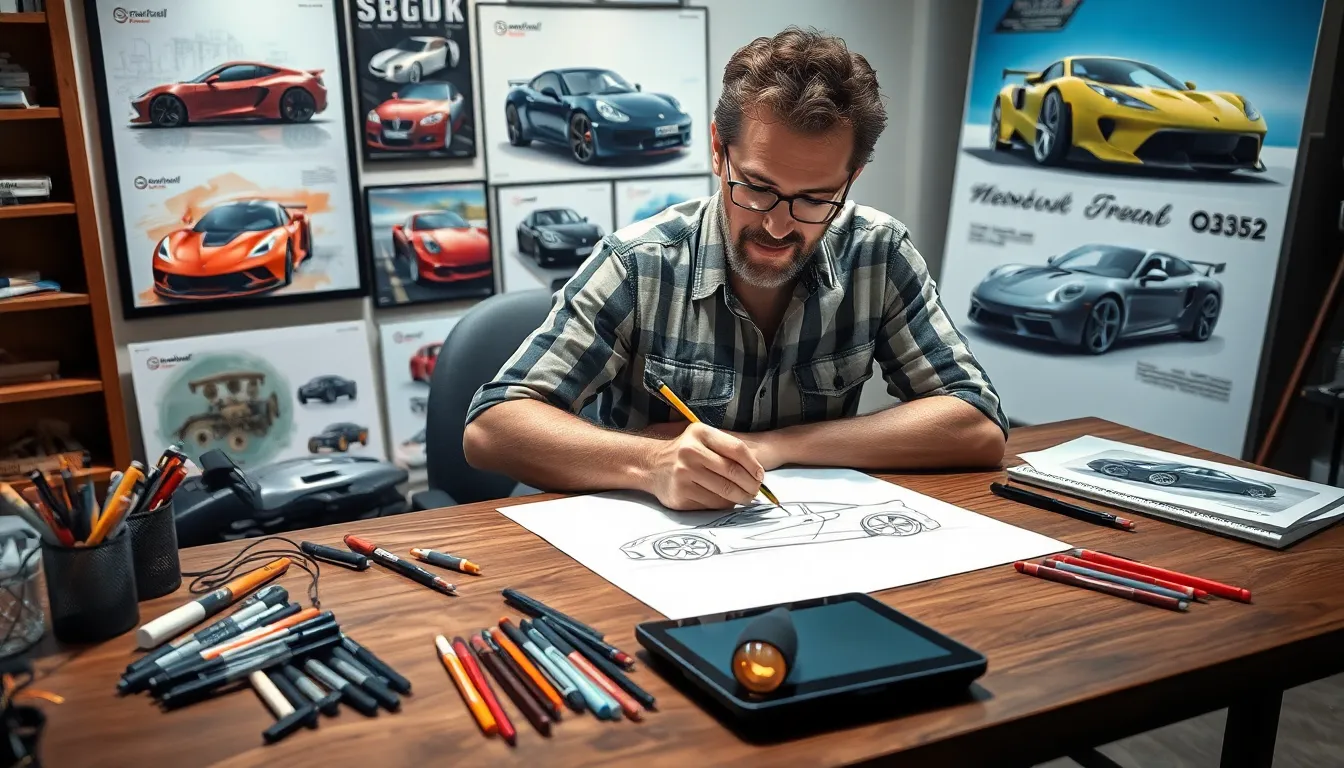
We’ve all admired sleek sports cars speeding down highways or classic vintage automobiles parked on street corners. There’s something captivating about a car’s curves, angles, and mechanical beauty that makes us want to capture it on paper. Drawing cars isn’t just about sketching wheels and windows – it’s about understanding proportions, mastering perspective, and bringing mechanical marvels to life through art.
Whether you’re dreaming of designing the next supercar or simply want to sketch your favorite vehicle, learning to draw cars opens up endless creative possibilities. From muscle cars and luxury sedans to futuristic concept vehicles, each type presents unique challenges and rewards that’ll sharpen your artistic skills.
We’ll guide you through proven techniques that transform simple shapes into stunning automotive artwork. You’ll discover how professional artists approach car drawings and learn step-by-step methods that work for beginners and experienced artists alike.
Start With Basic Geometric Shapes to Draw Cars
We’ll transform complex automotive forms into simple geometric foundations that make car drawing accessible to everyone. Breaking down vehicles into basic shapes removes intimidation and creates a structured approach to automotive sketching.
Use Rectangles for the Main Body Structure
Rectangles form the backbone of every car drawing we create. Start by sketching a horizontal rectangle for the main body, ensuring it spans roughly three to four times its height in width. Position a smaller rectangle above this base shape to represent the passenger cabin or greenhouse area.
Different car types require exact rectangular proportions. Sports cars need low, elongated rectangles with minimal height differences between body and cabin sections. SUVs demand taller rectangles with more substantial vertical proportions for their commanding presence.
Adjust rectangle angles to add personality to your automotive sketches. Tilting the main body rectangle slightly downward creates ever-changing sports car profiles. Keeping rectangles perfectly horizontal produces more formal sedan appearances that convey stability and elegance.
Add Circles for Wheels and Curved Elements
Circles define the essential wheel placement that determines your car’s stance and proportions. Position two circles along the bottom edge of your main rectangle, spacing them to match your intended vehicle type. Sports cars require circles positioned closer to the rectangle’s ends, while family sedans need more centered wheel placement.
Wheel circle size directly impacts your drawing’s overall character and authenticity. Large circles create the aggressive look of performance vehicles with low profile tires. Smaller circles work perfectly for economy cars and vintage automobiles with narrower wheel designs.
Use partial circles to establish curved body elements like fender flares and hood contours. These curved segments soften the harsh rectangular foundation and begin transforming geometric shapes into recognizable automotive forms.
Combine Triangles for Windows and Details
Triangles add precision and detail to the rectangular framework we’ve established. Create triangular window shapes by connecting the cabin rectangle’s corners to exact points along the body rectangle. This technique produces realistic windshield and rear window angles that match real vehicle proportions.
Front and rear triangular elements define essential automotive details like headlight housings and taillight clusters. Small triangular shapes positioned at the main rectangle’s corners establish these crucial visual elements early in your drawing process.
Angular triangular cuts within your rectangular cabin create side window shapes that bring realism to your automotive sketches. Vary triangle sizes and angles to represent different vehicle styles, from compact hatchbacks to luxury sedans with distinctive rooflines.
Master the Side Profile View When Learning to Draw Cars
Side profile drawings offer the clearest perspective for understanding automotive proportions and design elements. This viewpoint eliminates complex foreshortening while showcasing essential car characteristics.
Focus on Proportional Relationships Between Components
Wheelbase measurements determine your car’s overall balance and stance. We recommend using the distance between wheel centers as our primary reference unit. Sports cars typically measure 2.5 to 3 wheel diameters from front to rear axle, while sedans extend to 3.5 wheel diameters. SUVs and trucks often reach 4 wheel diameters or more.
Hood length varies significantly across vehicle categories and affects visual weight distribution. Luxury sedans feature longer hoods that span 1.2 wheel diameters, creating an elegant profile. Compact cars compress this measurement to 0.8 wheel diameters for efficiency. Supercars extend hood proportions to 1.5 wheel diameters, emphasizing their powerful engines.
Window heights create distinct silhouettes that define vehicle personality. We measure window areas as ratios of total body height. Coupes maintain window heights at 25% of body height for a sleek appearance. Family sedans increase this proportion to 35% for better visibility. Convertibles reduce window ratios to 20% when the top is down.
Roof lines establish the car’s character through their angle and curve. Fastback designs drop continuously from the windshield to the rear bumper. Notchback profiles create distinct trunk separations with horizontal roof sections. Hatchback styles curve downward at steeper angles, typically 15 to 25 degrees from horizontal.
Practice Drawing Different Car Types in Profile
Sports car profiles emphasize low, wide stances with aggressive proportions. Start with a rectangle that’s 4 units wide and 1.5 units tall. Position wheels at the extreme corners to maximize the wheelbase. Create a hood that extends 1.5 units from the front wheel center. Keep the roofline low and angled, dropping from front to rear.
Sedan drawings require balanced proportions between all major components. Build your foundation rectangle at 4.5 units wide and 2 units tall. Place the front wheel 1 unit from the front edge, with the rear wheel 1 unit from the back. Design a hood that measures 1.2 units long. Maintain a level roof section that spans the passenger compartment.
SUV sketches showcase vertical emphasis and commanding road presence. Construct a base rectangle measuring 4 units wide and 2.5 units tall. Position wheels with slightly shorter wheelbases than sedans. Create shorter hoods at 0.9 units to accommodate upright windshields. Design tall, boxy passenger compartments that emphasize interior space.
Truck profiles feature distinct cab and bed separations with utilitarian proportions. Draw the cab section first as a 2 unit wide rectangle. Add the bed section as a separate 2.5 unit rectangle behind it. Connect these elements with a slight gap or step. Position wheels to support the extended overall length.
Refine Your Line Quality and Consistency
Confident strokes create professional looking automotive sketches with clean edges. We practice drawing continuous lines without lifting our pencil from paper. Start with light construction lines, then reinforce the final contours with darker, deliberate strokes. Avoid sketchy, broken lines that make drawings appear uncertain.
Line weight variation adds depth and hierarchy to car drawings. Use thicker lines for the main silhouette and body panels that face the viewer. Apply medium weight lines for secondary details like door separations and character lines. Reserve thin lines for interior elements, reflections, and surface textures.
Consistent curves maintain the smooth, flowing appearance that defines automotive design. Practice drawing long, sweeping arcs for roof lines, hood contours, and trunk shapes. Use your whole arm movement rather than just wrist motion. Connect curve segments smoothly without creating flat spots or kinks.
Sharp transitions occur only at exact design intent points like body creases. Identify where manufacturers place intentional edges on door handles, wheel arches, and bumper details. Keep these transitions crisp and decisive. Blend all other intersections with smooth, gradual curves that follow the car’s natural flow.
Learn Front and Rear Perspective Techniques to Draw Cars
Perspective drawing transforms our automotive sketches from flat representations into ever-changing, three-dimensional artwork. We’ll explore essential techniques that bring depth and realism to front and rear car views.
Understand Foreshortening for Realistic Proportions
Foreshortening creates the illusion that parts of the car appear compressed when viewed from certain angles. We apply this principle by shortening the visible length of elements that recede into the distance, such as the hood when drawing from a front three-quarter view.
Start by establishing a horizon line and vanishing points to guide your perspective. The front bumper appears larger and more prominent, while the windshield and roof seem compressed toward the back. We adjust wheel proportions so the front wheels appear larger in diameter than the rear wheels, even though they’re actually the same size.
Practice drawing rectangles in perspective first, then transform them into car bodies. The front face of your rectangle represents the front grille area, while the receding sides show how the car’s body extends backward. We maintain consistent angles throughout the drawing to ensure all elements follow the same perspective rules.
Common foreshortening mistakes include making distant parts too large or forgetting to compress vertical elements like door heights. We check our work by imagining how a photographer would capture the same angle, considering which parts would naturally appear smaller due to distance.
Add Depth With Proper Shading and Highlights
Shading transforms flat car drawings into three-dimensional forms that appear to have volume and substance. We establish a primary light source and apply shadows consistently across all surfaces to create believable depth.
Light typically strikes the top and front surfaces of cars, creating natural highlight areas on the hood, roof, and upper portions of the windshield. We leave these areas lighter or add white highlights with an eraser or white pencil. Side panels receive medium tones, while undersides and recessed areas like wheel wells get the darkest shadows.
Curved surfaces require gradual tonal transitions rather than harsh lines. We blend shading smoothly across the car’s body panels, creating the illusion of rounded metal surfaces. The transition from light to shadow should follow the car’s form, wrapping around curves and emphasizing the vehicle’s sculptural qualities.
Chrome elements like bumpers and trim pieces reflect light differently than painted surfaces. We create sharp contrasts between light and dark areas on these reflective parts, often leaving thin white lines to represent bright reflections. Glass surfaces require careful attention to reflections and transparency effects.
Include Essential Details Like Grilles and Bumpers
Grilles define a car’s front character and brand identity, making them crucial elements in automotive drawings. We start with the basic grille shape, whether it’s rectangular, hexagonal, or curved, then add the internal pattern of horizontal or vertical bars.
Modern cars feature complex bumper designs with integrated fog lights, air intakes, and sculptural elements. We sketch the overall bumper shape first, then add recessed areas and protruding sections that create visual interest. License plate areas provide natural rectangular reference points for maintaining proper proportions.
Headlight shapes vary dramatically between car models and eras, from simple round designs to complex angular forms. We begin with basic geometric shapes, then refine them to match the exact vehicle we’re drawing. LED running lights appear as thin lines or dots within the headlight housing.
Rear details include taillights, exhaust pipes, and rear spoilers that complete the car’s visual story. We apply the same approach as front details, starting with basic shapes and adding complexity gradually. Exhaust pipes appear as dark circles or ovals, while taillights often feature internal geometric patterns that catch and reflect light.
Study Real Car References to Improve Your Drawing Skills
Drawing realistic cars requires studying actual vehicles to understand their unique characteristics and design elements. We’ll explore effective methods for building a comprehensive reference library that enhances our automotive artwork.
Analyze Different Vehicle Makes and Models
Understanding manufacturer design languages helps us capture authentic automotive character in our sketches. BMW vehicles feature kidney grilles and Hofmeister kinks, while Mercedes-Benz cars showcase three-pointed star emblems and distinctive C-pillar curves. Ferrari models display aggressive front air intakes and flowing body lines, contrasting with Porsche’s rounded headlight clusters and sloping rooflines.
Comparing sedan proportions reveals fascinating differences between luxury and economy segments. Luxury sedans like the S-Class stretch longer wheelbases and taller greenhouse areas, while compact cars like the Honda Civic maintain shorter overhangs and more upright windshields. Sports cars flatten their profiles with lower ride heights and extended hoods, creating dramatic silhouettes that emphasize performance characteristics.
Studying wheel arch relationships across different vehicle types teaches us proportional accuracy. Pickup trucks position their wheel wells higher relative to door handles, while sports cars tuck wheels deeper into sculpted fender openings. SUVs maintain generous wheel well clearances that accommodate larger tire diameters and suspension travel.
Observe How Light Affects Car Surfaces
Natural lighting conditions transform automotive surfaces throughout the day, creating diverse shadow patterns and reflective qualities. Morning sunlight produces long shadows that emphasize body creases and character lines, while midday overhead lighting flattens surfaces and reduces dimensional contrast. Golden hour illumination wraps around curved panels, highlighting the sculptural nature of automotive design.
Metallic paint finishes reflect light differently than matte surfaces, creating bright highlight spots and deep shadow areas. Chrome bumpers and trim pieces act like mirrors, capturing environmental reflections that we must carefully observe and translate into our drawings. Glass surfaces display both transparency and reflection simultaneously, requiring us to balance these competing visual elements.
Curved body panels create gradual light transitions that define volume and form. Convex surfaces like fender bulges catch more light at their peaks, while concave areas like door recesses collect deeper shadows. Sharp body creases produce distinct light-to-shadow transitions that we can emphasize to create dramatic automotive artwork.
Take Photos for Future Drawing Practice
Building a personal reference photo library provides consistent drawing material for skill development sessions. We should photograph vehicles from multiple angles, capturing front three-quarter, side profile, and rear perspectives to understand complete automotive forms. Close-up detail shots of grilles, headlights, and wheel designs preserve exact design elements for later study.
Different weather conditions offer unique photographic opportunities that enhance our understanding of automotive surfaces. Overcast skies create even lighting that reveals subtle body contours without harsh shadows, while sunny conditions produce dramatic contrast that emphasizes sculptural qualities. Wet pavement creates reflections beneath vehicles, adding environmental context to our reference collection.
Organizing reference photos by vehicle type and manufacturer streamlines our drawing practice sessions. Creating folders for sports cars, sedans, trucks, and motorcycles helps us quickly access relevant references when working on exact projects. Dating our photo collections allows us to track our observational skills over time and revisit earlier references with improved artistic understanding.
Practice Drawing Cars With Different Body Styles
Drawing different vehicle categories helps us understand unique proportional relationships and design characteristics. Each body style presents distinct challenges that’ll strengthen our automotive sketching abilities.
Sketch Sedans and Their Characteristic Features
Sedans provide an excellent foundation for practicing balanced proportions and refined automotive details. We start by establishing a rectangular base that’s typically 2.5 times longer than it is tall, creating the classic sedan silhouette. The roofline flows smoothly from the windshield through the rear pillar, maintaining consistent height across the passenger compartment.
Door handles sit at roughly one-third the height of the side windows, while the belt line (where glass meets metal) creates a continuous horizontal element. We position the front wheels slightly forward of the door’s leading edge, and rear wheels align with the rear door’s trailing portion. Chrome trim elements often accentuate the window frames and lower body sections in traditional sedan designs.
Window proportions follow exact ratios: front and rear glass areas consume approximately 40% of the total side profile length. Side windows decrease gradually in height from front to rear, creating visual movement and elegance. Ground clearance remains minimal compared to SUVs, typically measuring less than the wheel radius in our drawings.
Draw Sports Cars With Sleek, Low Profiles
Sports cars challenge us with their aggressive stance and aerodynamic proportions that emphasize speed and performance. We begin with an elongated rectangle that’s approximately 3 times longer than tall, significantly lower than sedan proportions. The hood extends dramatically forward, often consuming 45-50% of the total vehicle length.
Wheel wells appear larger relative to the body, accommodating oversized tires that fill most of the wheel arch space. We draw the roofline as a sharp wedge shape, sloping dramatically from windshield to rear spoiler. Side air intakes, body creases, and aerodynamic elements break up large surface areas and add visual interest.
Door profiles sit much lower than sedan counterparts, requiring occupants to step down into the cabin rather than step up. We emphasize the wide rear haunches and aggressive front fascia angles that create the quintessential sports car attitude. Ground effects and side skirts visually connect the car to the road surface, reducing apparent ride height even further.
Master Drawing SUVs and Trucks
SUVs and trucks require us to work with vertical proportions and commanding presence that contrasts sharply with lower vehicle types. We establish a base rectangle that’s nearly square, typically 1.8 times longer than tall, creating the upright stance these vehicles are known for. The belt line sits much higher than sedans, often at the midpoint of the side profile.
Large wheel wells accommodate substantial tires, but important gap space appears between the tire and wheel arch top. We draw running boards or side steps beneath the doors, acknowledging the increased step-in height these vehicles require. Body panels appear more angular and flat compared to the curved surfaces found on sports cars.
Window areas remain proportionally smaller relative to the overall body mass, creating a more muscular appearance. We position the grille prominently and vertically oriented, often extending from the hood line down to the front bumper. Roof rails, spare tire mounts, and utility elements add functional details that distinguish these vehicles from passenger cars.
Ground clearance becomes a defining characteristic, typically measuring equal to or greater than the wheel radius in our sketches. We emphasize this clearance to convey the off-road capability and commanding road presence these vehicles possess.
Add Realistic Details to Make Your Car Drawings Stand Out
Mastering realistic details transforms basic car sketches into professional automotive illustrations that capture viewers’ attention and showcase authentic design elements.
Include Accurate Wheel and Tire Designs
Proportional wheel sizing creates the foundation for believable automotive drawings. We recommend measuring wheel diameter as roughly 25-30% of the vehicle’s total height for standard passenger cars. Sports cars typically feature larger wheels at 28-35% of vehicle height, while trucks and SUVs use proportionally smaller wheels at 20-25%.
Tire sidewall thickness varies significantly between vehicle types and affects overall appearance. Performance vehicles showcase low-profile tires with thin sidewalls, creating a sleek appearance that emphasizes the wheel design. Family sedans feature medium-profile tires with moderate sidewall height for balanced aesthetics. Trucks and off-road vehicles display high-profile tires with thick sidewalls that convey durability and capability.
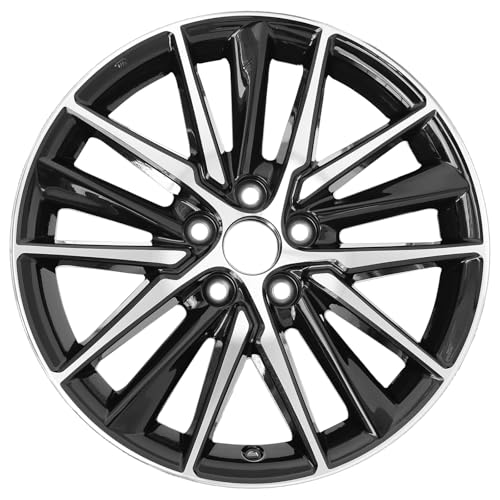
Wheel design details separate amateur sketches from professional automotive illustrations. We focus on spoke patterns, rim depth, and center caps when drawing alloy wheels. Five-spoke designs work well for sports cars, while multi-spoke patterns suit luxury sedans. Steel wheels require attention to simple geometric patterns and functional elements like lug nuts and hubcaps.
Proper shading techniques bring wheels to life through realistic depth and dimension. Light sources create highlights on the rim’s outer edge and cast shadows within the spokes. We apply darker tones to recessed areas between spokes and lighter values to raised surfaces. Tire rubber appears matte black with subtle reflected light along the sidewall’s curved surface.
Draw Convincing Windows and Reflections
Glass surfaces require understanding transparency and reflection principles for authentic automotive artwork. We observe how windshields and side windows simultaneously show interior elements and reflect external surroundings. This dual nature creates complex visual effects that challenge artists but reward careful observation and practice.
Window curvature affects reflection patterns and requires precise attention to automotive glass design. Modern vehicles feature curved windshields that create distorted reflections of sky and surrounding objects. Side windows often have slight curves that produce subtle reflection variations. We sketch these curves accurately to maintain the vehicle’s authentic proportions and character.
Interior visibility through windows adds depth and realism to car drawings. Dashboard elements, steering wheels, and seat headrests provide recognizable details that viewers expect to see. We suggest drawing these interior components with lighter line weights to maintain focus on the vehicle’s exterior while adding convincing depth.
Reflection techniques involve observing environmental elements that appear in automotive glass surfaces. Sky reflections typically occupy the upper portions of windshields and rear windows. Ground reflections appear in lower window areas and side mirrors. We study how these reflections interact with window frames and pillars to create authentic automotive artwork.
Glass tinting effects require adjusting transparency levels throughout different window areas. Front windshields remain largely clear with minimal tinting effects. Side and rear windows often feature darker tinting that reduces interior visibility while maintaining subtle reflection properties. We use graduated shading techniques to represent these tinting variations accurately.
Add Brand-Exact Elements and Styling Cues
Manufacturer grille designs serve as primary brand identification elements in automotive drawings. BMW vehicles feature distinctive kidney-shaped grilles with vertical slats or geometric patterns. Mercedes-Benz showcases large three-pointed star emblems within prominent chrome grilles. Toyota designs incorporate trapezoidal grilles with horizontal emphasis and integrated fog light housings.
Headlight shapes and configurations define brand character and vehicle personality. We study how BMW uses circular or angular LED daytime running lights, while Audi employs distinctive LED strips that create recognizable light signatures. Ford vehicles feature bold headlight designs with integrated turn signals, and Honda showcases swept-back headlight profiles that complement their aerodynamic styling.
Body line treatments reflect manufacturer design philosophies and model-exact characteristics. German manufacturers typically emphasize clean, precise lines with minimal decoration. Japanese brands often incorporate flowing curves with functional aerodynamic elements. American muscle cars feature bold character lines and aggressive surface treatments that convey power and performance.
Badge placement and emblem details require accurate positioning for authentic brand representation. Hood emblems appear at exact locations that vary by manufacturer and model year. We position these elements according to actual vehicle specifications rather than generic placement. Side badges, model designations, and trim level indicators add authenticity when placed correctly.
Wheel arch treatments and side trim elements distinguish between luxury and economy models. Premium vehicles feature body-colored or chrome wheel arch extensions that create refined appearances. Sport models showcase contrasting trim pieces and aerodynamic elements like side skirts and rear spoilers. We incorporate these manufacturer-exact details to enhance our automotive drawings’ authenticity and visual appeal.
Use Proper Shading Techniques When You Draw Cars
Proper shading transforms flat automotive sketches into three-dimensional masterpieces that capture the sleek beauty of real vehicles. We’ll explore essential techniques that bring depth and realism to your car drawings.
Apply Light Sources for Three-Dimensional Effects
Establish a single primary light source before adding any shadows to your car drawing. Position this light source consistently throughout your artwork to maintain realistic shadow patterns across the vehicle’s body panels, wheels, and details like mirrors or door handles.
Consider the direction and intensity of your chosen light source when shading different car surfaces. Top lighting creates dramatic shadows under the hood, roof overhangs, and wheel wells, while side lighting emphasizes the vehicle’s curves and body lines more effectively.
Map major shadow areas first by identifying which surfaces face away from your light source. Block in these shadow zones with medium gray tones on surfaces like the undercarriage, inside wheel wells, and areas beneath protruding elements such as spoilers or side mirrors.
Develop form shadows that follow the car’s contours to show dimensional depth. Curved surfaces like fender flares, hood bulges, and door panels require gradual tonal transitions that follow their three-dimensional shape rather than harsh linear boundaries.
Add cast shadows from protruding elements like side mirrors, door handles, and antenna mounts onto adjacent surfaces. These shadows should align with your established light direction and become softer as they move further from the object casting them.
Create Realistic Metallic and Glass Surfaces
Render metallic car paint with high contrast between light and dark areas to simulate its reflective properties. Use sharp transitions between highlights and shadows on curved metal surfaces like fenders and doors, as metal reflects light more dramatically than matte materials.
Apply environmental reflections on metallic surfaces by suggesting shapes from the car’s surroundings. Horizontal bands can represent the ground or horizon line, while vertical elements might suggest nearby buildings or trees reflected in the vehicle’s glossy finish.
Draw glass surfaces with subtle gray tones that show transparency while maintaining reflective qualities. Car windows should reveal interior elements like seats or dashboard details while simultaneously reflecting environmental elements from the appropriate viewing angle.
Blend reflections seamlessly with the glass surface underneath, ensuring that reflected elements appear slightly darker than they would in direct view. Windshields and side windows require different reflection angles based on their positioning and curvature relative to your established viewpoint.
Include chrome details with extreme contrast between pure white highlights and deep black shadows. Chrome bumpers, trim pieces, and wheel rims should show multiple small reflections that create the characteristic fragmented light patterns associated with highly polished metal surfaces.
Balance Highlights and Shadows Effectively
Place your brightest highlights on the most prominent curved surfaces that directly face your light source. These areas typically include the hood’s center ridge, door panel curves, and the upper portions of fender flares where light hits most directly.
Graduate your tonal values smoothly from highlights through midtones to shadows using at least five distinct value levels. This gradation prevents your car drawing from appearing flat while maintaining realistic light behavior across complex automotive surfaces.
Reserve pure white highlights for highly reflective elements like chrome details, headlight lenses, and the brightest reflection points on metallic paint. Overusing pure white diminishes its impact and makes your drawing appear less sophisticated.
Soften shadow edges on rounded surfaces like bumpers and wheel arches while keeping crisp edges where geometric surfaces meet. This selective edge treatment helps communicate which surfaces are curved versus angular in your automotive design.
Check your overall value distribution by squinting at your drawing to ensure shadows, midtones, and highlights are properly balanced. The darkest shadows should contain enough detail to remain interesting while your lightest areas shouldn’t lose all surface information to pure white.
Explore Digital Tools and Software to Draw Cars
Modern digital platforms offer revolutionary approaches to automotive illustration that complement traditional drawing methods. We’ll examine how digital tools can enhance your car drawing workflow and expand creative possibilities.
Compare Traditional Versus Digital Drawing Methods
Traditional pencil drawing provides tactile feedback and immediate control over line weight that many automotive artists cherish. Paper surfaces create natural texture variations that add character to sketches, while graphite pencils offer precise control over shading gradients.
Digital drawing platforms deliver unlimited undo capabilities and layer management that streamline the automotive design process. Artists can experiment with different proportions without starting over, test multiple color schemes instantly, and adjust individual elements without affecting surrounding details.
Speed advantages favor digital methods when creating concept variations and exploring different automotive designs. Traditional methods excel in developing fundamental drawing skills and understanding how light naturally interacts with three dimensional forms.
Cost considerations show traditional tools require minimal initial investment but consume materials over time. Digital setups demand higher upfront costs but eliminate ongoing supply expenses while offering infinite canvas space.
Recommend Popular Drawing Apps and Programs
Procreate dominates iPad drawing with intuitive automotive brush sets and pressure sensitive stylus support. Artists appreciate its streamlined interface and built-in time lapse recording features that document the entire drawing process.
Adobe Photoshop remains the industry standard for professional automotive illustration with comprehensive layer management and advanced selection tools. Its extensive brush library and custom brush creation capabilities suit detailed car rendering perfectly.
Clip Studio Paint provides specialized comic and illustration tools that work excellently for stylized automotive art. Artists benefit from its superior line stabilization and perspective ruler features when drawing complex vehicle angles.
Adobe Fresco combines vector and raster capabilities in one platform, allowing artists to switch between precise technical drawing and organic sketching seamlessly. Its cloud sync ensures automotive projects stay accessible across all devices.
Sketchbook offers professional grade tools with an intuitive interface that mimics traditional drawing experiences. Automotive artists value its responsive brush engine and customizable workspace layouts.
| Software | Platform | Price Range | Best For |
|---|---|---|---|
| Procreate | iPad | $12.99 one-time | Portable sketching |
| Photoshop | Desktop/Mobile | $20.99/month | Professional rendering |
| Clip Studio Paint | Desktop/Mobile | $4.49/month | Detailed illustration |
| Fresco | Desktop/Mobile | Free/Premium | Mixed media artwork |
| Sketchbook | All platforms | Free/Premium | Natural drawing feel |
Use Digital Brushes and Textures
Automotive exact brush sets simulate different drawing tools perfectly, from technical pencils to charcoal sticks. Hard edge brushes create crisp panel lines and sharp automotive details, while soft brushes blend shadows smoothly across curved car surfaces.
Texture overlays add realistic surface qualities to digital car drawings without manual rendering time. Carbon fiber patterns, leather grain, and metal scratches apply instantly as separate layers, allowing easy adjustment and removal.
Custom brush creation lets artists develop signature automotive rendering styles by combining opacity settings, pressure curves, and texture stamps. Tire tread brushes, chrome reflection brushes, and headlight flare brushes speed up repetitive detail work significantly.
Blending modes enhance automotive materials by simulating how light interacts with different surfaces. Multiply mode deepens shadows in wheel wells, while Screen mode brightens chrome reflections and glass highlights naturally.
Layer organization keeps automotive projects manageable by separating line work, base colors, shadows, and highlights into distinct editable layers. Artists can adjust individual car components without affecting surrounding elements, enabling quick design iterations and professional workflow efficiency.
Avoid Common Mistakes When Learning to Draw Cars
Drawing cars becomes significantly easier when we identify and correct the most frequent errors that can derail our artistic progress. Recognizing these common pitfalls helps us develop stronger fundamental skills from the start.
Fix Proportion Issues in Your Vehicle Drawings
Proportion errors create the most noticeable problems in automotive sketches, often making vehicles appear distorted or unrealistic. We frequently see beginners drawing wheels that are too small relative to the car body, typically making them about 1/6 of the vehicle’s height instead of the correct 1/4 to 1/3 ratio. Sports cars require larger wheel proportions compared to sedans, while SUVs need proportionally smaller wheels to maintain their commanding presence.
Body length mistakes occur when we make cars either too stretched or too compressed for their intended style. Sedans should maintain a wheelbase that’s roughly 60% of the total vehicle length, while sports cars can stretch this to 65% for their aggressive stance. SUVs typically use shorter wheelbases at about 55% to emphasize their upright proportions.
Window height represents another critical proportion that we must get right for authentic-looking vehicles. Glass areas should occupy approximately 25-30% of the vehicle’s total height in most passenger cars, with sports cars using slightly less and SUVs maintaining taller greenhouse proportions. Measuring these relationships against our reference photos helps maintain accuracy throughout the drawing process.
Hood and trunk lengths need careful attention to avoid creating vehicles that look front-heavy or rear-heavy. Balance these elements by making the hood slightly longer than the trunk in most passenger cars, while sports cars can have dramatically longer hoods to house their powerful engines.
Correct Perspective Problems That Look Unnatural
Perspective mistakes create drawings that appear flat or dimensionally incorrect, breaking the illusion of three-dimensional form. We often see artists mixing different perspective views within the same drawing, such as combining a front view grille with a side view body, which creates visual confusion and unrealistic results.
Vanishing point errors occur when we place our horizon line too high or too low for the intended viewing angle. Ground-level perspectives require vanishing points near the bottom of our composition, while elevated views need higher horizon lines to show the vehicle’s roof and upper surfaces correctly. Maintaining consistent vanishing points throughout the entire drawing ensures all elements appear to exist in the same dimensional space.
Foreshortening problems arise when we don’t compress elements that recede into the distance. Front and rear bumpers should appear narrower when viewed at three-quarter angles, while the far side of the vehicle needs to be proportionally smaller than the near side. Practice drawing basic boxes in perspective before attempting complex automotive forms to build this fundamental skill.
Wheel perspective creates particular challenges because circles become ellipses when viewed at angles. Far wheels appear narrower and higher than near wheels, while maintaining the same basic proportional relationship to the vehicle body. Drawing construction lines through wheel centers helps maintain proper alignment and perspective consistency.
Improve Wheel Placement and Alignment
Wheel positioning errors can make even well-proportioned vehicles look unstable or unnatural in our drawings. We commonly see wheels placed too far inward, creating narrow track widths that make cars appear toy-like rather than substantial and roadworthy. Sports cars need wider track widths to convey their performance capabilities, while economy cars use narrower spacing for efficiency.
Suspension geometry affects how wheels contact the ground, and we must show slight negative camber angles where wheels tilt inward at the top. This subtle detail makes vehicles appear properly planted on the road surface rather than sitting awkwardly on their tires. Racing vehicles can show more dramatic camber angles, while luxury sedans maintain nearly vertical wheel alignment.
Ground clearance mistakes occur when we place vehicles too high or too low relative to their wheels. Sports cars should nearly touch the ground with minimal clearance visible beneath the body, while SUVs need substantial clearance to convey their off-road capabilities. Maintaining consistent ground plane references helps achieve realistic stance relationships.
Wheel alignment within each drawing requires careful attention to ensure all wheels point in the same direction and maintain parallel relationships. Construction guidelines drawn through wheel centers help verify proper alignment, while slight toe-in angles can add realism to parked vehicles. Never draw wheels at different angles unless specifically depicting turning or parking situations.
Develop Your Personal Style for Drawing Cars
Developing your personal style transforms your automotive artwork from technical exercises into distinctive artistic expressions. We’ll explore how to cultivate your unique approach while building upon the fundamental techniques you’ve already mastered.
Experiment With Different Artistic Approaches
Try multiple rendering techniques to discover what resonates with your artistic vision. Photorealistic drawings showcase intricate details and precise proportions, while stylized interpretations emphasize design elements through exaggeration and simplification. Sketch loose, gestural lines to capture automotive energy, or create tight, controlled illustrations that highlight technical precision.
Mix traditional and digital methods for versatile artistic outcomes. Pencil sketches provide organic textures and natural shading variations, whereas digital tools offer precise line control and unlimited color possibilities. Watercolor techniques create atmospheric effects around vehicles, while marker illustrations produce bold, graphic representations with vibrant saturation.
Explore different line weights throughout your compositions to establish visual hierarchy. Thick outlines define major body panels and structural elements, while thin lines detail interior components and surface textures. Vary your stroke pressure to create ever-changing contrast between aggressive sports car angles and flowing luxury sedan curves.
Develop unique color palettes that reflect your artistic personality. Monochromatic schemes emphasize form and shadow relationships, while complementary colors create dramatic visual tension between vehicles and backgrounds. Earth tones suggest classic automotive elegance, whereas bright, saturated hues convey modern performance aesthetics.
Find Inspiration From Professional Car Illustrators
Study contemporary automotive artists whose work demonstrates exceptional skill and creative vision. Scott Robertson’s technical illustrations showcase precise perspective construction and industrial design principles. Chip Foose combines traditional hot rod aesthetics with modern rendering techniques, creating distinctive custom vehicle concepts that blend heritage and innovation.
Analyze classic car illustration masters who established foundational automotive art principles. Syd Mead’s futuristic vehicle concepts influenced generations of designers with their innovative proportions and technological details. Peter Helck’s vintage racing illustrations capture automotive drama through ever-changing compositions and atmospheric lighting effects.
Follow digital automotive artists on social media platforms to observe contemporary techniques and trends. Instagram and ArtStation feature thousands of professional car illustrators sharing process videos, time-lapse demonstrations, and finished artwork. These platforms provide real-time insight into current industry standards and emerging artistic approaches.
Attend automotive art exhibitions and car shows where original illustrations are displayed alongside actual vehicles. Pebble Beach Concours d’Elegance features commissioned artwork from renowned automotive illustrators, while SEMA Show displays custom vehicle concepts that inspire creative interpretation. These events connect artistic vision with automotive reality.
Create a Consistent Drawing Process
Establish your personal workflow that maintains quality while accommodating creative exploration. Begin each drawing session with thumbnail sketches to explore composition options and establish vehicle proportions. Develop detailed reference sheets for recurring design elements like wheel styles, grille patterns, and body line treatments that appear frequently in your work.
Document your artistic decisions throughout each drawing to identify successful techniques. Record lighting setups that produce compelling shadow patterns, note color combinations that enhance vehicle presence, and track rendering methods that achieve desired surface textures. This documentation becomes your personal style guide for future projects.
Set consistent quality standards for line weight, proportion accuracy, and detail complexity across your automotive portfolio. Maintain similar levels of finish between sketches to create cohesive body of work that represents your artistic capabilities. Balance technical accuracy with creative interpretation to develop recognizable artistic voice.
Practice regularly with focused exercises that reinforce your developing style preferences. Dedicate weekly sessions to exact techniques like chrome reflections, tire tread patterns, or background integration methods. Consistent practice builds muscle memory for your preferred artistic approaches while refining technical execution.
Conclusion
Drawing cars opens up a industry of artistic possibilities that combines technical precision with creative expression. We’ve covered everything from basic geometric foundations to advanced shading techniques that bring automotive sketches to life.
The journey from simple shapes to detailed illustrations requires patience and consistent practice. By mastering proportions perspective and realistic details you’ll develop the skills needed to capture any vehicle’s unique character and design DNA.
Remember that developing your personal artistic style takes time and experimentation. Whether you’re sketching classic muscle cars or futuristic concept vehicles the techniques we’ve shared will serve as your foundation for creating compelling automotive artwork that stands out from the crowd.
Frequently Asked Questions
What are the basic shapes needed to start drawing cars?
The three fundamental shapes for drawing cars are rectangles, circles, and triangles. Rectangles form the main body structure with specific proportions for different car types. Circles are used for wheel placement and curved body elements, while triangles add precision for details like windows, headlights, and taillights. This geometric foundation makes car drawing accessible to beginners.
How important are proportions when drawing cars?
Proportions are crucial for creating realistic car drawings. Different vehicle types have unique proportional relationships – sports cars feature low, wide rectangles while SUVs use taller proportions. Key measurements include wheelbase length, hood proportions, and window heights. Understanding these relationships helps create balanced, authentic-looking automotive sketches that capture each vehicle’s character.
What’s the best view to start with when learning to draw cars?
The side profile view is ideal for beginners as it offers the clearest perspective for understanding automotive proportions and design elements. This view allows you to focus on the relationship between components like wheels, body length, and window placement without the complexity of perspective distortion found in front or rear views.
How can I improve the line quality in my car drawings?
Focus on confident strokes, varying line weights, and creating smooth curves. Use heavier lines for outer contours and lighter lines for details. Maintain smooth flow at intersections except at intentional design points where sharp transitions add character. Practice consistent line work to achieve professional-looking automotive sketches.
What shading techniques work best for drawing cars?
Establish a primary light source first, then map major shadow areas and develop form shadows. Use high contrast for metallic surfaces and subtle gray tones for glass. Balance highlights and shadows effectively, paying special attention to chrome reflections and transparent elements like windows to create three-dimensional depth in your drawings.
How should I use reference photos for car drawings?
Build a comprehensive reference library by taking photos from multiple angles and organizing them by vehicle type and manufacturer. Study real cars to understand how light affects different surfaces and analyze unique design elements of various brands. This systematic approach to reference gathering enhances observational skills and artistic understanding.
What details should I focus on to make my car drawings more realistic?
Pay attention to accurate wheel and tire proportions, convincing window reflections, and brand-specific elements like grille designs and headlight shapes. Include functional details like door handles, side mirrors, and body lines. These authentic touches elevate basic sketches to professional-looking illustrations that capture the vehicle’s true character.
How can I develop my own artistic style for drawing cars?
Experiment with various rendering techniques, mixing traditional and digital methods. Try different line weights, color palettes, and study professional car illustrators for inspiration. Create a consistent drawing process with thumbnail sketches and reference sheets. Regular practice with focused exercises helps build muscle memory and develop your unique artistic voice.

