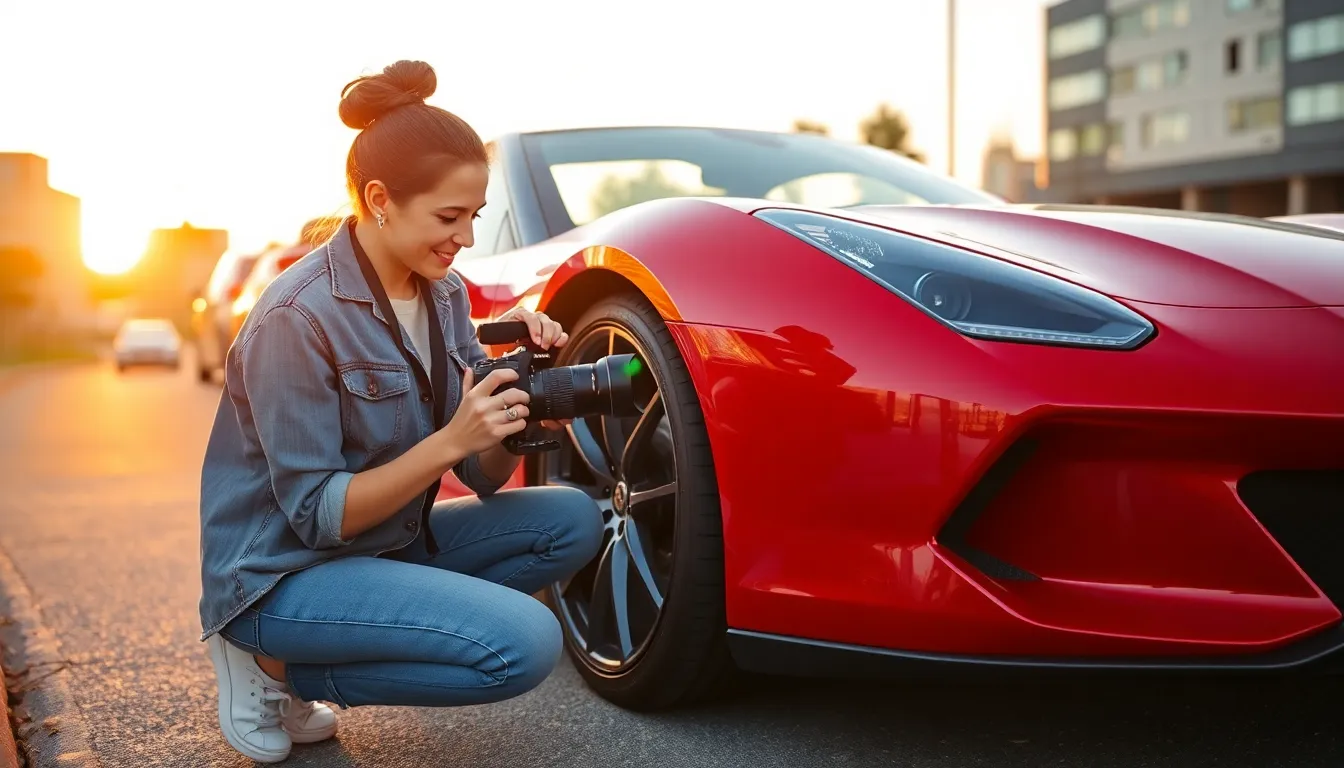
Car photography transforms ordinary vehicles into stunning works of art that capture both power and elegance. Whether you’re showcasing a vintage classic or the latest sports car we’ll help you master the techniques that make automotive photography truly shine.
Professional car photoshoots require more than just pointing and shooting. We’ve discovered that the right combination of lighting angles and composition can turn any vehicle into a magazine-worthy masterpiece. From dramatic shadow play to capturing those perfect reflection details every element matters when you’re creating automotive imagery that stops viewers in their tracks.
The automotive photography industry continues to evolve with new techniques and technologies emerging constantly. We’re excited to share the insider secrets that professional photographers use to create those breathtaking shots you see in high-end car magazines and advertisements.
Choose the Perfect Location for Your Cars Photoshoot
Building on those professional techniques we’ve explored, location selection serves as the foundation that can make or break your automotive photography session.
Urban Settings and City Backdrops
Urban environments offer endless possibilities for creating ever-changing automotive photography that captures modern sophistication. We find that city streets provide natural leading lines through architectural elements like buildings, bridges, and roadways that draw the viewer’s eye directly to your vehicle. Downtown areas deliver impressive backdrops with glass skyscrapers, historic buildings, and contemporary structures that complement both classic and modern car designs.
Parking garages work exceptionally well for controlled lighting conditions while maintaining that urban aesthetic. Rooftop locations provide elevated perspectives with city skylines creating stunning background elements. Industrial districts feature clean lines and geometric patterns that enhance the mechanical beauty of your subject vehicle.
Time of day dramatically impacts urban photography results. Golden hour shooting (one hour after sunrise or before sunset) bathes city scenes in warm light that softens harsh architectural edges. Blue hour sessions capture illuminated buildings and street lights that create magical atmospheric effects around your car.
Natural Landscapes and Scenic Routes
Natural settings create emotional connections between vehicles and the freedom they represent in automotive photography. We recommend scouting mountain roads, coastal highways, and forest paths that showcase cars in their intended environment. Desert landscapes provide minimal distractions with clean horizons that emphasize vehicle silhouettes against dramatic skies.
Winding mountain roads offer multiple elevation changes and curve compositions that suggest movement and adventure. Beach locations create reflective surfaces in wet sand while ocean backdrops provide infinite depth of field. Forest clearings deliver dappled lighting through tree canopies that adds organic texture to your automotive shots.
Weather conditions transform natural locations completely. Misty mornings create mysterious atmospheres that work beautifully with luxury vehicles. Storm clouds add drama and tension that complement sports cars and performance vehicles. Fresh snow provides high contrast backgrounds that make colorful cars pop dramatically.
Industrial and Warehouse Environments
Industrial locations deliver raw authenticity that emphasizes the mechanical nature of automotive subjects in photography. We use empty warehouses, abandoned factories, and construction sites that provide controlled environments with interesting architectural details. These spaces offer consistent lighting conditions while protecting expensive vehicles from weather elements.
Concrete surfaces create clean reflections that double visual impact without competing background elements. Steel framework structures provide geometric patterns that echo automotive engineering details. Loading dock areas offer multiple shooting angles with interesting depth perspectives through doorways and elevated platforms.
Lighting control becomes crucial in industrial environments. Large windows provide soft natural illumination that wraps around vehicle curves beautifully. Artificial lighting from overhead fixtures creates dramatic shadows that enhance automotive form and surface details. Empty spaces allow us to position external lighting equipment precisely for professional results.
Plan Your Cars Photoshoot Timing and Lighting
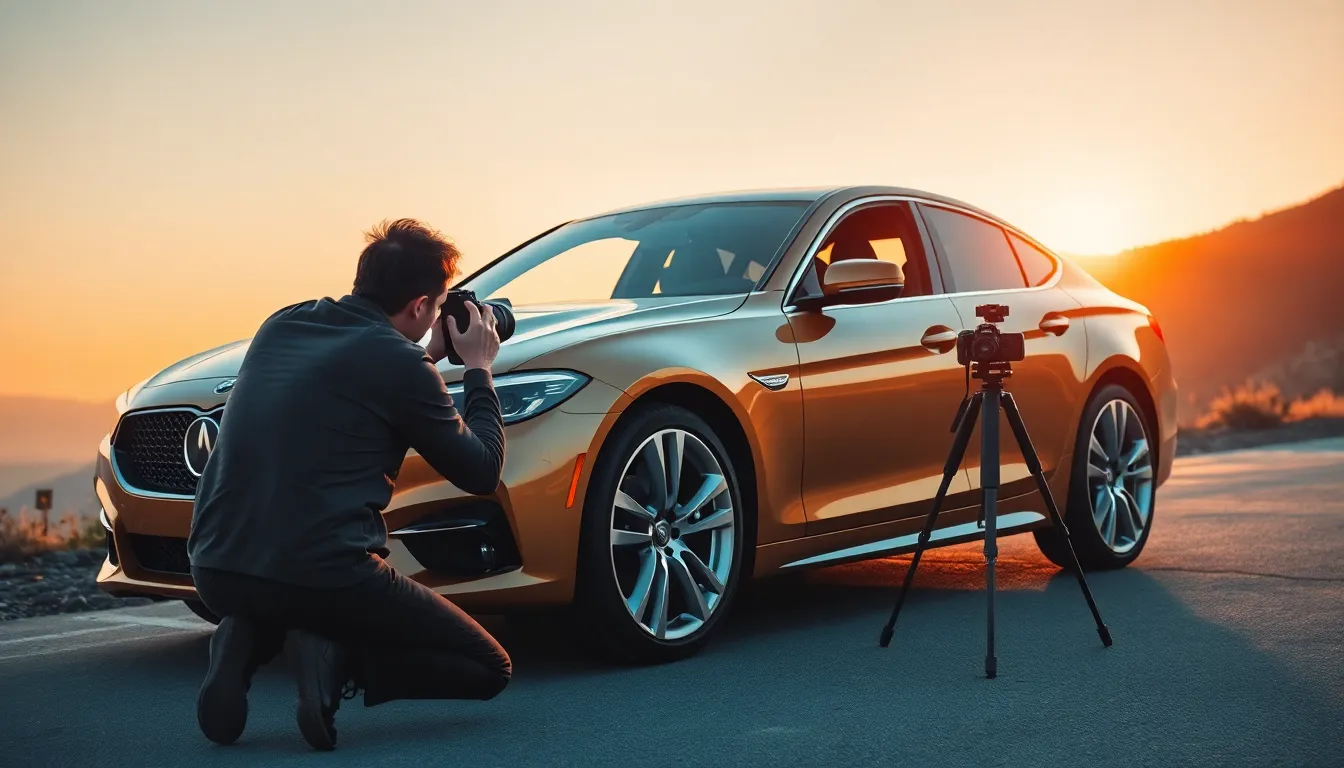
Timing transforms car photography from amateur snapshots into professional masterpieces. We’ll explore how different lighting conditions create distinct moods and enhance your vehicle’s best features.
Golden Hour Photography Benefits
Golden hour delivers the most flattering natural light for automotive photography. We capture vehicles 30-60 minutes before sunset when warm, soft light eliminates harsh shadows and creates even illumination across every surface.
Cars photographed during golden hour showcase enhanced paint depth and metallic finishes. We position vehicles to catch side lighting that accentuates body lines, chrome details, and wheel designs while maintaining natural color accuracy.
Professional photographers schedule golden hour sessions because this lighting reduces contrast ratios naturally. We avoid the need for extensive fill lighting or reflectors since the sun sits low on the horizon and creates beautiful rim lighting around vehicle edges.
Weather conditions during golden hour often provide still air and stable atmospheric conditions. We benefit from consistent lighting that lasts approximately 20-30 minutes, giving us sufficient time to capture multiple angles and compositions without dramatic lighting changes.
Blue Hour and Night Photography
Blue hour occurs 20-30 minutes after sunset when the sky maintains deep blue tones. We use this timing to photograph cars with artificial lighting elements like headlights, interior illumination, and surrounding city lights.
Night photography allows us to control every light source in our composition. We bring portable LED panels, strobes, and continuous lighting to sculpt dramatic shadows and highlights that emphasize automotive design elements.
Cars photographed at night require longer exposures and tripod stability. We typically shoot at ISO 400-800 with apertures between f/8-f/11 to maintain sharp focus across the entire vehicle while capturing ambient light sources.
Light painting techniques work exceptionally well during blue hour sessions. We use flashlights or LED wands to selectively illuminate exact car sections while keeping the camera shutter open for 15-30 seconds.
Overcast Day Advantages
Overcast skies create natural softbox lighting that eliminates harsh shadows completely. We photograph cars on cloudy days when even illumination reveals every design detail without the contrast challenges of direct sunlight.
Color saturation appears more vibrant under overcast conditions because scattered light reduces glare and hot spots. We capture paint colors more accurately since the diffused lighting doesn’t create the warm color cast associated with golden hour photography.
Reflective surfaces benefit tremendously from overcast lighting conditions. We photograph chrome bumpers, mirrors, and glass surfaces without dealing with blown out reflections or distracting bright spots that typically occur in direct sunlight.
Professional studios replicate overcast conditions using large diffusion panels. We achieve similar results naturally by scheduling outdoor shoots during cloudy weather when the entire sky acts as a massive light modifier for our automotive subjects.
Select Essential Equipment for Professional Cars Photoshoot
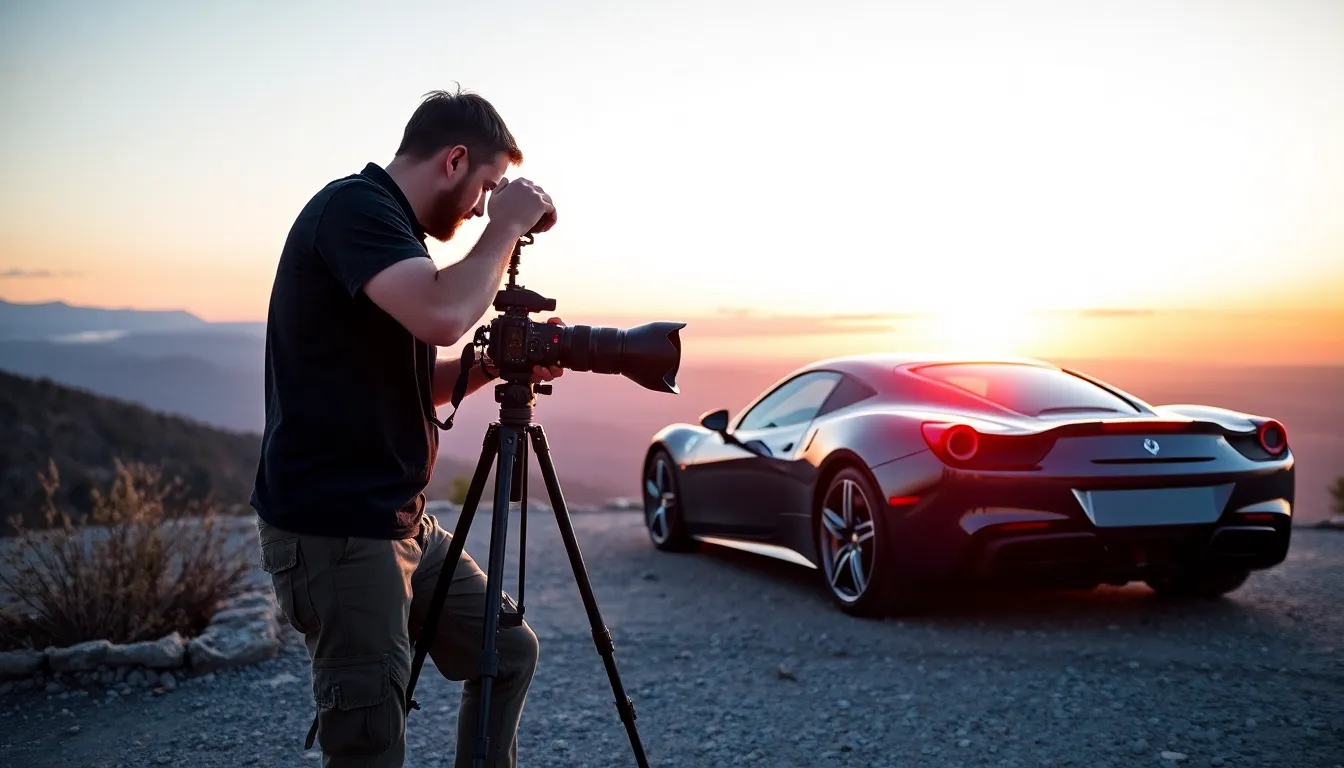
Professional car photography demands the right gear to capture stunning automotive imagery. We’ll explore the essential equipment that transforms ordinary shots into magazine worthy masterpieces.
Camera and Lens Recommendations
Full frame cameras deliver the best results for automotive photography because they capture more light and provide superior ever-changing range. We recommend using cameras with at least 24 megapixels for sharp detail reproduction and professional quality prints.
Wide angle lenses between 14mm and 24mm excel at capturing the entire vehicle while emphasizing its proportions and presence. These lenses create dramatic perspectives that make cars appear more imposing and visually striking against their backgrounds.
Standard zoom lenses from 24mm to 70mm offer versatility for detail shots and medium range compositions. You’ll find these lenses perfect for capturing interior elements, wheel details, and three quarter vehicle angles without distortion.
Telephoto lenses ranging from 85mm to 200mm compress backgrounds and isolate vehicles from distracting elements. These lenses create beautiful bokeh effects that make cars stand out dramatically from their surroundings.
Prime lenses like 50mm or 85mm provide exceptional sharpness and wider apertures for creative depth of field control. We use these lenses when shooting detail shots of badges, headlights, and interior craftsmanship.
Tripods and Stabilization Tools
Carbon fiber tripods provide the stability needed for sharp images while remaining lightweight for location changes. We choose tripods with adjustable leg angles and reversible center columns for low angle shots that emphasize a car’s aggressive stance.
Ball heads offer quick positioning and smooth adjustments when composing automotive shots from various angles. Look for heads that can support at least twice your camera and lens weight for maximum stability during long exposure photography.
Slider systems create smooth horizontal camera movements that add cinematic quality to car photography. These tools work exceptionally well for revealing shots that gradually expose different aspects of the vehicle’s design.
Remote shutter releases eliminate camera shake during long exposures and allow precise timing control. We use wireless triggers when shooting multiple angles or when working with moving vehicles to capture the perfect moment.
Gimbal stabilizers enable smooth handheld shots when walking around vehicles or capturing ever-changing angles. These tools prove invaluable for creating flowing movements that showcase a car’s curves and design elements.
Lighting Equipment and Reflectors
Softbox lighting systems provide controlled, even illumination that eliminates harsh shadows and reveals paint depth. We position large softboxes at 45 degree angles to create dimensional lighting that enhances the vehicle’s form and surface textures.
LED panel lights offer consistent color temperature and adjustable intensity for filling shadows and highlighting exact areas. These portable units work perfectly for illuminating dark wheel wells, grilles, and interior spaces without overwhelming the natural ambient light.
Reflector panels redirect existing light to fill shadow areas and create even exposure across the entire vehicle. Silver reflectors provide bright, crisp light while gold reflectors add warmth that complements metallic paint finishes beautifully.
Flag panels and diffusion materials control harsh sunlight and create soft, professional looking illumination. We use these tools to block direct sunlight from creating unwanted glare on windshields and painted surfaces.
Light stands and boom arms position lighting equipment precisely where needed without cluttering the shooting area. Adjustable stands with wheels make repositioning lights quick and effortless during extended photoshoots.
Colored gels transform plain lighting into creative accents that complement or contrast with vehicle colors. These inexpensive filters add dramatic flair and help separate cars from their backgrounds through strategic color placement.
Master Key Photography Techniques for Cars Photoshoot
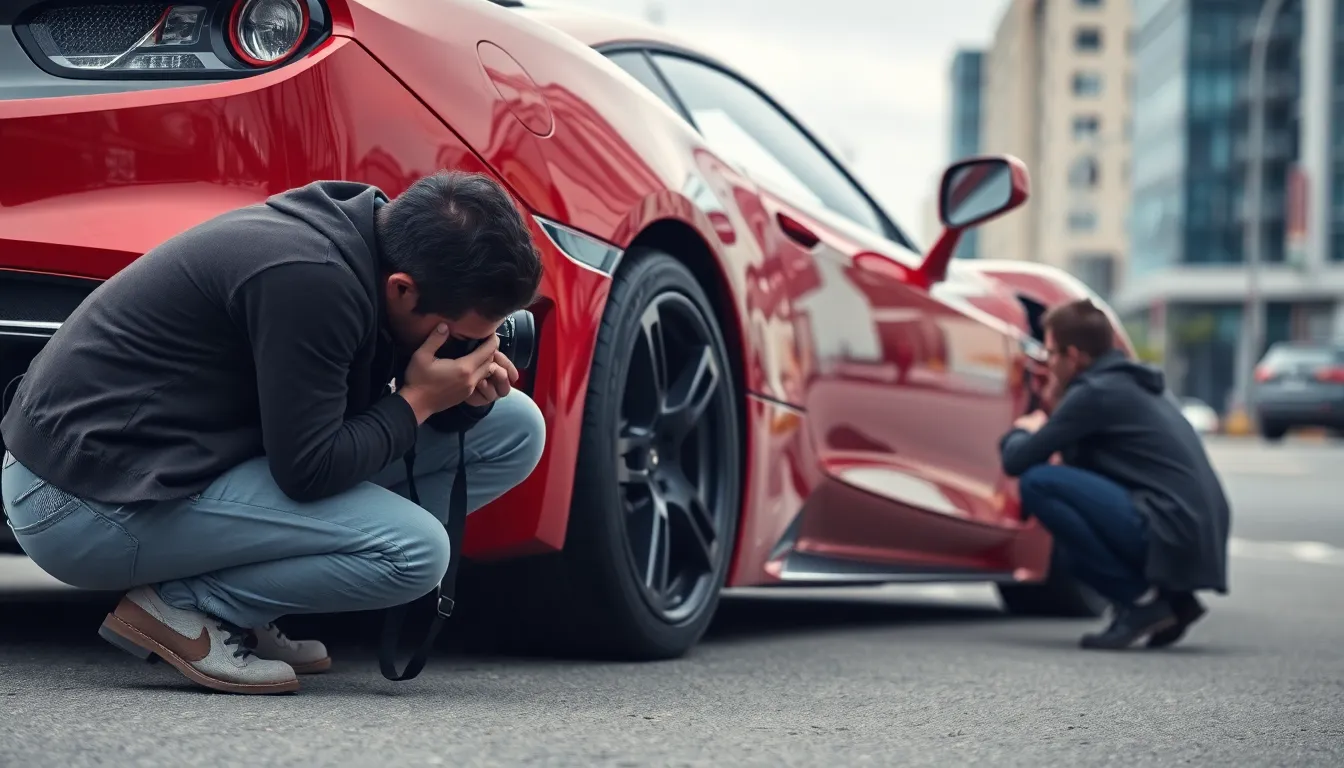
Mastering exact photography techniques transforms ordinary car shots into professional automotive imagery. These fundamental methods help us create compelling compositions that showcase vehicles with maximum visual impact.
Composition Rules and Framing
Rule of thirds placement creates ever-changing balance by positioning cars along intersecting grid lines rather than centering them in the frame. We place the vehicle’s prominent features like grilles or headlights at these intersection points to draw viewer attention naturally.
Leading lines guide the eye toward our automotive subject using road markings, guardrails, or architectural elements. These directional elements create depth and emphasize the car’s presence within the environment.
Symmetrical framing works exceptionally well for luxury vehicles and classic cars where perfect balance enhances their elegant design. We position the car centrally when shooting head-on views or capturing reflective surfaces like showroom floors.
Negative space utilization allows the vehicle to breathe within the composition while emphasizing its proportions. This technique proves particularly effective when showcasing sleek sports cars against minimalist backdrops.
Foreground elements add layers to our automotive compositions by including objects like grass, rocks, or urban details. These elements create three-dimensional depth that makes flat images appear more captivating and realistic.
Angle Selection and Perspective
Low angle shots make vehicles appear more imposing and powerful by shooting from ground level or below the car’s centerline. This perspective emphasizes wheel wells, aggressive front splitters, and muscular body lines that define performance vehicles.
Three-quarter front angles capture both the car’s face and profile simultaneously, showing design details from headlights to side character lines. We typically shoot from 45 degrees to reveal the vehicle’s personality while maintaining proportional accuracy.
High angle perspectives work best for convertibles, trucks, and vehicles with distinctive roof designs or interior features. These elevated viewpoints showcase elements invisible from standard eye level positions.
Profile shots highlight the vehicle’s silhouette and proportional relationships between different body sections. We maintain perfect perpendicular positioning to avoid distortion while emphasizing the car’s designed stance.
Detail angles focus on exact automotive elements like badges, wheel designs, exhaust systems, or interior craftsmanship. These close-up perspectives tell the complete story of automotive engineering and luxury materials.
Focus Stacking and Depth of Field
Focus stacking technique combines multiple images shot at different focus points to achieve sharp detail throughout the entire vehicle. We capture 5-8 shots starting from the front bumper and ending at the rear, then blend them using specialized software.
Shallow depth of field isolates vehicles from busy backgrounds by using apertures between f/1.4 and f/2.8. This technique draws attention to exact car elements while creating pleasing background blur that eliminates distractions.
Deep depth of field ensures the entire vehicle remains sharp when environmental context matters to the composition. We use apertures from f/8 to f/11 to maintain crisp detail from foreground elements to background scenery.
Hyperfocal distance calculations maximize sharpness across the frame by focusing at the optimal point where everything from half that distance to infinity appears acceptably sharp. This technique proves invaluable for industry automotive photography.
Selective focus areas highlight exact vehicle features like headlight details, steering wheels, or engine components by keeping surrounding elements softly blurred. We achieve this effect through careful aperture selection and precise focus point placement.
Prepare Your Vehicle Before the Cars Photoshoot
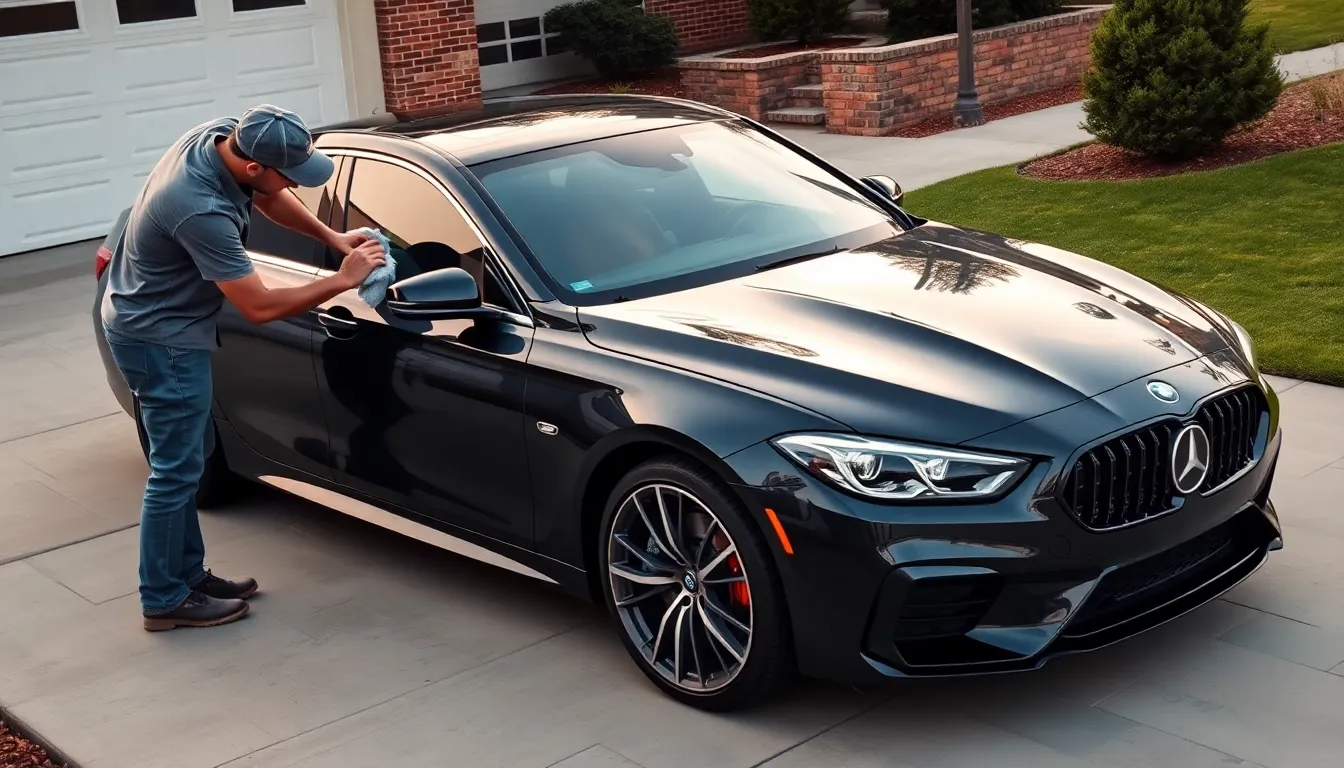
Proper vehicle preparation sets the foundation for exceptional automotive photography results. We’ve learned that meticulous attention to detail during the preparation phase directly impacts the final image quality and professional appearance of our shots.
Cleaning and Detailing Requirements
Washing starts our vehicle preparation process by removing surface dirt, dust, and debris that cameras capture in high resolution. We recommend completing this step 2-3 hours before the photoshoot to allow proper drying time and prevent water spots from forming on the paint surface.
Polishing enhances paint depth and reflective qualities that make vehicles appear more vibrant in photographs. Clay bar treatment removes embedded contaminants that washing alone cannot eliminate, creating a smooth surface that reflects light evenly across all panels.
Tire shine application transforms rubber surfaces from dull black to rich, glossy finishes that complement the overall vehicle appearance. We apply tire shine products 30-45 minutes before shooting to ensure even coverage without excess product that attracts dust and debris.
Chrome and metal trim require specialized attention using dedicated polish products that remove oxidation and restore brilliant shine. Exhaust tips, door handles, and decorative elements significantly impact the overall vehicle presentation when properly maintained.
Glass cleaning eliminates streaks and spots that become highly visible under professional lighting conditions. We use ammonia-free products on tinted windows to prevent damage and ensure crystal-clear visibility through all glass surfaces.
Interior Setup and Staging
Seat positioning creates visual appeal by adjusting driver and passenger seats to showcase interior design elements effectively. We position seats slightly back from their forward-most position to reveal more cabin space and create better proportional relationships.
Dashboard preparation involves removing all personal items including air fresheners, phone mounts, and loose change that distract from the vehicle’s design features. Clean dashboard surfaces reflect studio lighting properly and maintain the professional appearance we’re targeting.
Floor mat alignment ensures geometric consistency throughout the interior shots by positioning mats parallel to seat tracks and door sills. Vacuum all carpet areas and leather surfaces to remove crumbs, pet hair, and dust particles that cameras capture in detail shots.
Steering wheel positioning affects composition balance when we photograph interior angles that include the cockpit area. Center the steering wheel and ensure gear selectors rest in park or neutral positions for clean, organized appearances.
Climate control settings prevent fogging on interior glass surfaces during extended shooting sessions. We set air conditioning to recirculate mode and adjust temperature controls to minimize condensation that forms on windows and mirrors.
Removing Distracting Elements
License plates require attention depending on our photoshoot goals and client privacy requirements. We either clean existing plates thoroughly or replace them with dealer plates or custom options that complement the vehicle’s overall aesthetic.
Temporary removal of dealer decals and stickers creates cleaner body lines and prevents branding conflicts in commercial photography work. Heat guns or hair dryers soften adhesive backing for easier removal without damaging paint surfaces.
Antenna positioning minimizes visual interruptions in profile shots by retracting power antennas or adjusting fixed antennas to their lowest profile positions. Shark fin antennas typically remain in place as they’re integral design elements.
Door handle and mirror adjustments ensure symmetrical appearance across both vehicle sides during preparation. We position mirrors to match each other exactly and verify that door handles sit flush against body panels.
Fuel door and charging port covers should remain closed and flush with body surfaces to maintain clean lines throughout exterior photography. Check that these elements align properly with surrounding panels and don’t protrude visibly from the vehicle’s silhouette.
Execute Creative Shot Types During Your Cars Photoshoot
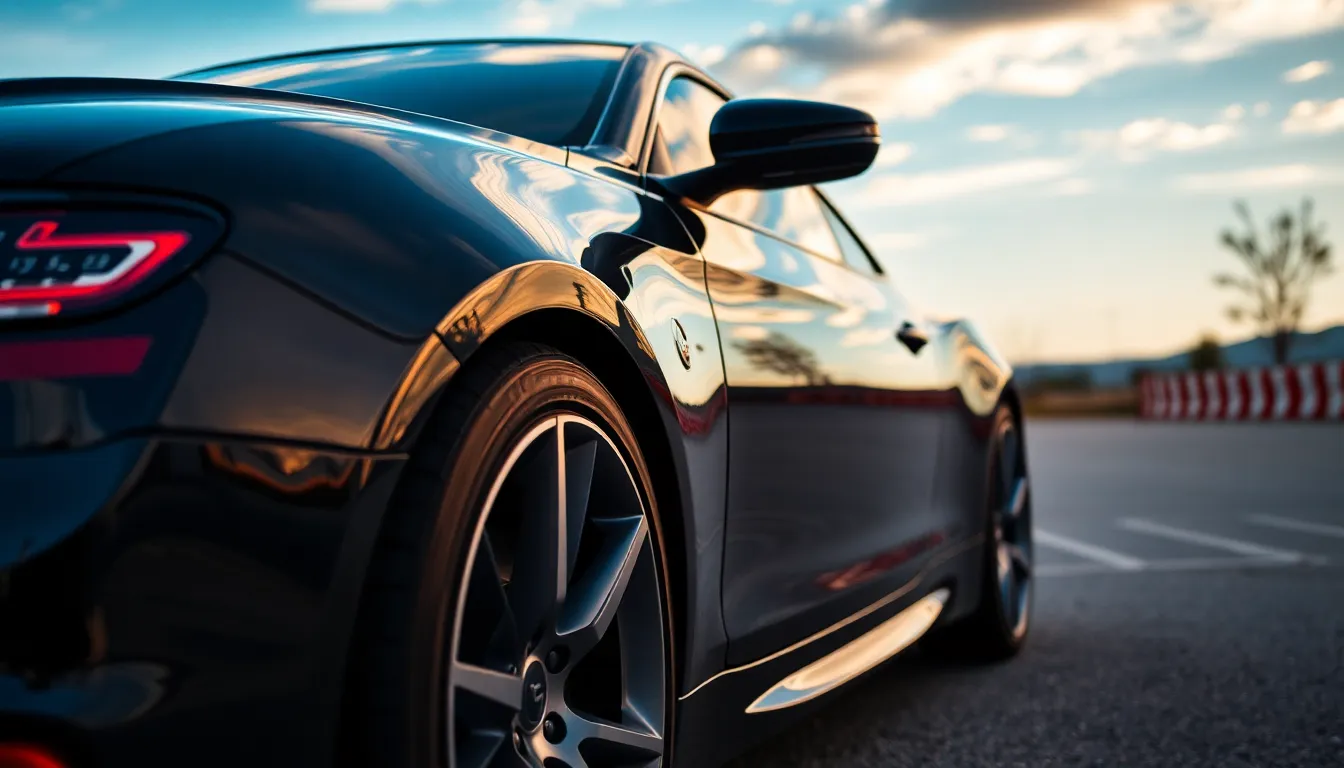
Now that we’ve prepared our vehicle and established optimal lighting conditions, it’s time to explore the diverse range of shot types that will transform our automotive photography portfolio.
Static Beauty Shots and Details
Full vehicle glamour shots form the cornerstone of professional automotive photography, requiring precise positioning to showcase the car’s most appealing angles. We recommend starting with three-quarter front views that display both the vehicle’s face and profile simultaneously, creating depth and dimension in our composition. Low angle perspectives from approximately 2-3 feet above ground level emphasize the vehicle’s stance and presence on the road.
Close-up detail photography captures the intricate craftsmanship that makes each vehicle unique, focusing on elements like headlight assemblies, grille textures, and wheel designs. We use macro lenses or close-focusing capabilities to isolate exact features such as badge emblems, carbon fiber patterns, or leather stitching details. These shots work exceptionally well when we fill the frame completely with the chosen detail, eliminating any distracting background elements.
Paint and reflection work demands careful attention to lighting angles and surface preparation to achieve that coveted mirror-like finish appearance. We position our lights or use natural reflections to create smooth gradients across the vehicle’s curves while avoiding harsh hotspots. Polarizing filters help us control reflections and enhance paint depth, particularly effective on metallic and pearl finishes that change appearance based on viewing angles.
Motion and Panning Techniques
Panning shots create ever-changing movement blur that conveys speed and energy, typically achieved using shutter speeds between 1/15th and 1/60th of a second depending on vehicle velocity. We follow the car’s movement with our camera while maintaining sharp focus on the vehicle itself, resulting in a crisp subject against a streaked background. Practice sessions in safe environments help us perfect the smooth tracking motion essential for professional results.
Rolling shots require coordination between photographer and driver to capture vehicles in motion from another moving vehicle, creating dramatic perspectives impossible to achieve from stationary positions. We recommend using vehicles with large windows or open beds for shooting platforms, maintaining safe distances of 20-30 feet while both vehicles travel at consistent speeds. Shutter speeds around 1/125th to 1/250th of a second typically freeze the vehicle while allowing some wheel rotation blur.
Rig photography involves mounting cameras directly to vehicles using specialized equipment, capturing unique perspectives from angles that showcase the driving experience. We secure cameras to various mounting points such as side panels, hoods, or rear bumpers to achieve shots that place viewers directly alongside or beneath the moving vehicle. Safety considerations require thorough equipment checks and controlled environment testing before attempting these advanced techniques.
Interior and Dashboard Photography
Dashboard and instrument cluster shots highlight the technological sophistication and design elements that define modern automotive interiors, requiring exact lighting to avoid harsh reflections on glossy surfaces. We use diffused lighting sources positioned at angles that illuminate gauges and controls evenly while preventing glare that can obscure important details. Multiple exposures often prove necessary to balance the bright instrument lighting with darker interior surfaces.
Steering wheel and driver perspective views create immersive shots that help viewers imagine themselves behind the wheel, typically captured from the driver’s seat looking forward or slightly angled toward the steering wheel. We ensure the steering wheel remains perfectly centered in our composition while including elements like the gear shifter, center console, or pedals to provide context. Clean interior surfaces and properly adjusted seat positions contribute significantly to the professional appearance of these shots.
Seat and upholstery detail photography showcases the luxury and craftsmanship of interior materials, focusing on leather textures, stitching patterns, and seat bolster designs that define the vehicle’s character. We use angled lighting to create subtle shadows that emphasize texture and dimensional qualities in materials like perforated leather, alcantara, or carbon fiber trim pieces. These shots work particularly well when we isolate exact areas of premium materials against clean, uncluttered backgrounds.
Navigate Common Cars Photoshoot Challenges
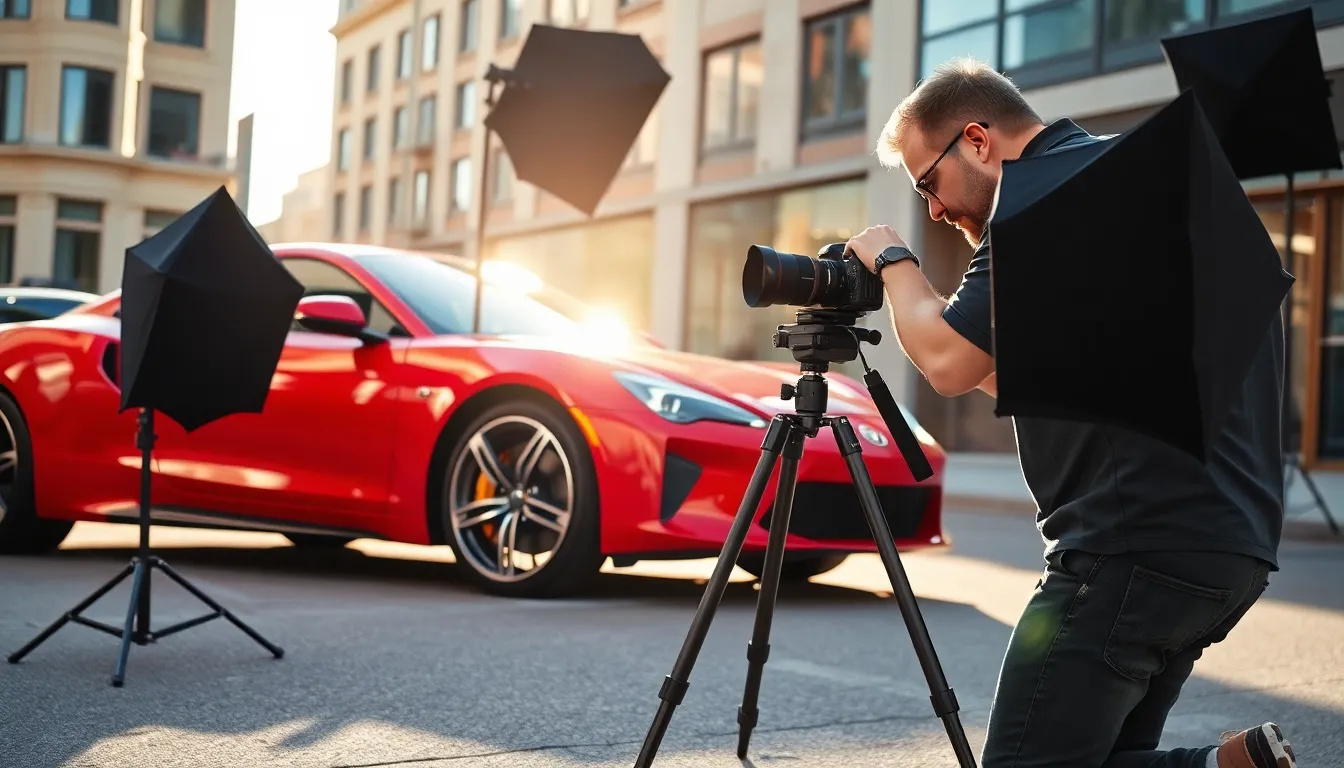
Even the most meticulously planned car photoshoots encounter unexpected obstacles that can derail your creative vision. We’ve identified the most common challenges photographers face during automotive shoots and developed proven strategies to overcome them effectively.
Dealing with Reflections and Glare
Reflections create the biggest challenge in automotive photography since vehicles feature extensive glass and metallic surfaces. We position large softboxes or diffusion panels at strategic angles to control unwanted reflections on windshields and side windows. Circular polarizing filters reduce reflections by 30-40% while maintaining paint saturation and depth.
Glare elimination requires careful positioning relative to light sources and reflective surfaces. We scout locations during different times of day to identify problematic reflection patterns from buildings, water, or other vehicles. Moving the car just 5-10 feet often eliminates harsh reflections from nearby structures.
Professional techniques include using matte black cards or flags to block exact light sources creating unwanted reflections. We carry lightweight foam core boards that can be quickly positioned to eliminate glare on chrome details, headlights, and grilles. Shooting from lower angles helps avoid reflections from overhead elements like power lines or tree branches.
Weather and Environmental Factors
Unexpected weather changes can transform planned shoots into challenging scenarios requiring quick adaptation. We monitor weather forecasts 48 hours in advance and always pack protective gear including camera rain covers and lens cloths. Light rain creates dramatic atmosphere but requires careful protection of electronic equipment.
Wind conditions affect both camera stability and vehicle presentation during outdoor shoots. Gusts exceeding 15 mph can move lightweight reflectors and cause camera shake even with tripods. We use sandbags to anchor equipment and schedule shoots during calmer morning hours when possible.
Temperature extremes impact both equipment performance and vehicle appearance during extended shoots. Cold weather drains camera batteries 40% faster while hot conditions create heat shimmer that degrades image sharpness. We carry extra batteries and use lens hoods to minimize temperature related focus issues.
Humidity and condensation pose serious threats to camera gear and create fogging on vehicle surfaces. We store equipment in sealed containers with silica gel packets and allow cameras to acclimate gradually to temperature changes. Anti fog spray applied to vehicle glass prevents condensation during climate transitions.
Traffic and Location Permissions
Public space regulations require careful research before conducting commercial automotive photography. We obtain location permits 2-3 weeks in advance for shoots in parks, government properties, or high traffic areas. Many municipalities require insurance certificates and traffic management plans for road closures.
Private property access often provides the most controlled shooting environments but requires proper authorization. We contact property managers directly rather than attempting unauthorized shoots that could result in legal complications. Industrial locations typically charge $200-500 per day for photography access.
Traffic management becomes critical when shooting on active roadways or parking areas. We use safety cones and reflective vests to maintain visibility while directing vehicles around our equipment setup. Early morning shoots between 6-8 AM offer reduced traffic and better lighting conditions.
Time restrictions vary significantly between locations and require flexible scheduling approaches. Public parks often prohibit commercial photography after sunset while private venues may have noise restrictions during evening hours. We create backup location lists to maintain shooting schedules when primary locations become unavailable.
Apply Professional Post-Processing to Cars Photoshoot Images
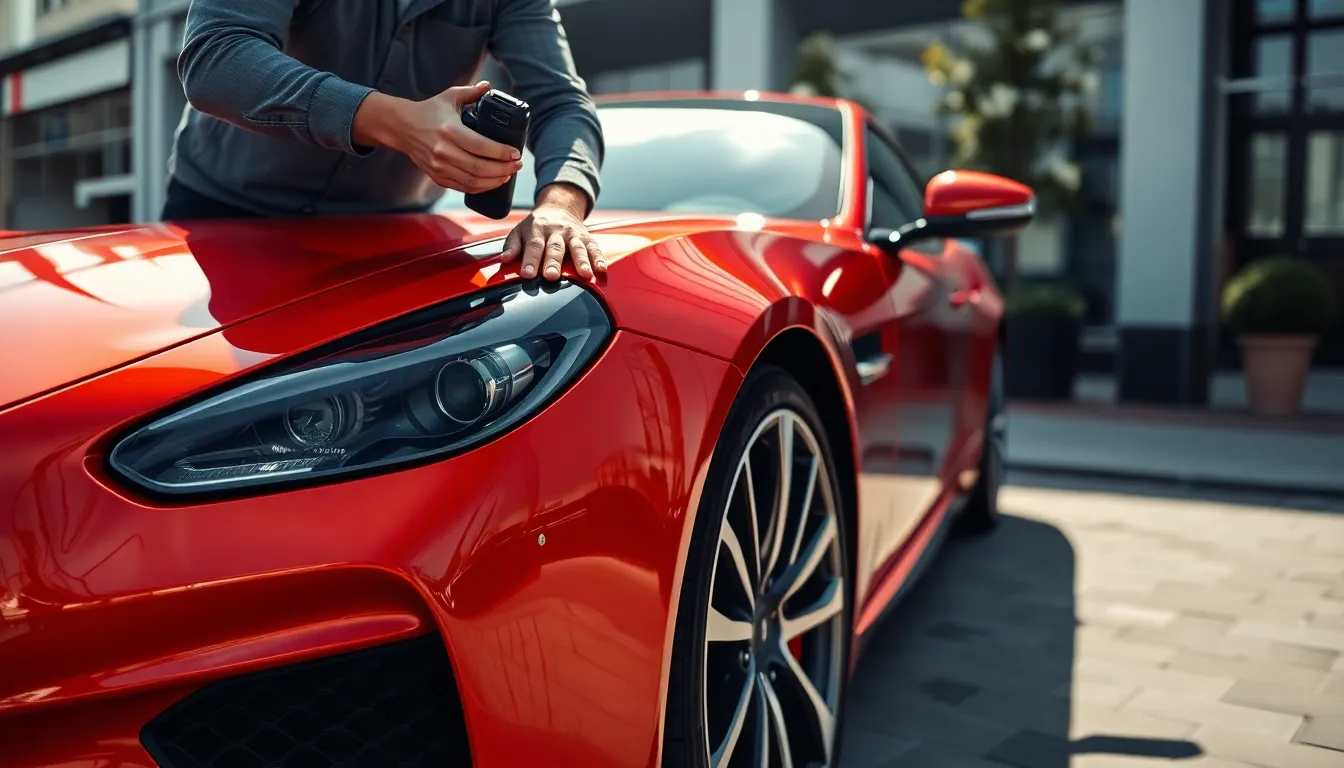
Professional post-processing transforms good car photographs into exceptional automotive imagery. We’ll explore the essential techniques that elevate your shots to magazine-quality standards.
Color Correction and Enhancement
White balance adjustments form the foundation of professional automotive post-processing. We start by correcting color temperature inconsistencies that occur during shoots with mixed lighting conditions. Temperature corrections between 5200K-6500K typically restore natural daylight tones, while tint adjustments eliminate unwanted green or magenta color casts that distort paint accuracy.
Selective color grading enhances exact vehicle elements without affecting the entire image. We target reds, blues, and metallics separately using HSL panels in Lightroom or Photoshop. Increasing saturation by 10-15% in automotive paint colors makes them pop, while decreasing background colors by 5-10% draws attention to the vehicle.
Luminosity masking allows precise control over highlight and shadow regions. We create separate masks for chrome details, paint surfaces, and glass elements. Chrome bumpers and trim pieces benefit from increased contrast and clarity adjustments, while paint surfaces require gentle highlight recovery to prevent blown-out reflections.
Gradient maps create consistent color grading across the entire automotive portfolio. We apply subtle orange-to-teal gradients for modern cinematic looks, or warm golden tones for classic luxury vehicles. These adjustments maintain color harmony while improving the vehicle’s inherent character.
Removing Unwanted Reflections
Frequency separation technique isolates texture from color information for precise reflection removal. We duplicate the background layer twice, applying high-pass filters to the texture layer and gaussian blur to the color layer. This method preserves paint texture while eliminating distracting reflections from windows, buildings, or equipment.
Clone stamp and healing brush tools tackle exact reflection hotspots on curved surfaces. We sample clean paint areas adjacent to problematic reflections, using low opacity settings between 20-40% for seamless blending. Multiple passes with varied brush sizes create more natural results than single heavy applications.
Content-aware fill technology handles large reflection areas across vehicle surfaces. We make careful selections around unwanted reflections, then apply content-aware algorithms that analyze surrounding paint patterns. This technique works exceptionally well on hood and roof surfaces where consistent paint texture exists.
Masking and selective adjustments target exact reflection zones without affecting surrounding areas. We create precise masks around chrome elements, windows, and paint sections. Lowering highlights by 30-50% within these masks reduces reflection intensity while maintaining surface believability.
Adding Drama and Impact
Dodging and burning techniques sculpt three-dimensional form across vehicle surfaces. We darken wheel wells, door jambs, and undercarriage areas to increase depth perception. Lightening techniques on hood contours, fender lines, and chrome accents create dramatic highlighting that emphasizes automotive design elements.
Contrast enhancement through curves adjustments amplifies visual impact without sacrificing detail. We create S-curves that darken shadows by 15-20% while brightening highlights by 10-15%. This technique increases overall punch while maintaining natural color relationships across metallic surfaces.
Vignetting effects draw viewer attention toward the vehicle’s center mass. We apply subtle radial gradients that darken image edges by 20-30%, creating natural focus on the car itself. These adjustments mimic premium lens characteristics found in high-end automotive photography.
Atmospheric enhancement adds cinematic quality through strategic color grading and lighting effects. We introduce warm rim lighting using layer masks and gradient overlays, simulating golden hour conditions even in flat lighting situations. These techniques create the dramatic atmosphere commonly seen in luxury automotive advertising campaigns.
Build Your Cars Photoshoot Portfolio and Business
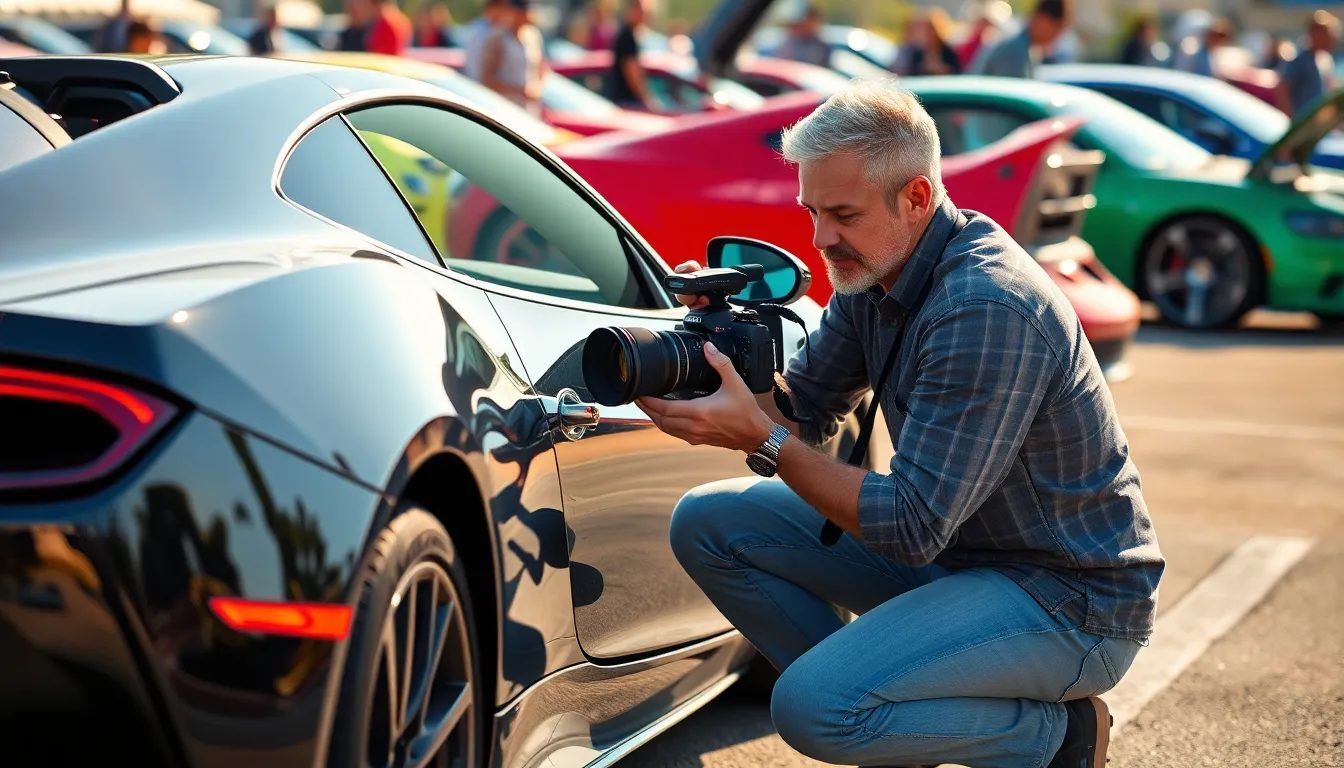
Mastering automotive photography techniques is only the beginning of establishing a thriving car photography business. Professional success requires strategic portfolio development and smart business practices that attract high-paying clients.
Creating a Compelling Online Presence
Social media platforms serve as our primary gateway to reaching automotive enthusiasts and potential clients. Instagram generates 73% more engagement for automotive photographers compared to other photography niches, making it essential for showcasing our best work. We should post consistently 3-4 times per week, using automotive hashtags like #carphotography, #automotivephotography, and #supercarspotting to reach targeted audiences.
Website portfolios demonstrate our professionalism and technical capabilities to serious buyers. Clean, fast-loading galleries with 20-30 high-resolution images showcase our range and expertise effectively. We’ll organize work by categories such as luxury cars, classic vehicles, and commercial automotive projects to help clients find relevant examples quickly.
Video content attracts 5x more engagement than static images on social platforms. Behind-the-scenes footage of our photoshoots, time-lapse editing processes, and before-and-after reveals create compelling narratives that build trust with potential clients. Short-form content on TikTok and Instagram Reels reaches younger demographics who often influence automotive purchasing decisions.
Client testimonials and case studies build credibility for our automotive photography services. Written reviews paired with final images demonstrate both our technical skills and professional relationships. We should request testimonials within 48 hours of delivering final images when client satisfaction is highest.
Networking with Automotive Communities
Car shows and automotive events provide direct access to our target market of vehicle owners and industry professionals. Attending 2-3 local car meets monthly allows us to build relationships with enthusiasts who value professional photography. We’ll bring business cards, portfolio samples, and offer quick phone photography tips to establish ourselves as helpful experts.
Dealerships represent consistent revenue streams for automotive photographers with established reputations. Luxury car dealerships spend $500-2000 monthly on professional vehicle photography for their inventory. We should approach dealership managers with sample work specifically showcasing their brand vehicles and competitive pricing packages.
Automotive influencers and YouTubers frequently need professional photography for content creation and sponsorship deals. Collaborating with creators who have 10,000+ followers in automotive niches expands our reach exponentially. We’ll offer discounted rates for initial collaborations that include social media mentions and portfolio usage rights.
Racing teams and performance shops value action photography and technical documentation of their work. Track day events provide opportunities to capture ever-changing motion shots while networking with serious automotive enthusiasts. These connections often lead to referrals for private collection photography and restoration documentation projects.
Pricing Your Photography Services
Hourly rates for automotive photography range from $100-300 depending on experience level and market location. Beginning photographers in smaller markets typically charge $100-150 per hour, while established professionals in major metropolitan areas command $200-300 hourly. We’ll research local competitor pricing and position ourselves competitively based on our portfolio quality and experience.
Package pricing encourages larger bookings and simplifies client decision-making processes. Basic packages including 2-hour shoots with 15-20 edited images typically range from $300-600. Premium packages featuring full-day shoots, multiple locations, and 40-50 final images command $800-1500 depending on market conditions.
Commercial automotive photography generates significantly higher revenues than private client work. Dealership inventory photography pays $25-75 per vehicle, while advertising campaign work ranges from $2000-10000 per project. We should develop separate rate structures for commercial and personal automotive photography services.
Licensing agreements protect our intellectual property while creating ongoing revenue opportunities. Standard usage rights for personal use cost 20-30% less than commercial licensing. We’ll include licensing terms in all contracts and offer extended usage rights as premium add-ons for clients requiring broader image usage permissions.
Conclusion
We’ve covered the complete journey from mastering fundamental techniques to building a thriving car photography business. Success in automotive photography isn’t just about expensive equipment—it’s about understanding how light interacts with metal surfaces and knowing when to break traditional rules for creative impact.
The beauty of car photography lies in its versatility. Whether you’re capturing the raw power of a muscle car against an industrial backdrop or highlighting the elegant curves of a luxury sedan during golden hour each shoot presents unique opportunities for artistic expression.
Remember that every detail matters in this field. From the initial vehicle preparation to the final post-processing touches your attention to precision will set your work apart from the competition. The automotive photography industry rewards those who consistently deliver exceptional results.
Start implementing these techniques gradually and you’ll soon develop your own signature style that resonates with clients and audiences alike.
Frequently Asked Questions
What equipment do I need to start car photography?
You’ll need a full-frame camera with at least 24 megapixels for superior detail. Essential lenses include wide-angle for capturing entire vehicles, standard zoom for versatility, and telephoto for isolation shots. A sturdy tripod, polarizing filters, and reflectors are crucial accessories. Professional lighting equipment like softboxes and LED panels help achieve controlled illumination for studio-quality results.
When is the best time to photograph cars?
Golden hour (30-60 minutes before sunset) provides the most flattering natural light, enhancing paint depth and metallic finishes while reducing harsh shadows. Blue hour offers dramatic deep blue tones perfect for night photography. Overcast days provide soft, even illumination that reveals design details without glare, making them ideal for capturing intricate vehicle features.
How do I choose the right location for car photography?
Consider your vehicle’s style and desired mood. Urban environments like city streets and parking garages enhance modern sophistication. Natural landscapes and scenic routes evoke emotional connections and freedom. Industrial settings provide raw authenticity that emphasizes mechanical nature. Match the location to your creative vision and ensure you have proper permissions for shooting.
What preparation is needed before photographing a vehicle?
Thoroughly wash and polish the entire vehicle, including wheels and tires. Apply tire shine for enhanced appearance. Clean the interior, position seats properly, and adjust climate control to prevent fogging. Remove distracting elements like license plates and dealer decals. Check for scratches, dents, or imperfections that might require post-processing attention later.
How do I deal with reflections and glare in car photography?
Use polarizing filters to reduce reflections on glass and painted surfaces. Position softboxes strategically to control lighting direction and minimize unwanted glare. Shoot during overcast conditions for naturally diffused light. In post-processing, use frequency separation and content-aware fill tools to remove stubborn reflections while maintaining the vehicle’s natural appearance and metallic finish.
What are the essential composition techniques for car photography?
Apply the rule of thirds to create balanced compositions. Use leading lines from roads or architecture to guide viewers’ eyes to the vehicle. Experiment with low angles to convey power and high angles to showcase unique features. Employ symmetrical framing for formal presentations. Focus stacking ensures sharp details throughout the image while controlling depth of field.
How can I make money from car photography?
Build a professional portfolio showcasing diverse automotive subjects and styles. Develop a strong online presence through Instagram and a professional website. Network at automotive events and collaborate with car enthusiasts and dealers. Offer services ranging from $150-500 per hour or create packages for dealerships. Protect your work with proper licensing agreements for commercial use.
What post-processing techniques enhance car photographs?
Use color correction and selective color grading to enhance vehicle elements while maintaining natural tones. Apply luminosity masking for precise adjustments. Remove unwanted reflections using frequency separation and healing tools. Enhance drama through dodging and burning techniques, contrast enhancement, and atmospheric effects. Focus on maintaining realistic appearance while maximizing visual impact.

