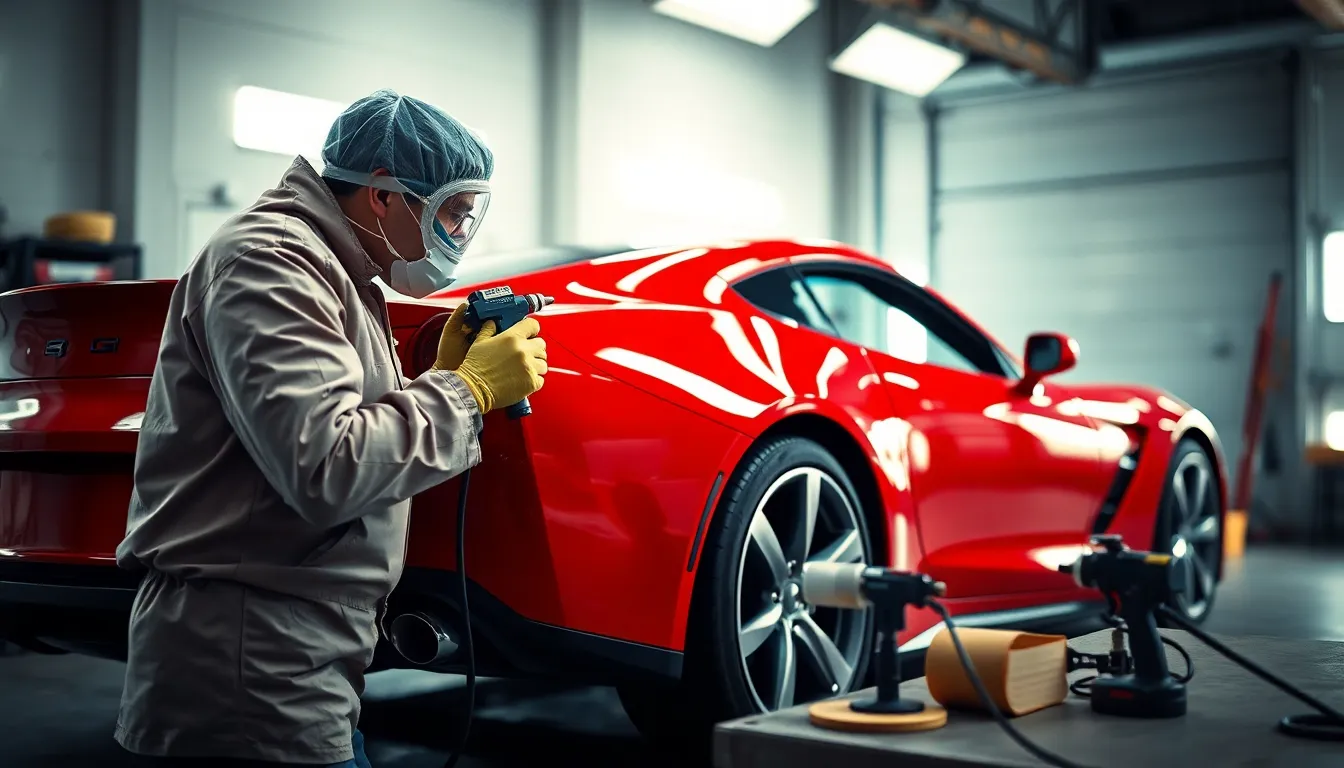
We’ve all driven past that perfectly painted car that catches the sunlight just right and makes us stop and stare. Whether it’s a classic muscle car with a mirror-like finish or a modern vehicle sporting a custom color that turns heads at every corner, automotive painting represents the perfect blend of artistry and technical precision.
Car painting isn’t just about making vehicles look good – it’s about protection, value retention, and personal expression. From collision repairs that restore your ride to its former glory to complete custom paint jobs that transform ordinary vehicles into rolling masterpieces, the industry of automotive painting offers endless possibilities for car enthusiasts and everyday drivers alike.
We’re diving deep into everything you need to know about car painting, from understanding different paint types and application techniques to choosing the right professionals for your project. Whether you’re considering a DIY touch-up or planning a complete vehicle transformation, we’ll guide you through the process step by step.
Understanding the Basics of Cars Painting
Before diving into any automotive painting project, we need to grasp the fundamental elements that contribute to a successful finish. Mastering these basics ensures your paint job delivers both stunning aesthetics and long-lasting protection.
Types of Automotive Paint Systems
Single-stage paint systems combine color and clear coat in one application, making them ideal for beginners and budget-conscious projects. These paints cure to a glossy finish without requiring additional topcoats, though they’re more susceptible to scratches and weathering over time.
Base coat/clear coat systems separate the color layer from the protective clear layer, delivering superior durability and depth. The base coat provides the vehicle’s color while the clear coat shields against UV rays, chemicals, and minor abrasions. Most modern vehicles use this two-stage system for optimal results.
Three-stage paint systems add a mid-coat layer between the base and clear coats, typically containing metallic flakes or pearls for enhanced visual effects. These premium systems create stunning color shifts and depth but require advanced application techniques and significantly more time.
Water-based paints offer environmental benefits and faster drying times compared to traditional solvent-based options. They produce excellent color matching capabilities and comply with strict VOC regulations in many regions.
Essential Tools and Equipment Needed
Spray guns form the heart of professional automotive painting, with HVLP (High Volume Low Pressure) systems providing excellent transfer efficiency and reduced overspray. Gravity-feed guns work best for smaller projects, while pressure-feed systems handle larger vehicles more efficiently.
Air compressors must deliver consistent, moisture-free air at proper pressure levels throughout the painting process. We recommend compressors with minimum 60-gallon tanks and 14-16 CFM output for automotive applications.
Surface preparation tools including sanders, sandpaper (ranging from 320 to 2000 grit), tack cloths, and cleaning solvents ensure proper paint adhesion. Orbital sanders speed up the process while hand-sanding provides precise control in detailed areas.
Masking materials protect areas not intended for painting, with automotive-grade masking tape, plastic sheeting, and masking paper preventing overspray contamination. High-quality tape removes cleanly without leaving residue or damaging existing paint.
Safety Precautions and Workspace Setup
Proper ventilation prevents dangerous fume accumulation and ensures consistent paint application conditions. Cross-draft spray booths provide ideal airflow patterns, while garage setups require multiple exhaust fans and fresh air intake systems.
Personal protective equipment includes NIOSH-approved respirators, chemical-resistant gloves, and full-body coveralls to prevent paint exposure. Eye protection shields against overspray particles, and non-slip footwear prevents accidents on potentially slippery surfaces.
Fire safety measures become critical when working with flammable solvents and paints in enclosed spaces. We install multiple fire extinguishers rated for chemical fires, eliminate ignition sources, and maintain emergency exit routes.
Temperature and humidity control directly affects paint flow, adhesion, and curing times. Optimal conditions range between 65-75°F with relative humidity below 50%, preventing issues like orange peel texture or poor color matching.
Preparing Your Vehicle for Cars Painting
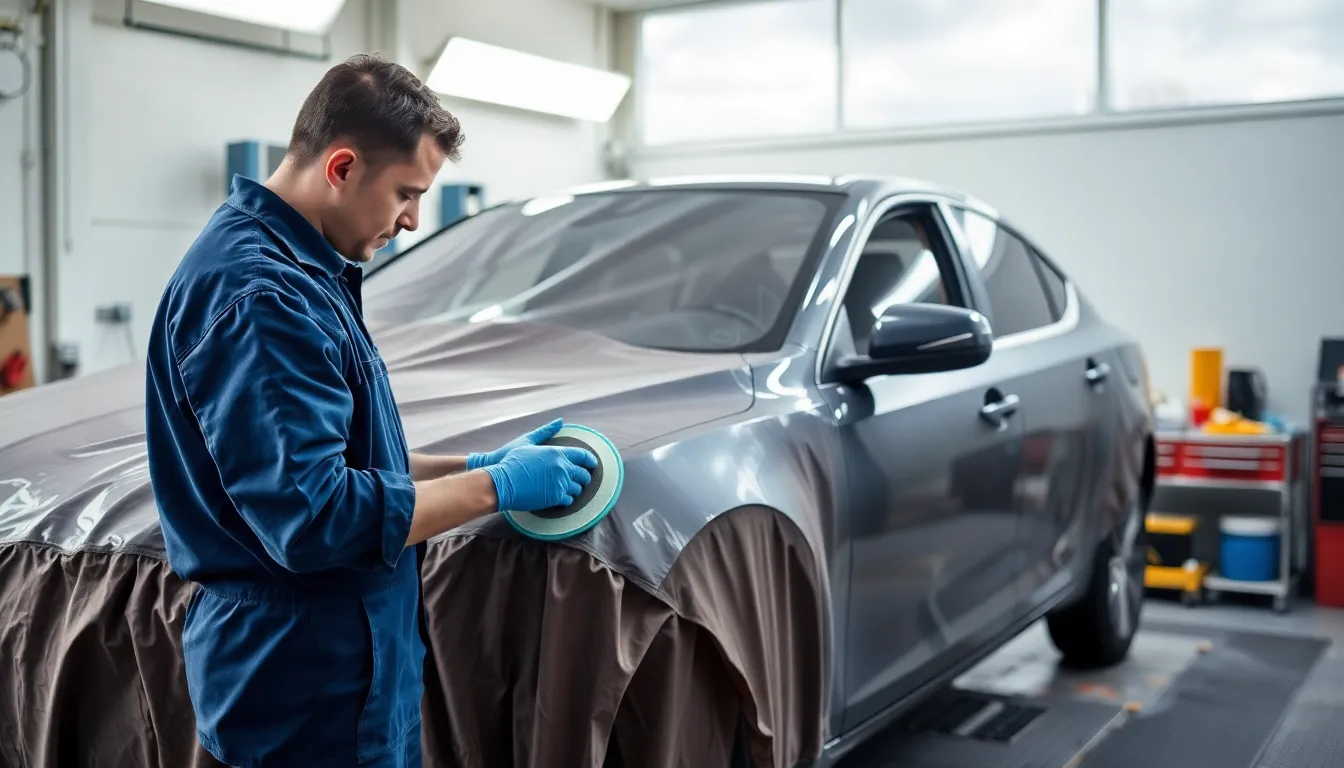
Surface preparation stands as the foundation of any successful automotive paint job. We’ll guide you through the essential steps that ensure your paint adheres properly and delivers professional results.
Cleaning and Degreasing the Surface
Start with a thorough wash using automotive soap and clean water to remove dirt, grime, and road contaminants. We recommend using a two-bucket method with one for soapy water and another for rinsing your wash mitt.
Apply a degreasing agent specifically designed for automotive surfaces to eliminate oils, wax residue, and silicone-based products. Common degreasers include isopropyl alcohol, tack cloth answers, and commercial automotive cleaners.
Focus on problem areas such as door handles, trim pieces, and areas around the engine bay where grease accumulation is heaviest. We suggest using microfiber cloths that won’t leave lint or scratches on the surface.
Rinse thoroughly with clean water and dry the vehicle completely using chamois or clean microfiber towels. Any remaining moisture can interfere with paint adhesion and cause defects in your final finish.
Sanding and Removing Old Paint
Choose appropriate sandpaper grits based on your project’s scope, typically starting with 220-320 grit for paint removal and progressing to 600-800 grit for final smoothing. We always work from coarse to fine grits for optimal surface preparation.
Remove loose or peeling paint using a scraper or coarse sandpaper, paying special attention to rust spots and areas where previous paint has failed. Complete paint removal isn’t always necessary if the existing finish is in good condition.
Sand in overlapping patterns using circular or linear motions to create an even surface texture that promotes paint adhesion. We recommend using sanding blocks for flat surfaces and hand sanding for curved areas.
Clean between sanding stages with a tack cloth or compressed air to remove dust particles that can create imperfections. Each grit level should leave a consistent scratch pattern before moving to the next finer grade.
Apply primer to bare metal areas immediately after sanding to prevent rust formation and provide proper paint adhesion.
Masking and Protecting Non-Paint Areas
Cover glass surfaces with masking tape and plastic sheeting or newspaper to prevent overspray damage. We use high-quality automotive masking tape that removes cleanly without leaving residue.
Protect rubber seals around doors, windows, and trim pieces using masking tape or liquid masking products designed for automotive applications. These areas are difficult to repair if accidentally painted.
Mask chrome and plastic trim that you want to preserve, taking care to follow the natural lines of the vehicle for clean paint edges. We recommend using fine-line tape for precise masking around detailed areas.
Shield the interior by covering seats, dashboard, and carpeting with plastic drop cloths, especially when painting door jambs or areas near open doors and windows.
Remove or mask hardware such as door handles, mirrors, and emblems that could interfere with paint application or be damaged by overspray. We typically remove small hardware pieces entirely for easier painting and better results.
Choosing the Right Paint for Cars Painting Projects
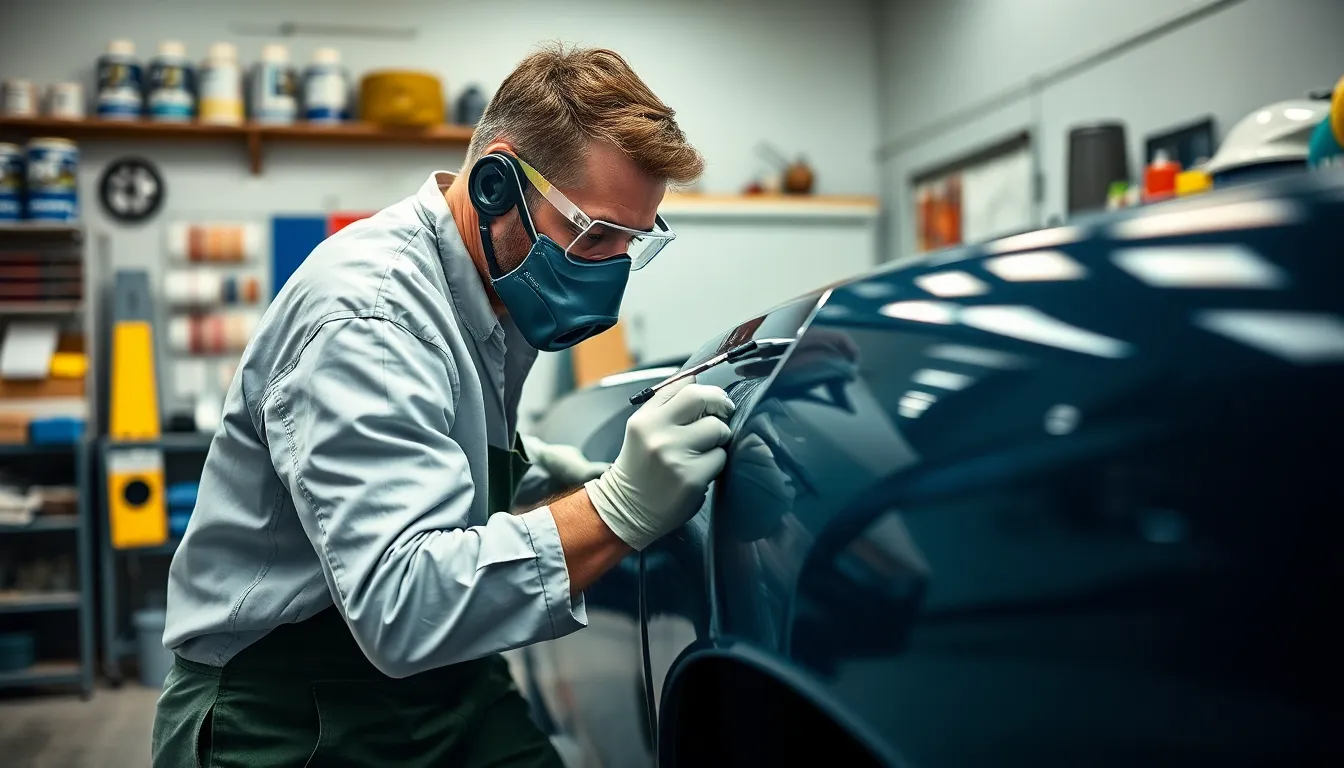
Selecting the appropriate paint for your automotive project directly impacts the final result’s durability and appearance. Different paint types offer unique advantages that align with exact project goals and skill levels.
Acrylic Lacquer vs. Enamel vs. Urethane Options
Acrylic lacquer provides excellent flow characteristics and achieves a smooth, glossy finish that’s particularly attractive for classic car restorations. This paint type dries quickly through solvent evaporation and polishes to a brilliant shine. But, lacquer offers limited durability against UV rays and requires more frequent maintenance than modern alternatives.
Enamel paints deliver superior hardness and chemical resistance once fully cured. These paints cure through oxidation, creating a tough finish that withstands daily wear and environmental exposure. Single-stage enamels combine color and gloss in one application, while two-stage systems require a separate clear coat for optimal protection and depth.
Urethane options represent the premium choice for professional-grade automotive finishes. Base coat/clear coat urethane systems provide exceptional durability, chemical resistance, and UV protection. These paints offer the longest lifespan and maintain their appearance for decades when properly applied and maintained.
| Paint Type | Durability | UV Resistance | Application Difficulty | Typical Lifespan |
|---|---|---|---|---|
| Acrylic Lacquer | Fair | Poor | Easy | 3-5 years |
| Enamel | Good | Good | Moderate | 5-8 years |
| Urethane | Excellent | Excellent | Challenging | 10-15 years |
Color Matching and Custom Paint Answers
Factory color matching requires precise identification of the original paint code located on the vehicle’s identification plate or door jamb. Paint suppliers use spectrophotometer technology to analyze existing paint and create accurate color formulations. We recommend taking paint samples to professional mixing facilities for the most precise matches.
Custom paint answers open unlimited possibilities for personalization and artistic expression. Metallic flakes, pearl additives, and candy colors create stunning visual effects that transform ordinary vehicles into unique masterpieces. Multi-stage paint systems allow for complex color schemes with depth and dimension that standard single-stage paints can’t achieve.
Tri-coat systems provide the ultimate in custom finish options by layering base color, metallic or pearl effects, and protective clear coats. These systems require advanced application skills but deliver unmatched visual impact and durability for show cars and high-end custom builds.
Quality Considerations and Brand Recommendations
Professional-grade paint brands like PPG, Sherwin-Williams, and BASF offer superior performance and consistency compared to economy alternatives. These manufacturers provide comprehensive technical support, detailed application instructions, and warranty coverage for their products. Investment in quality paint materials significantly impacts the final result’s appearance and longevity.
Paint system compatibility ensures proper adhesion and chemical bonding between primer, base coat, and clear coat layers. Mixing different brands or incompatible chemistries can result in adhesion failures, color shifts, or surface defects. We strongly recommend using complete paint systems from a single manufacturer for optimal results.
Environmental conditions affect paint performance and application requirements. High-solid formulations reduce volatile organic compound (VOC) emissions while maintaining excellent coverage and durability. Water-based paints offer environmental benefits and faster drying times but require exact application techniques and equipment modifications for proper results.
Mastering the Priming Process in Cars Painting
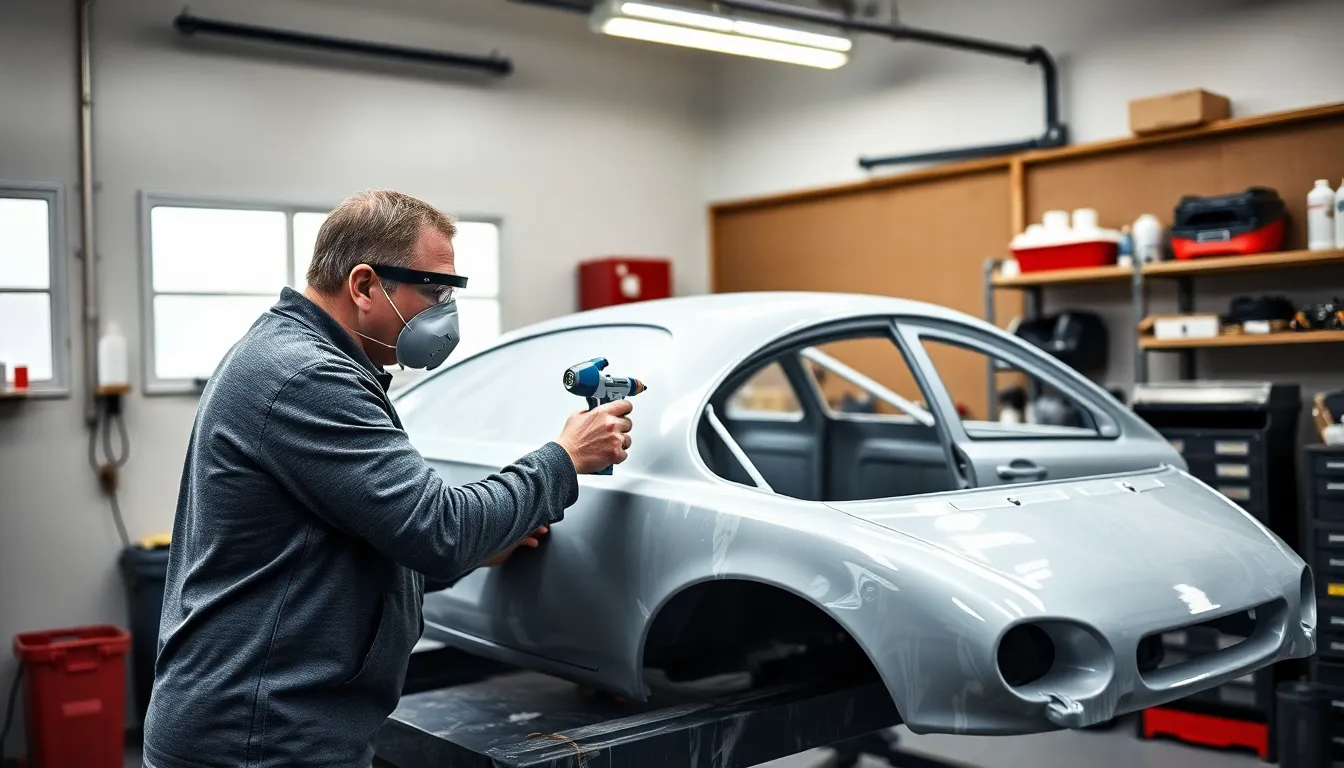
Primer serves as the foundation for every successful automotive paint job, bridging the gap between surface preparation and final paint application. We’ll explore the critical aspects of priming that determine whether your paint finish achieves professional-grade durability and appearance.
Selecting the Appropriate Primer Type
Epoxy primers deliver superior adhesion and corrosion resistance, making them ideal for bare metal surfaces and restoration projects. These primers create an exceptional bond with steel and aluminum while providing long-term protection against rust formation.
Urethane primers offer excellent build characteristics and sandability, allowing us to achieve smooth surfaces quickly. They work particularly well over existing paint and body filler, providing good chemical compatibility with most topcoat systems.
Self-etching primers contain acid that chemically bonds to metal surfaces, creating mechanical adhesion through microscopic etching. We recommend these primers specifically for aluminum and galvanized steel where traditional primers might not adhere properly.
High-build primers help fill minor surface imperfections like small scratches and pinholes while maintaining excellent leveling properties. These products reduce the need for excessive sanding and minimize the risk of sand-through on body panels.
| Primer Type | Best Use Case | Coverage Rate | Typical Build |
|---|---|---|---|
| Epoxy | Bare metal, restoration | 200-300 sq ft/gal | 2-3 mils |
| Urethane | Over paint, body filler | 250-350 sq ft/gal | 3-4 mils |
| Self-etching | Aluminum, galvanized | 300-400 sq ft/gal | 0.5-1 mil |
| High-build | Surface leveling | 150-250 sq ft/gal | 4-6 mils |
Application Techniques for Even Coverage
Spray gun setup requires proper fluid tip and air cap selection based on the primer’s viscosity and desired finish quality. We typically use 1.4mm to 1.6mm fluid tips for most automotive primers to achieve optimal atomization and transfer efficiency.
Mixing ratios must follow manufacturer specifications exactly, as incorrect proportions affect adhesion, durability, and drying characteristics. Most two-part primers require a 4:1 or 3:1 mixing ratio with hardener, plus thinner if needed for spray consistency.
Application patterns should maintain 50% overlap between passes while keeping the gun 6-8 inches from the surface. We apply primer in thin, even coats rather than attempting to achieve full coverage in a single heavy application.
Tack coat application involves applying a light mist coat first, allowing it to flash for 5-10 minutes before applying subsequent wet coats. This technique improves adhesion and prevents runs or sags in the primer film.
Cross-coat method means applying the second coat perpendicular to the first coat direction, ensuring complete coverage and eliminating any missed areas. Each coat should flash properly before applying the next layer to prevent solvent entrapment.
Drying and Curing Time Requirements
Flash time between coats typically ranges from 10-20 minutes depending on temperature, humidity, and primer type. We monitor the primer surface for proper tack level before applying additional coats to prevent lifting or wrinkling.
Sanding window varies significantly between primer types, with most urethane primers requiring 2-4 hours before wet sanding becomes possible. Epoxy primers often need 8-12 hours for proper hardness development before sanding operations.
Temperature effects dramatically influence drying times, with every 10°F increase roughly halving cure time. We maintain spray booth temperatures between 68-75°F for consistent results and predictable timing schedules.
Humidity considerations affect both spray application and cure rates, with high moisture content extending dry times and potentially causing surface defects. Optimal humidity levels range from 40-60% for most primer applications.
Recoat windows specify the maximum time between primer application and topcoat application without requiring scuff sanding. Most primers offer 24-48 hour recoat windows under normal conditions, though this varies by product formulation.
Applying Base Coats and Color Layers
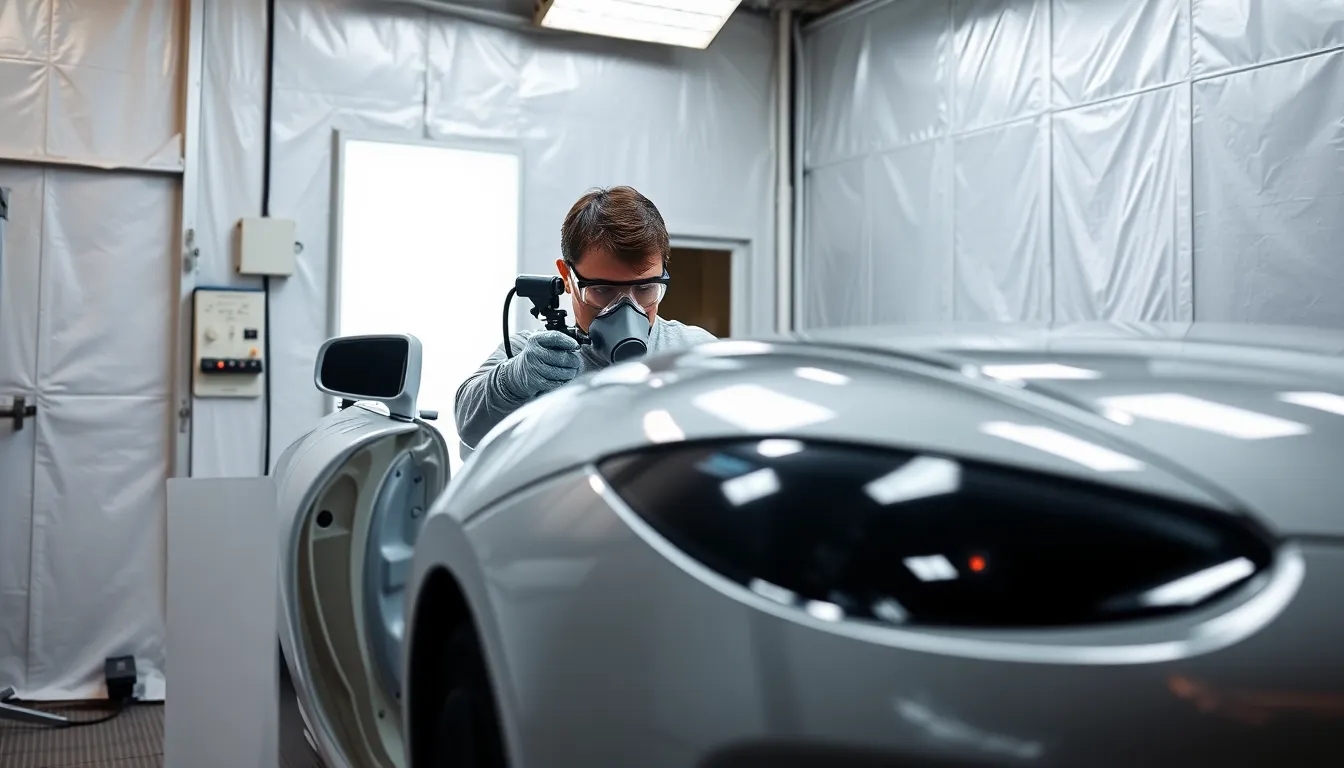
Now that we’ve completed the priming process, we’re ready to tackle the most critical phase of automotive painting: applying base coats and color layers. This stage transforms our prepared surface into the beautiful finish we’ve envisioned.
Spray Gun Setup and Pressure Settings
Choosing the right spray gun setup is crucial for achieving professional paint results. HVLP (High Volume Low Pressure) spray guns work best for base coat application, operating at 10-15 PSI at the gun and 25-30 PSI at the compressor. Conventional spray guns require higher pressures of 30-45 PSI but consume more paint and create more overspray.
Needle and nozzle size directly affects paint flow and pattern quality. We recommend 1.3-1.4mm tips for base coats and metallics, while solid colors work well with 1.2-1.3mm setups. Larger tips like 1.5-1.7mm suit high-build primers but aren’t ideal for finish coats.
Proper air pressure adjustment prevents common application problems. Too little pressure creates orange peel texture and poor atomization, while excessive pressure causes overspray and dry spray issues. We test spray patterns on practice panels before applying paint to the vehicle.
Gun distance from the surface should remain consistent at 6-8 inches. Closer distances risk runs and sags, while greater distances lead to dry spray and poor coverage. We maintain perpendicular angles to the surface throughout the spraying process.
Proper Spraying Techniques and Patterns
Overlapping spray passes by 50% ensures even coverage without streaking. We start each pass slightly before the panel edge and continue past the opposite edge, maintaining consistent speed throughout. The first coat should achieve 80% coverage, allowing the base to show through slightly.
Cross-hatch patterns work exceptionally well for metallic and pearl finishes. We apply the first coat horizontally, then follow with vertical passes for the second coat. This technique helps metallics lay evenly and prevents streaking or mottling effects.
Maintaining consistent gun speed prevents thickness variations and color shifts. We move at approximately 12 inches per second, avoiding stops or hesitation mid-pass. Slow movements create heavy spots, while fast passes result in thin coverage.
Multiple thin coats produce superior results compared to fewer thick applications. Base coats typically require 2-3 passes, with 5-10 minute flash times between coats. We allow each layer to tack up before applying the next, preventing lifting and solvent entrapment.
Managing Paint Flow and Avoiding Common Mistakes
Proper paint mixing ratios prevent flow problems and ensure color accuracy. Base coats typically mix 2:1 with reducer, though ratios vary by manufacturer and temperature conditions. We always follow the paint manufacturer’s technical data sheets for exact mixing instructions.
Temperature control affects paint viscosity and application characteristics significantly. Paint booth temperatures between 68-75°F provide optimal flow and leveling, while temperatures above 80°F cause fast solvent evaporation and dry spray. Cold conditions below 65°F slow curing and can cause poor adhesion.
Avoiding runs and sags requires careful attention to application thickness. We watch for glossy wet edges that indicate heavy application and adjust our technique immediately. If runs occur, we stop spraying and allow complete drying before sanding smooth with 600-800 grit paper.
Controlling overspray protects surrounding areas and conserves expensive paint materials. Proper masking techniques and spray booth airflow patterns direct overspray away from finished surfaces. We position exhaust fans to pull air across the work area without creating turbulence that affects spray patterns.
Color matching requires consistent application techniques throughout the entire vehicle. We spray all visible panels in the same session when possible, maintaining identical gun settings and environmental conditions. Metallics and pearls are especially sensitive to application variations that can create noticeable color differences between panels.
Perfecting the Clear Coat Application
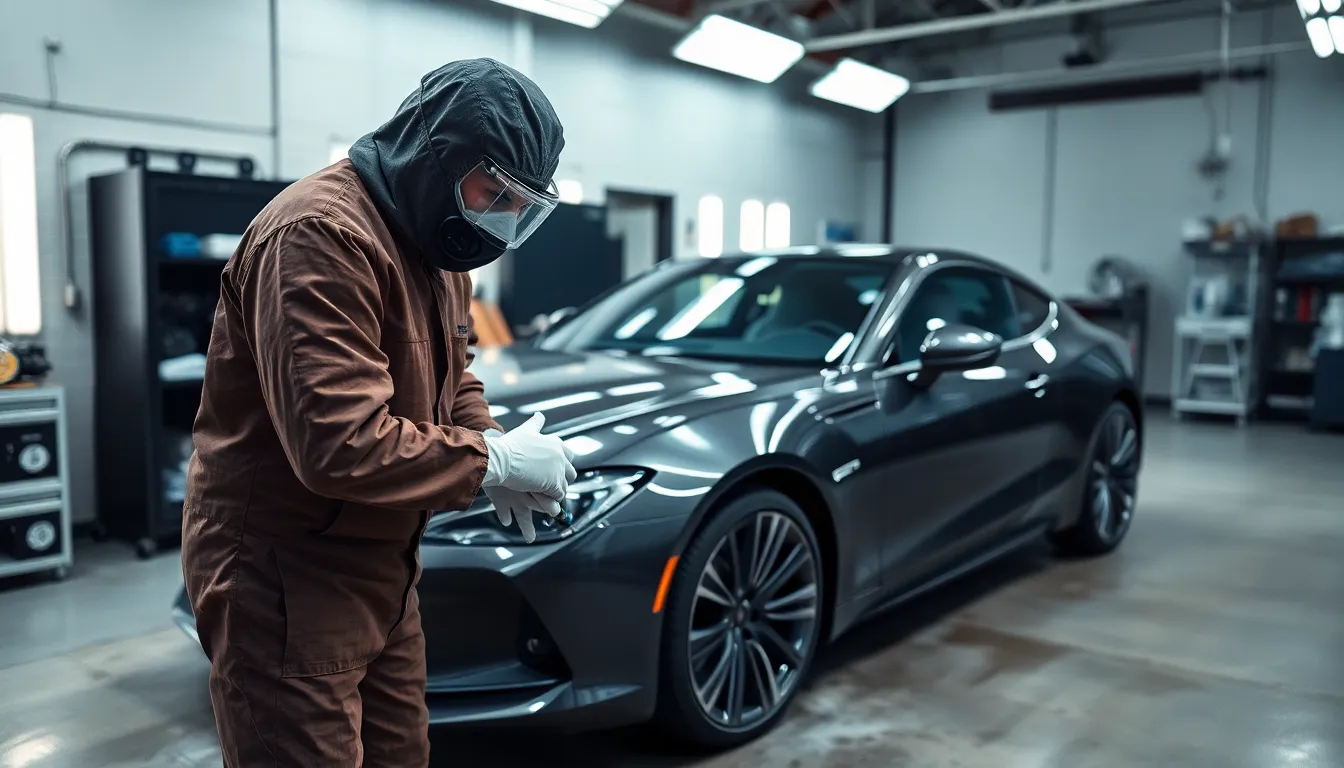
Clear coat application represents the final and most critical step in automotive painting that determines the overall quality and longevity of your paint job. We’ll explore the essential techniques for applying clear coat that delivers showroom-quality results.
Understanding Clear Coat Purpose and Benefits
Clear coat serves as the protective barrier that shields your base color from environmental damage while providing depth and gloss to the finish. Modern automotive clear coats contain UV inhibitors that prevent color fading and oxidation, extending your paint job’s lifespan by 3-5 years compared to single-stage paints.
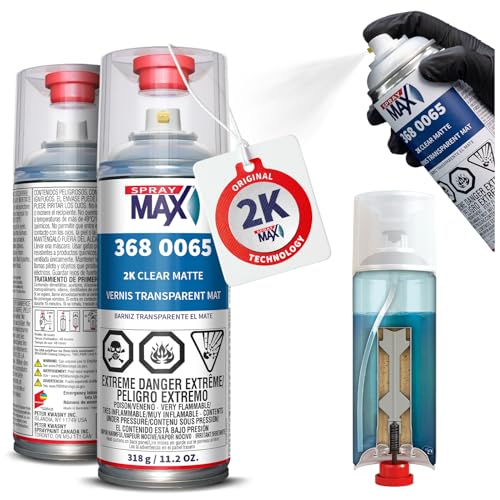
Protection against stone chips, scratches, and chemical damage makes clear coat essential for maintaining your vehicle’s appearance. We recommend 2K clear coats for their superior durability, offering hardness ratings between 2H and 4H on the pencil hardness scale.
Gloss retention capabilities of quality clear coats maintain 85-90% of their original shine after five years of exposure. Depth enhancement occurs when clear coat magnifies the metallic flakes and color pigments beneath, creating the rich appearance that distinguishes professional paint jobs from amateur work.
Multiple Layer Application Methods
Three-coat application provides optimal protection and appearance, with each layer serving a exact purpose in the system. We apply the first coat as a light tack coat using 50% overlap and 6-8 inches gun distance to establish adhesion.
Medium wet coats follow for the second application, allowing proper flow out while avoiding runs or sags. Coverage should achieve 1.5-2.0 mils total dry film thickness for adequate protection without excessive material usage.
Flash time between coats ranges from 5-15 minutes depending on temperature and humidity conditions. Temperature control at 70-75°F with 50-60% humidity creates optimal conditions for clear coat curing and prevents solvent popping.
Final coat application requires full wet coverage to achieve maximum gloss and eliminate any texture from previous layers. Spray pattern adjustments to 8-10 inches wide with 75% overlap ensure complete coverage without dry spray or orange peel texture.
Achieving Professional-Grade Finish Quality
Surface preparation before clear coat application determines 80% of your final finish quality, requiring complete removal of dust, fingerprints, and any contamination. We use tack cloths specifically designed for automotive painting to eliminate particles without leaving residue.
Gun setup parameters include 1.4-1.6mm nozzle size with 25-35 PSI air pressure for optimal atomization and material flow. Fluid pressure should remain consistent throughout application to maintain uniform wet film thickness across all panels.
Quality control measures involve checking for runs, sags, or dry spots immediately after each coat application. Orange peel texture indicates incorrect gun setup or environmental conditions, requiring adjustment before proceeding with additional coats.
Curing process extends 24-48 hours at room temperature, though force curing at 140°F reduces time to 30-45 minutes for professional shops. We monitor gloss levels using a gloss meter to ensure readings between 85-95 gloss units for show-quality finishes.
Wet sanding with 1500-2000 grit paper removes imperfections before polishing, followed by compound and polish application to achieve mirror-like clarity and depth in your clear coat finish.
Troubleshooting Common Cars Painting Problems
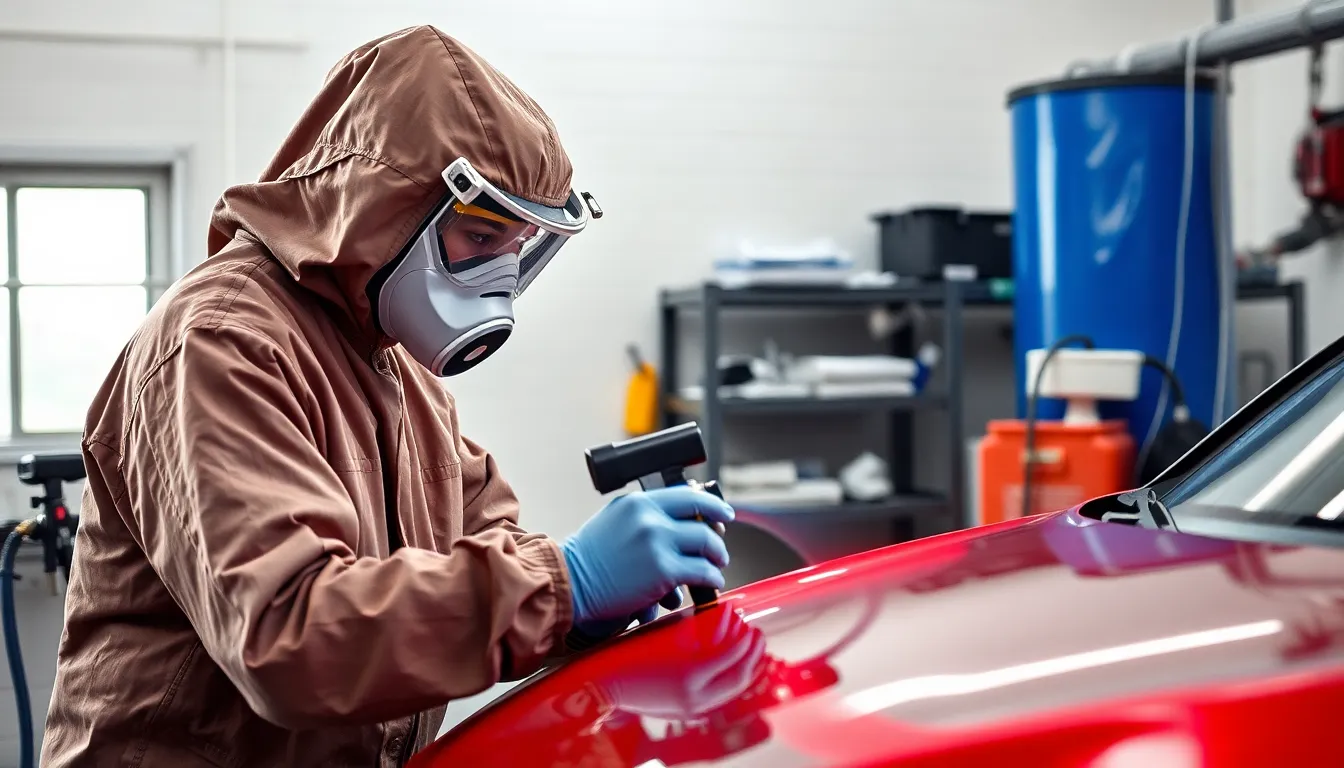
We all encounter challenges during automotive painting projects that can compromise the final finish. Understanding how to identify and fix these issues ensures our paint jobs meet professional standards.
Fixing Paint Runs and Drips
Runs occur when excess paint accumulates and flows down vertical surfaces during application. We typically see this problem when paint is applied too heavily or when gun settings aren’t properly adjusted. Temperature conditions below 65°F can also contribute to runs since paint flows more slowly in cooler conditions.
Identifying runs early allows for easier correction during the wet stage. Fresh runs can be carefully removed using a clean brush or lint-free cloth, working from the bottom of the run upward to redistribute the excess material. We recommend keeping the surface wet while making these corrections to maintain proper blending.
Dried runs require sanding and reapplication for professional results. Use 600-grit wet sandpaper to carefully level the run with surrounding areas, then progress to 800-grit for smoothing. We follow this with primer application if bare metal is exposed, then reapply base coat and clear coat layers.
Prevention involves adjusting spray gun settings and application technique. Reduce fluid flow by 10-15% and increase air pressure slightly to atomize paint better. We maintain consistent gun distance of 6-8 inches from the surface and use 50% overlap on each pass.
Addressing Orange Peel Texture Issues
Orange peel creates an undesirable textured finish that resembles citrus fruit skin. This occurs when paint droplets don’t flow together properly on the surface, creating a bumpy appearance that reduces gloss and professional quality. We commonly see this issue when spray gun settings are incorrect or environmental conditions aren’t optimal.
Improper atomization causes most orange peel problems in automotive painting. Low air pressure settings below 25 PSI prevent proper paint breakup, while excessive gun distance over 10 inches allows droplets to partially dry before hitting the surface. We adjust air pressure to 28-32 PSI and maintain 6-8 inch gun distance for optimal results.
Temperature and humidity significantly impact paint flow characteristics. Ideal conditions range from 70-75°F with 40-50% humidity for most automotive paints. We use slower-evaporating thinners in hot conditions and faster thinners when temperatures drop below 65°F to maintain proper flow.
Correcting orange peel requires wet sanding and polishing techniques. Start with 1000-grit wet sandpaper to level the texture, progressing through 1500, 2000, and 2500 grits. We follow with polishing compound and finishing polish to restore gloss and achieve mirror-like clarity.
Dealing with Color Inconsistencies
Color matching problems create visible differences between painted panels and existing finish. These inconsistencies often result from improper paint mixing ratios, contaminated materials, or variations in application thickness. We encounter this issue frequently when touching up individual panels or blending repairs into surrounding areas.
Lighting conditions during color evaluation affect matching accuracy significantly. Natural daylight provides the most accurate color assessment, while fluorescent lighting can create false color impressions. We use color matching booths with standardized D65 daylight when available, or evaluate colors outdoors during midday hours.
Tint adjustments require careful measurement and documentation for consistency. Add colorants in small increments of 1-2% by volume, mixing thoroughly between additions. We maintain detailed records of all adjustments including tint type, quantity, and batch numbers for future reference and consistency across multiple panels.
Application thickness variations create color shifts in metallic and pearl finishes. Heavy application tends to darken colors and reduce metallic visibility, while thin coats appear lighter with more pronounced metallic effect. We apply consistent wet coats using identical gun settings and spray patterns across all panels to maintain color uniformity.
Environmental factors during painting affect final color appearance. Temperature variations can alter paint viscosity and flow characteristics, while humidity changes impact drying rates and color development. We monitor conditions closely and adjust thinner ratios by 5-10% to compensate for environmental variations during application.
Post-Painting Finishing Techniques
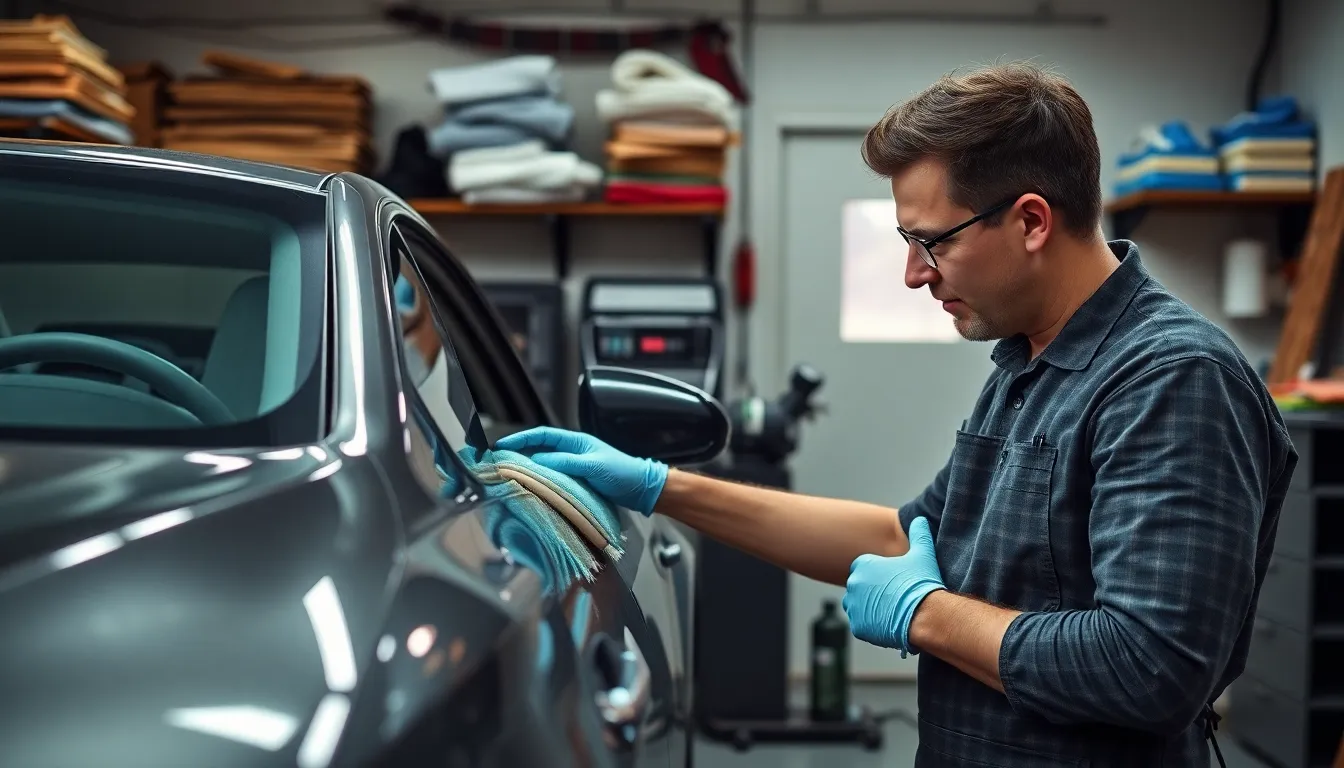
Once your automotive paint has properly cured, the finishing techniques we apply determine the difference between a good paint job and a showroom-quality masterpiece.
Wet Sanding and Polishing Methods
Wet sanding removes imperfections and creates the smooth foundation necessary for achieving a mirror-like finish. We start with 800-grit sandpaper for heavy texture removal, progressing through 1000, 1500, and 2000-grit papers for increasingly finer surface refinement.
Water application keeps the sandpaper clean and prevents heat buildup that can damage the clear coat. We maintain consistent circular motions with light pressure, checking our progress frequently to avoid cutting through the clear coat layers.
Progressive grit sequences ensure we eliminate scratches from the previous sanding step. Each grit level should remove the scratches created by the coarser paper, working systematically toward the finest 3000-grit finish.
Polishing compounds follow the wet sanding process to restore the paint’s gloss and depth. We apply cutting compounds first to remove fine scratches, followed by polishing compounds that enhance the surface clarity and shine.
Machine polishing with dual-action polishers provides consistent results across large surface areas. We use foam pads of varying densities: cutting pads for initial compound work, polishing pads for intermediate steps, and finishing pads for final gloss enhancement.
Buffing and Detailing Final Steps
Buffing transforms the polished surface into a show-quality finish that reflects light uniformly. We use rotary buffers at low speeds initially, increasing gradually as we develop experience with pressure control and pad selection.
Microfiber cloths remove polishing residue between buffing stages, ensuring clean surfaces for each subsequent product application. We fold cloths into quarters to maximize clean surface area and prevent contamination transfer.
Detail spray applications enhance the final gloss while removing any remaining dust particles or fingerprints. We spray products onto microfiber cloths rather than directly onto the paint surface to maintain even distribution and prevent oversaturation.
Edge and trim attention requires careful buffing around door handles, emblems, and body lines where compound can accumulate. We use small detailing brushes and cotton swabs to clean these areas thoroughly.
Final inspection under different lighting conditions reveals any remaining imperfections that need additional attention. We examine the surface under direct sunlight, fluorescent lights, and LED panels to ensure consistent quality across all viewing angles.
Protective Coating Applications
Protective coatings extend the lifespan of our paint work while maintaining the finish quality we’ve achieved through careful preparation and application. We apply these coatings only after the paint has fully cured and been properly prepared through wet sanding and polishing.
Ceramic coatings provide long-term protection lasting 2-5 years with proper maintenance. We apply thin, even layers using microfiber applicator cloths, working in small sections to ensure complete coverage before the coating begins to cure.
Paint protection films offer physical barrier protection against stone chips and scratches on high-impact areas. We focus application on front bumpers, hood leading edges, door cup areas, and behind wheel wells where road debris commonly causes damage.
Traditional waxes require reapplication every 3-4 months but provide excellent gloss enhancement and water beading properties. We choose between carnauba waxes for maximum shine and synthetic waxes for extended durability.
Application timing affects coating adhesion and performance characteristics. We wait 30-60 days after painting before applying ceramic coatings to allow complete paint curing, while traditional waxes can be applied within 7-14 days.
Maintenance schedules preserve the protective coating effectiveness over time. We recommend gentle washing techniques, pH-neutral soaps, and avoiding automatic car washes that can damage or remove protective layers through harsh chemicals and abrasive brushes.
Cost Considerations for Cars Painting
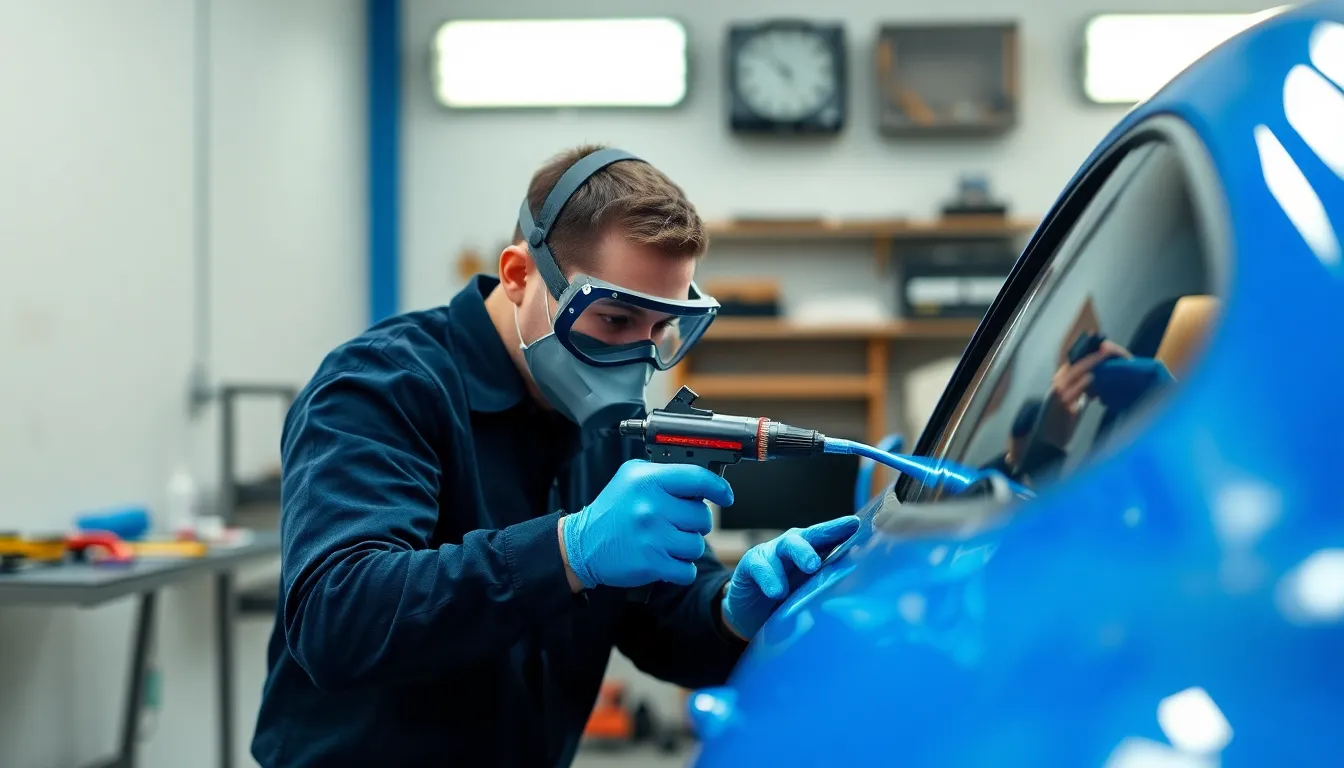
Understanding the financial investment in automotive painting helps make informed decisions about your vehicle’s restoration or customization. We’ll explore the various cost factors that impact your painting project’s budget.
DIY vs. Professional Service Pricing
DIY automotive painting projects typically cost between $200 and $800 for materials and basic equipment, depending on the quality of products you choose. We recommend budgeting for primer ($30-60), base coat paint ($80-200), clear coat ($50-120), sandpaper ($40-80), and masking supplies ($20-40). Basic spray guns range from $50 to $300, while professional-grade equipment can exceed $500.
Professional automotive painting services charge between $1,500 and $5,000 for a complete vehicle repaint, with premium shops demanding $8,000 to $15,000 for show-quality finishes. Labor costs account for 60-70% of professional pricing, reflecting the skilled craftsmanship required for surface preparation, application, and finishing. We find that collision repair shops typically offer competitive rates for partial repainting, while custom paint specialists command higher prices for specialized techniques like metallic finishes or airbrushing.
Material and Equipment Investment Costs
Quality automotive paint systems represent the largest material expense, with single-stage paints costing $80-150 per quart and premium base coat/clear coat systems ranging from $200-400 per vehicle kit. We estimate that professional-grade spray guns cost $300-800, air compressors suitable for automotive painting range from $400-1,200, and proper ventilation systems add $500-2,000 to initial setup costs.
Surface preparation materials include automotive soap ($15-25), degreasers ($20-40), various grit sandpapers ($60-120 for complete sets), and primers specifically formulated for automotive applications ($40-80 per quart). Masking materials like high-quality automotive tape, paper, and plastic sheeting typically cost $50-100 per project. We recommend investing in quality mixing cups, paint strainers, and measuring tools, which add another $40-80 to material costs.
Long-Term Value and Maintenance Expenses
Professional automotive paint jobs increase vehicle resale value by $2,000-4,000 when properly executed, making them worthwhile investments for classic cars or high-value vehicles. We observe that quality paint work protects the underlying metal from corrosion, potentially saving thousands in body repair costs over the vehicle’s lifetime. Premium clear coat systems with UV protection maintain their appearance for 8-12 years with proper care, while budget paints may require reapplication within 3-5 years.
Maintenance expenses include regular washing with pH-balanced automotive soaps ($20-40 annually), periodic waxing or ceramic coating applications ($100-300 every 1-2 years), and touch-up paint for minor chips ($30-60 per repair). We calculate that vehicles with professional paint jobs require approximately $200-400 in annual maintenance to preserve their finish quality. Protective films and ceramic coatings add $800-2,500 to initial costs but reduce long-term maintenance requirements and extend paint life significantly.
Maintaining Your Newly Painted Vehicle
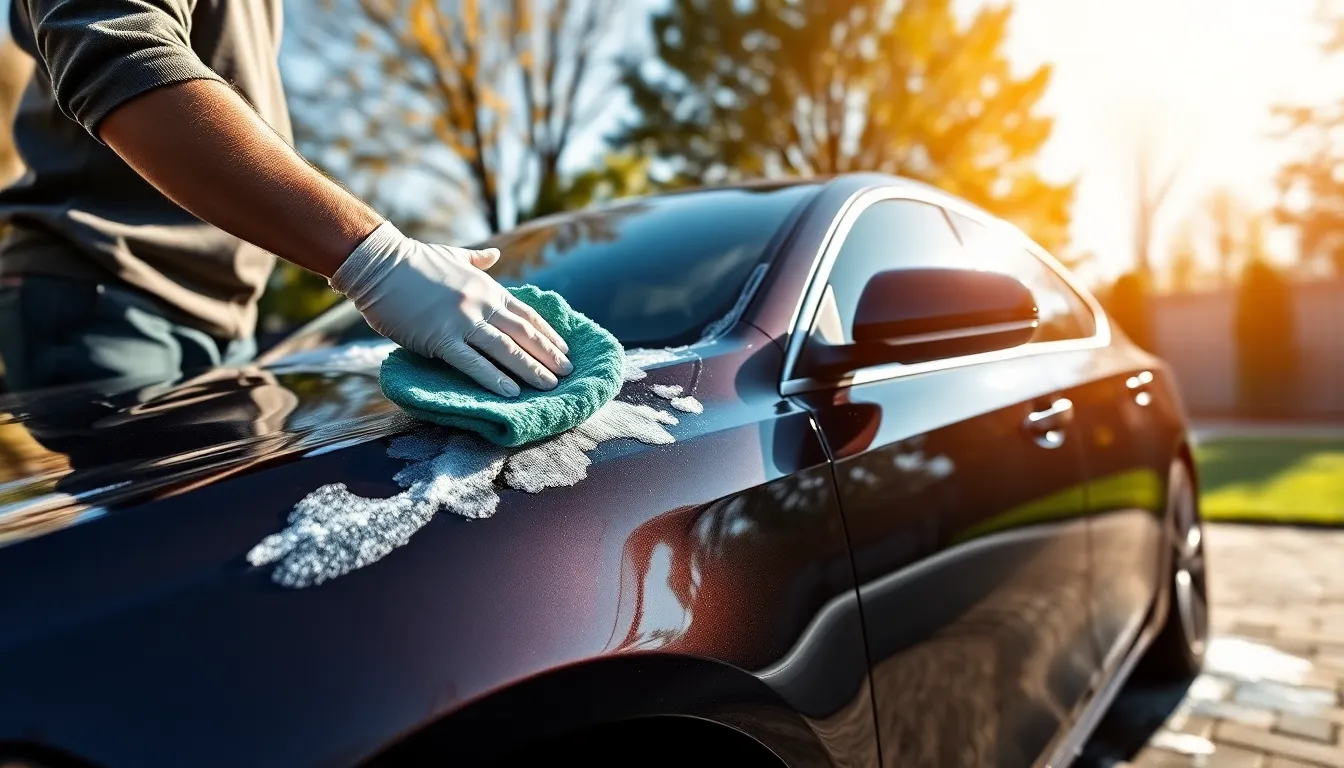
Preserving your automotive paint investment requires consistent care and attention to prevent costly repairs. Regular maintenance practices will extend the lifespan of your paint job and maintain its showroom appearance.
Proper Washing and Care Techniques
Hand washing remains the safest method for preserving your newly painted vehicle’s finish. We recommend waiting at least 30 days after painting before your first wash to allow the paint to fully cure and harden.
Start with a thorough rinse to remove loose dirt and debris. Use a two-bucket wash system—one for soapy water and another for rinsing your wash mitt. This technique prevents scratching by keeping contaminated water separate from your clean washing solution.
Choose pH-neutral car soap specifically designed for automotive paints. Harsh detergents and dish soap can strip protective waxes and damage the clear coat over time. We suggest using a high-quality microfiber wash mitt or natural sea sponge for gentle cleaning.
Work from top to bottom in straight lines rather than circular motions. This approach minimizes swirl marks and ensures even cleaning across all painted surfaces. Rinse your wash mitt frequently in the separate rinse bucket to maintain cleanliness.
Dry immediately after washing using a clean microfiber towel or chamois. Avoid air-drying, which can leave water spots that etch into the paint surface. Pat dry rather than drag the towel across the paint to prevent micro-scratches.
Protecting Against Environmental Damage
Apply a quality car wax or sealant within 60 days of painting for optimal protection. We recommend using carnauba wax for deep shine or synthetic sealants for longer-lasting protection against UV rays and environmental contaminants.
Park in covered areas whenever possible to minimize sun exposure. Direct sunlight causes paint oxidation and fading over time, particularly affecting metallic and pearl finishes. Garage parking or covered carports provide the best protection.
Remove bird droppings, tree sap, and road tar immediately upon discovery. These contaminants can permanently stain or etch your paint if left untreated. Use specialized automotive cleaners designed for each type of contamination.
Consider ceramic coating application for premium long-term protection. Professional ceramic coatings create a semi-permanent barrier that repels water, dirt, and chemical contaminants while improving gloss retention.
| Protection Method | Duration | Cost Range | Effectiveness |
|---|---|---|---|
| Carnauba Wax | 2-3 months | $20-$50 | Good UV protection |
| Synthetic Sealant | 6-8 months | $30-$80 | Excellent durability |
| Ceramic Coating | 2-5 years | $500-$2,000 | Superior protection |
Install paint protection film on high-impact areas like the front bumper and hood. Clear protective films shield against stone chips and road debris while maintaining your paint’s original appearance.
Touch-Up and Repair Strategies
Keep matching touch-up paint on hand for immediate minor scratch repair. Small chips and scratches should be addressed within days to prevent rust formation and further paint damage. Store touch-up paint in a cool, dry location to maintain its quality.
Clean and prepare the damaged area before applying touch-up paint. Remove any rust, dirt, or loose paint using fine-grit sandpaper or a small wire brush. Apply primer if bare metal is exposed before adding the color coat.
Use a fine brush or paint pen for precise application on small scratches. Apply thin layers and allow each coat to dry completely before adding additional paint. Build up the repair gradually rather than applying thick coats that may run or sag.
Sand and polish larger repairs to blend seamlessly with surrounding paint. Use 2000-grit wet sandpaper to level the repair, followed by polishing compound to restore gloss. This technique ensures invisible repairs on properly executed touch-ups.
Schedule professional repair for damage larger than a quarter-sized area. Extensive scratches, dents, or panel damage require professional color matching and blending techniques to maintain your vehicle’s appearance and value.
Conclusion
Automotive painting represents a perfect blend of technical skill and artistic expression that transforms vehicles while providing essential protection. We’ve covered every aspect from initial surface preparation to final protective coatings ensuring you’re equipped with comprehensive knowledge for success.
Whether you’re tackling a DIY project or working with professionals the key lies in understanding the fundamentals and never compromising on quality. Remember that proper preparation accounts for 80% of a successful paint job and rushing through any stage will show in the final results.
The investment in quality materials tools and techniques pays dividends through enhanced vehicle appearance increased resale value and long-lasting protection. With the right approach and attention to detail anyone can achieve professional-grade results that’ll make their vehicle stand out on the road.
Frequently Asked Questions
What are the main types of automotive paint systems?
There are three primary automotive paint systems: single-stage (color and gloss in one application), base coat/clear coat (separate color and protective layers), and three-stage systems (base, color, and clear coat). Base coat/clear coat systems are most popular for their durability and professional finish quality. Each system has specific application requirements and advantages depending on your project needs.
How much does it cost to paint a car professionally vs. DIY?
DIY automotive painting typically costs $200-$800 for materials, while professional services range from $1,500-$5,000 for standard work. Premium shops can charge up to $15,000 for show-quality finishes. Professional jobs offer better durability and resale value, while DIY projects require significant time investment but provide substantial cost savings for skilled individuals.
What safety equipment is essential for automotive painting?
Essential safety equipment includes a high-quality respirator mask, protective clothing, safety goggles, and nitrile gloves. Proper ventilation systems are crucial to remove fumes and overspray. Fire safety measures should include appropriate extinguishers and elimination of ignition sources. Personal protective equipment prevents harmful chemical exposure and ensures safe working conditions throughout the painting process.
How important is surface preparation for automotive painting?
Surface preparation is critical for professional results and paint adhesion. It involves thorough cleaning, degreasing, sanding old paint, and applying primer to bare metal. Poor preparation leads to paint failure, poor adhesion, and unprofessional appearance. Proper preparation typically takes 70-80% of total project time but ensures long-lasting, high-quality results.
What’s the difference between water-based and solvent-based automotive paints?
Water-based paints offer environmental advantages with lower VOC emissions, faster drying times, and easier cleanup. Solvent-based paints provide superior durability and weather resistance but require more safety precautions. Water-based options are becoming more popular due to environmental regulations, while solvent-based paints remain preferred for maximum longevity in harsh conditions.
How do I choose the right primer for my automotive project?
Primer selection depends on the substrate and project requirements. Epoxy primers offer excellent adhesion and corrosion protection for bare metal. Self-etching primers work well on aluminum and galvanized surfaces. High-build primers help smooth imperfections. Urethane primers provide excellent sandability and durability. Consider the base material and topcoat compatibility when selecting primers.
What causes orange peel texture in automotive paint and how can I fix it?
Orange peel texture results from improper spray gun settings, incorrect paint viscosity, or poor environmental conditions. Fix it by adjusting air pressure, thinning paint properly, maintaining correct gun distance, and ensuring optimal temperature/humidity. Severe orange peel requires wet sanding with fine grit paper followed by polishing to restore smooth finish.
How long should I wait between paint coats?
Waiting times vary by paint type and environmental conditions. Typically, base coats require 15-30 minutes between coats, while primers may need 30-60 minutes. Clear coats often have specific recoat windows (usually 30 minutes to 24 hours). Follow manufacturer specifications and consider temperature/humidity effects on drying times for optimal adhesion.
When should I apply protective coatings after painting?
Protective coatings like ceramic coatings should be applied after paint has fully cured, typically 30-90 days depending on paint type and conditions. Paint protection films can be applied sooner, usually within 1-2 weeks. Rushing application can trap solvents and compromise coating adhesion. Proper timing ensures maximum protection and coating performance.
How do I maintain a newly painted vehicle?
Maintain newly painted vehicles by hand washing with pH-neutral soap using a two-bucket system. Apply quality wax or sealant every 3-6 months for protection. Park in covered areas when possible to minimize UV exposure. Address scratches and chips promptly with touch-up paint. Avoid automatic car washes for at least 30 days after painting.

