Drawing cars doesn’t have to feel overwhelming or intimidating. Whether you’re a complete beginner or someone looking to improve your sketching skills, we’ve discovered that mastering car drawings comes down to understanding basic shapes and following simple step-by-step techniques.
We know how frustrating it can be when your car drawings don’t match what you envision in your mind. The wheels look wonky, the proportions seem off, and suddenly that sleek sports car resembles more of a confused box on wheels. But here’s the thing – even professional artists started with simple geometric shapes before creating those stunning automotive masterpieces.
That’s exactly why we’ve put together this comprehensive guide to make car drawing accessible for everyone. We’ll walk you through proven methods that transform complex vehicle designs into manageable, easy-to-follow steps that actually work.
Start With Basic Shapes for Easy Car Drawing
We’ll transform your car drawing skills by mastering fundamental geometric shapes that form the backbone of every vehicle design. These simple building blocks make complex automotive forms manageable and achievable.
Use Rectangles and Ovals as Your Foundation
Rectangles serve as the main body structure for most car drawings. Start by sketching a horizontal rectangle for the car’s main chassis, then add a smaller rectangle on top for the cabin area. This two-rectangle approach works for sedans, SUVs, and hatchbacks alike.
Ovals create the essential curved elements that bring cars to life. Draw four small ovals for wheels, positioning them at the bottom corners of your main rectangle. Add larger ovals for headlights, windows, and the front grille area. These curved shapes soften the angular foundation and create that recognizable automotive silhouette.
Combine different rectangle sizes to represent various car types. Sports cars use longer, lower rectangles while trucks require taller, more robust shapes. Adjust the proportions of your foundation rectangles to match your desired vehicle style.
Connect Simple Geometric Forms
Smooth transitions between shapes create realistic car contours. Connect your rectangles and ovals using gentle curved lines rather than sharp angles. The connection between the hood rectangle and windshield oval determines whether your car looks sleek or boxy.
Layer geometric forms to add depth and dimension. Place a smaller rectangle inside your main body rectangle to represent the door panels. Add triangular shapes for side windows and diamond forms for more complex design elements like spoilers or air intakes.
Use overlapping shapes to create visual interest. Position your wheel ovals so they partially extend beyond the main body rectangle, creating that authentic look where tires peek out from the car’s frame. This overlap technique adds realism to your basic shape foundation.
Practice Basic Proportions
Standard car proportions follow the 3-to-1 rule for length to height. Most passenger cars measure roughly three times longer than they are tall, which you can achieve by making your main rectangle three times wider than its height. This ratio creates balanced, realistic looking vehicles.
Wheel placement affects the entire car’s appearance. Position your wheel ovals about one wheel diameter from each end of your main rectangle. This spacing prevents your car from looking cramped or stretched, maintaining proper automotive proportions that viewers expect.
Window sizes should balance with the car body. Make your cabin rectangle approximately one-third the height of your main body rectangle. Larger windows create a more modern look while smaller windows suggest classic or luxury vehicle styles. Practice these proportions until they become second nature in your car drawing process.
Master Simple Side View Car Drawings
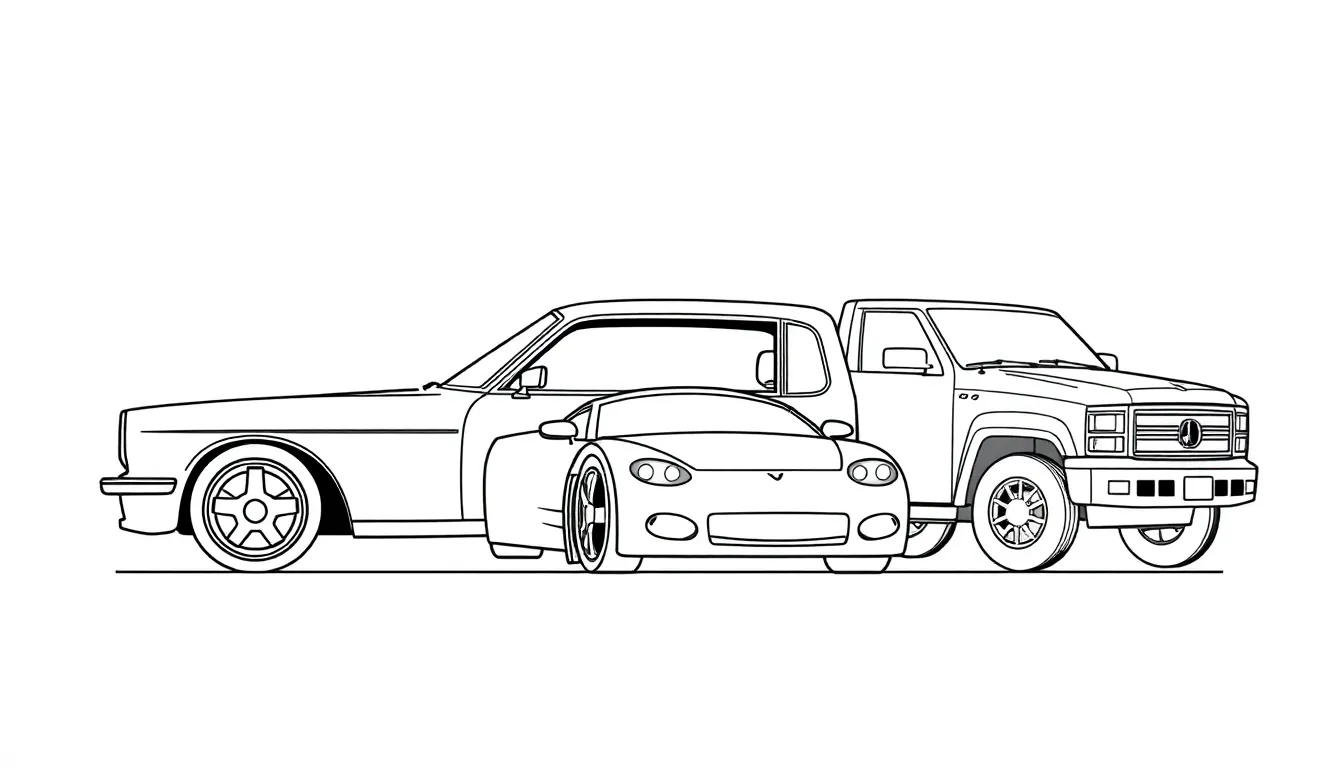
Side profile drawings showcase the fundamental structure of vehicles while keeping proportions clear and manageable. We’ll explore three essential car types that form the foundation of automotive sketching.
Draw the Classic Sedan Profile
Start with a long rectangle for the sedan’s main body, making it roughly three times longer than it’s tall. Position a smaller rectangle on top for the passenger cabin, placing it slightly toward the rear of the base shape. Add two circles at the bottom corners for wheels, ensuring they extend below the body rectangle by about one quarter of their diameter.
Connect the cabin to the body using gentle slopes for the windshield and rear window. Create the front end by rounding the leading edge of the rectangle and adding a slight dip for the hood line. Draw the rear section with a subtle upward curve to form the trunk area.
Refine the profile by smoothing all connection points between shapes. Add basic details like door lines running horizontally across the body and simple bumper shapes at both ends. Keep window proportions balanced, with the rear window slightly smaller than the windshield.
Create a Basic Sports Car Silhouette
Begin with a flattened rectangle that’s lower and sleeker than the sedan shape. Make this base form approximately four times longer than its height to capture the sports car’s stretched appearance. Position the cabin rectangle much lower and further back, creating the distinctive wedge profile.
Shape the front end with a sharp, angled nose that slopes dramatically upward from the ground. Extend this line to form the long hood characteristic of sports cars. Create the windshield with a steep rake angle, connecting it smoothly to a low roofline.
Add large wheels that fill more space relative to the body compared to sedan proportions. Draw the rear section with an abrupt cutoff or subtle spoiler shape. Include side air intakes as simple rectangular or oval shapes behind the doors to enhance the sporty appearance.
Sketch a Simple Truck Outline
Create the truck foundation using a square or slightly rectangular shape for the cab section. This cabin should be taller and more upright than car profiles, with a height roughly equal to its width. Attach a longer rectangle behind it for the truck bed, making this section about 1.5 times the cab’s length.
Position larger circles for wheels, spacing them wider apart than car wheels to accommodate the truck’s extended wheelbase. Make the front wheel sit directly under the front edge of the cab, while the rear wheel aligns with the back portion of the bed.
Form the truck’s characteristic straight lines by keeping the hood short and nearly horizontal. Draw the windshield more upright than car windshields, creating an almost vertical angle. Add the bed walls as simple vertical lines, and include a tailgate as a straight vertical element at the rear.
Connect all sections with clean, straight lines rather than the curved transitions used in car drawings. This angular approach captures the truck’s utilitarian design and makes the drawing process more straightforward for beginners.
Learn Front View Car Drawing Techniques
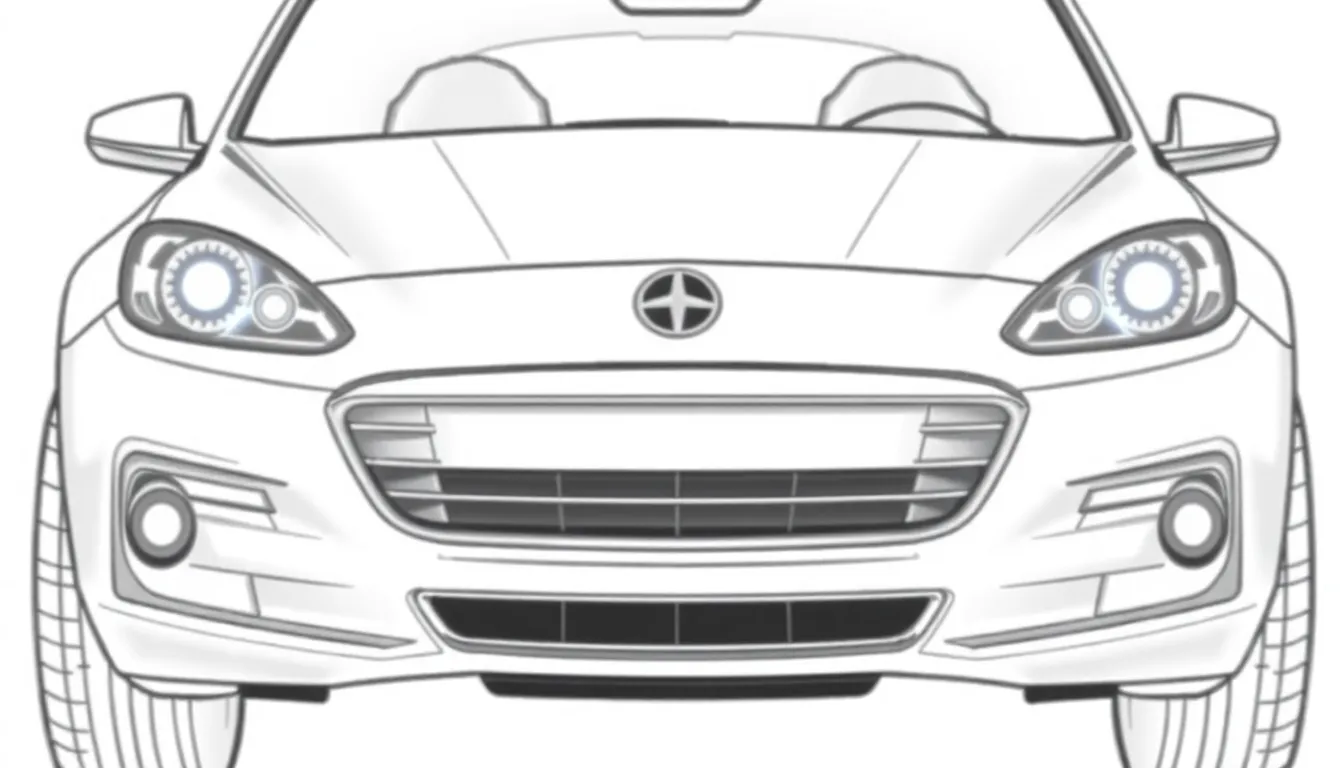
Now that we’ve mastered side view profiles, let’s shift our perspective to front view car drawings. Front view techniques require attention to symmetry and distinctive automotive features that make vehicles instantly recognizable.
Focus on Headlight and Grille Details
Headlights serve as the “eyes” of your car drawing and create immediate visual impact. Start by sketching two oval or circular shapes positioned at the upper corners of your car’s front end. Modern vehicles typically feature sleek, elongated headlight designs, while classic cars often have round or rectangular headlights.
Position headlights approximately one-third down from the top of your car’s front face. Keep them evenly spaced with a distance roughly equal to one headlight width between them. Add smaller circles inside each headlight to represent the actual light source, then include subtle curved lines to suggest the headlight housing depth.
Grilles define your vehicle’s personality and brand identity. Draw the grille as a rectangular or trapezoidal shape positioned between and slightly below the headlights. Sports cars feature wide, aggressive grilles, while luxury sedans often have more refined, vertical designs. Sketch horizontal or vertical lines within the grille shape to represent the characteristic pattern, keeping these lines consistent in spacing and direction.
Draw Symmetrical Front Bumpers
Front bumpers provide the foundation for your car’s front view structure. Begin with a gentle curved line that spans the entire width of your vehicle’s front end. This line should arch slightly downward in the center, creating the bumper’s natural contour.
Divide your bumper into three sections: left, center, and right portions. The center section typically houses the license plate area, while the outer sections accommodate fog lights or air intakes. Draw these elements as small rectangles or ovals positioned symmetrically on each side.
Maintaining perfect symmetry ensures professional looking results. Use light guidelines running vertically down the center of your drawing to keep all elements aligned. Measure distances from this center line to ensure both sides mirror each other exactly. Check that headlights, grille elements, and bumper details maintain equal spacing and proportions.
Add Simple Windshield Shapes
Windshields create the upper boundary of your front view car drawing. Start by drawing a slightly curved horizontal line above your headlights, representing the windshield’s bottom edge. This line should connect smoothly with the car’s side pillars, creating a natural flow.
Sketch the windshield as a gentle arc or trapezoid shape, with the top edge wider than the bottom. Modern vehicles feature more raked windshields with pronounced curves, while trucks and SUVs have more upright, rectangular windshield shapes. Keep the curvature subtle to maintain realism.
Windshield pillars frame your design and add structural definition. Draw two slightly angled lines extending upward from each side of the windshield base. These A-pillars should lean slightly inward toward the center, creating the characteristic wedge shape seen in most vehicles. Add thin parallel lines inside these pillars to suggest window frames and structural depth.
Position a small rectangular or oval shape at the center bottom of your windshield to represent the rearview mirror attachment point. This detail adds authenticity and helps viewers immediately recognize your drawing as a complete vehicle front view.
Practice Drawing Car Wheels and Tires
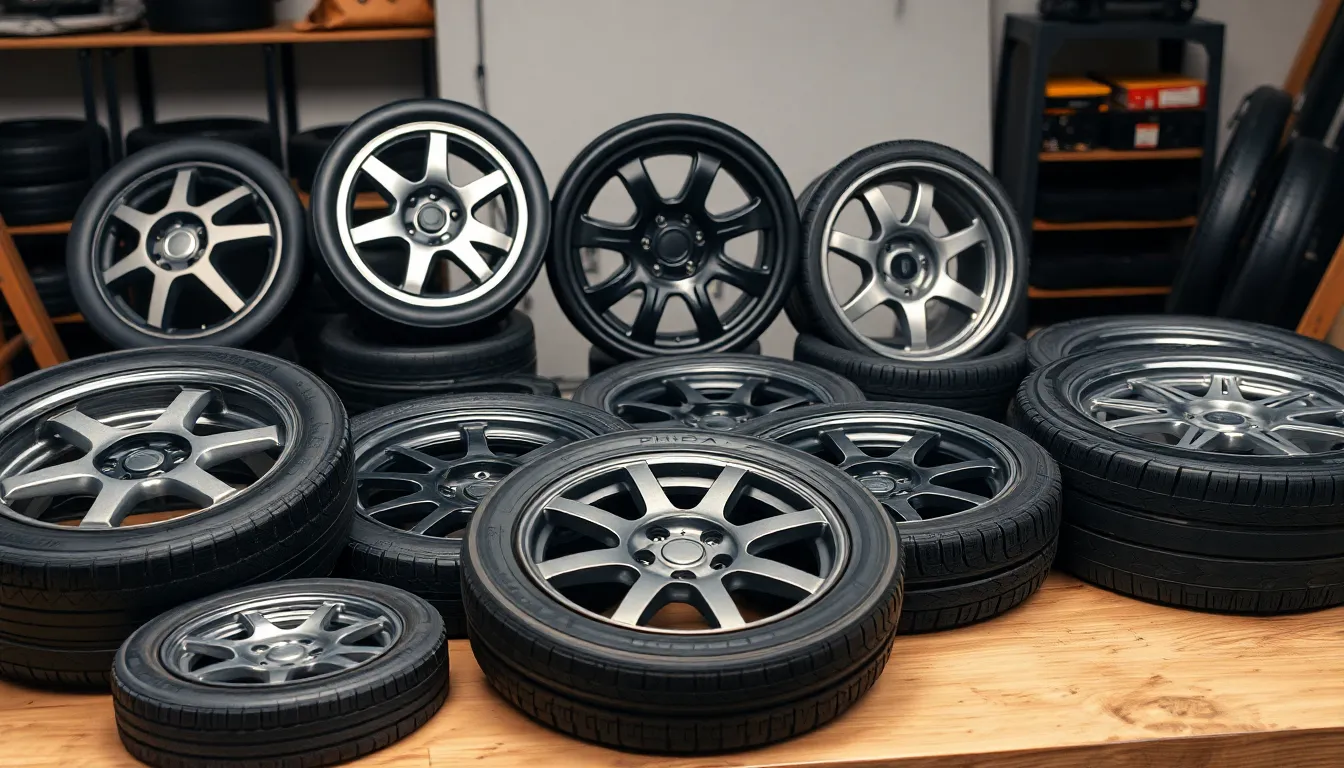
We’ll focus on wheels and tires next, as these elements significantly impact your car’s overall appearance and realism.
Start With Perfect Circles
Starting with perfect circles forms the foundation of convincing wheel drawings. We recommend using a compass or circular template to ensure your wheels maintain consistent roundness, especially when drawing multiple wheels on the same vehicle. Practice drawing circles freehand by making light, continuous motions with your pencil rather than short, choppy strokes.
Circle consistency becomes crucial when positioning wheels at different angles or perspectives. We suggest drawing the outer tire circle first, followed by a smaller inner circle for the rim. Maintaining proper proportions between these circles creates the wheel’s depth and dimension. Keep practicing until you can draw smooth circles without hesitation, as this skill translates to more professional looking car drawings.
Add Rim Details Gradually
Adding rim details transforms basic circles into realistic wheel components. We start by dividing the inner circle into equal sections, typically 4, 5, or 6 segments depending on the rim design you’re creating. Draw light guidelines from the center to the rim’s edge to establish these divisions accurately.
Rim spokes come next, and we recommend keeping them simple at first with straight lines or gentle curves. Sports car rims often feature sharp, angular designs while luxury vehicles typically have more flowing, curved spoke patterns. Build complexity gradually by adding smaller details like bolt patterns, center caps, and spoke thickness variations. Practice different rim styles to expand your wheel drawing repertoire.
Create Realistic Tire Treads
Creating realistic tire treads adds authentic texture to your wheel drawings. We begin by drawing the tire’s sidewall with a slightly curved line that connects the rim to the outer edge of the tire. This curve gives the tire its characteristic bulge and three dimensional appearance.
Tread patterns vary significantly between tire types, but we’ll focus on the most common designs. Draw small rectangular blocks around the tire’s circumference for standard all season treads, or create diagonal lines for performance tires. Racing slicks require minimal or no tread pattern, making them the simplest option for beginners. Add subtle shading between tread blocks to enhance the tire’s depth and realism. Remember that visible tread details work best on tires shown from certain angles, so adjust your approach based on your car’s perspective.
Add Essential Car Details Step by Step
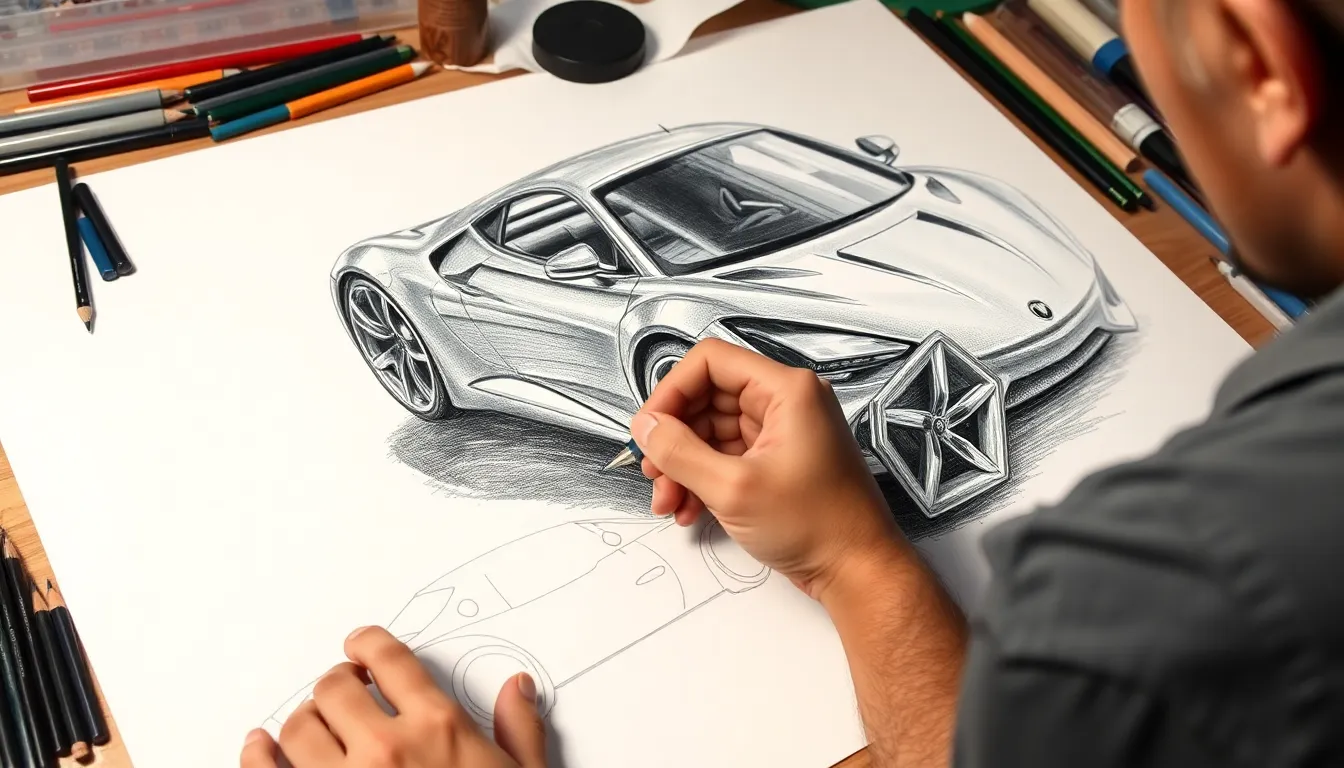
We’ll transform your basic car outline into a detailed vehicle by adding essential components that bring your drawing to life. These finishing touches will make your car drawing look complete and realistic.
Include Door Handles and Windows
Door handles represent one of the smallest yet most crucial details that instantly make your car drawing recognizable. We position door handles about one-third up from the bottom of the door panel, creating small rectangular or oval shapes that extend slightly outward from the car’s surface. Modern cars typically feature two door handles on sedans or four handles on larger vehicles like SUVs and trucks.
Windows create the transparent areas that define your car’s interior visibility and overall proportions. We start by drawing the main windshield as a slightly angled rectangle that follows the car’s roofline, ensuring it connects smoothly with the side pillars. Side windows should align with the door frames, maintaining consistent spacing and proportional heights throughout the vehicle.
Corner windows at the rear typically appear smaller and more angled than front side windows, reflecting the car’s aerodynamic design. We add subtle curved lines inside each window to suggest glass thickness and depth, making them appear more three dimensional.
Draw Simple Headlights and Taillights
Headlights serve as the car’s “eyes” and significantly impact its personality and recognizability. We draw headlights as oval or almond shaped elements positioned at the front corners of the vehicle, ensuring they’re symmetrical and properly aligned with the car’s grille. Modern cars often feature wraparound headlights that extend slightly onto the vehicle’s sides.
Inner headlight details include small circles for the main beam and high beam elements, along with curved lines that suggest the headlight housing. We keep these details simple but proportional to maintain the drawing’s clean appearance.
Taillights mirror the headlight approach but typically appear as horizontal rectangles or ovals at the car’s rear. We position taillights symmetrically on both sides of the trunk area, often connecting them with subtle lines that suggest the rear light bar found on many modern vehicles. Simple curved lines within each taillight suggest the reflective surfaces and internal components.
Add Basic Mirror and Antenna Elements
Side mirrors provide essential safety features and add realistic proportions to your car drawing. We attach mirrors to the front doors using small triangular or teardrop shaped elements that extend outward from the vehicle’s sides. Each mirror connects to the car body through a thin stem or mounting arm that appears as a simple curved line.
Mirror shapes vary by vehicle type, with larger SUVs featuring bigger rectangular mirrors while sports cars often have smaller, more streamlined designs. We ensure both mirrors match in size and positioning to maintain visual balance.
Antenna elements complete the car’s communication features and add subtle vertical interest to the design. Traditional whip antennas appear as thin vertical lines extending from the rear fender or trunk area, while modern shark fin antennas create small triangular shapes positioned on the roof. We draw these elements proportionally small to avoid overwhelming the car’s main design while still adding authentic detail to our finished drawing.
Use Shading Techniques for Realistic Cars
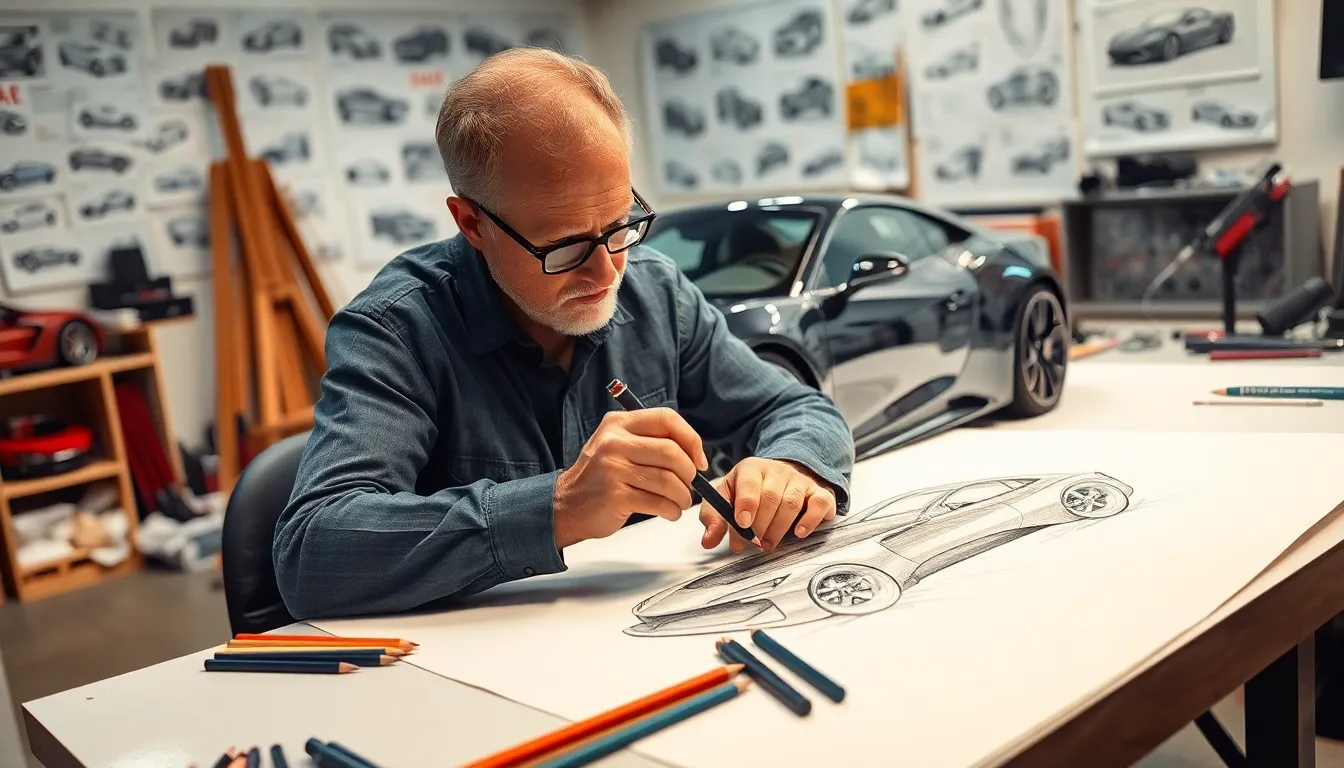
Transform your detailed car drawings from flat sketches into three-dimensional masterpieces using fundamental shading methods. We’ll explore proven techniques that bring depth and realism to your automotive artwork.
Apply Light and Shadow Basics
Establish a single light source to maintain consistency throughout your car drawing. We recommend positioning the light source from the upper left corner, creating natural shadows that fall toward the bottom right. This approach mimics natural sunlight and produces the most realistic results.
Identify three basic shadow types on your car’s surface: cast shadows, core shadows, and reflected light areas. Cast shadows appear where objects block light completely, such as under the car body or beneath protruding elements like side mirrors. Core shadows form on surfaces facing away from your light source, typically on the car’s far side or underside of body panels.
Map shadow areas first before adding any shading to your drawing. We suggest sketching light guidelines to mark where shadows will fall across the hood, doors, and roof sections. This planning step prevents inconsistent lighting and ensures your finished drawing looks professionally rendered.
Create Depth With Simple Gradients
Start with basic pencil gradients using a 2B or 4B pencil for smooth transitions. We recommend practicing gradient strips on separate paper first, moving from light pressure to heavy pressure in one continuous motion. This technique helps you control the pencil’s tonal range before applying it to your car drawing.
Apply gradual shading to curved surfaces like the car’s hood, roof, and door panels. Begin with light strokes at the highlight areas and gradually increase pressure as you move toward the shadow regions. We find that circular motions work best for large, smooth surfaces like car roofs and hoods.
Blend tonal transitions using a blending stump or tissue paper to eliminate harsh lines between light and dark areas. Work from light to dark zones, lifting the tool frequently to avoid overblending. We suggest leaving some visible pencil strokes on textured surfaces like bumpers and trim pieces for added realism.
Highlight Key Car Surfaces
Focus on reflective surfaces that naturally catch and bounce light, including windows, chrome bumpers, and polished body panels. We recommend leaving these areas completely white or adding minimal shading to represent their mirror-like qualities. Car windshields and side windows should contain strong contrast between light reflections and darker interior areas.
Emphasize curved body panels where light naturally creates highlights along the car’s edges and raised surfaces. Door handles, wheel wells, and body trim typically catch light and should remain lighter than surrounding areas. We find that these highlighted edges help separate different car components and add dimensional quality.
Add contrast to wheel areas by darkening the space inside wheel wells and behind tires while keeping the tire’s contact patch very dark. Chrome rims and hubcaps should contain bright highlights with sharp transitions to darker areas. We suggest using an eraser to pull out bright spots on metallic surfaces, creating the illusion of polished metal reflecting your established light source.
Try Drawing Different Car Types Easily
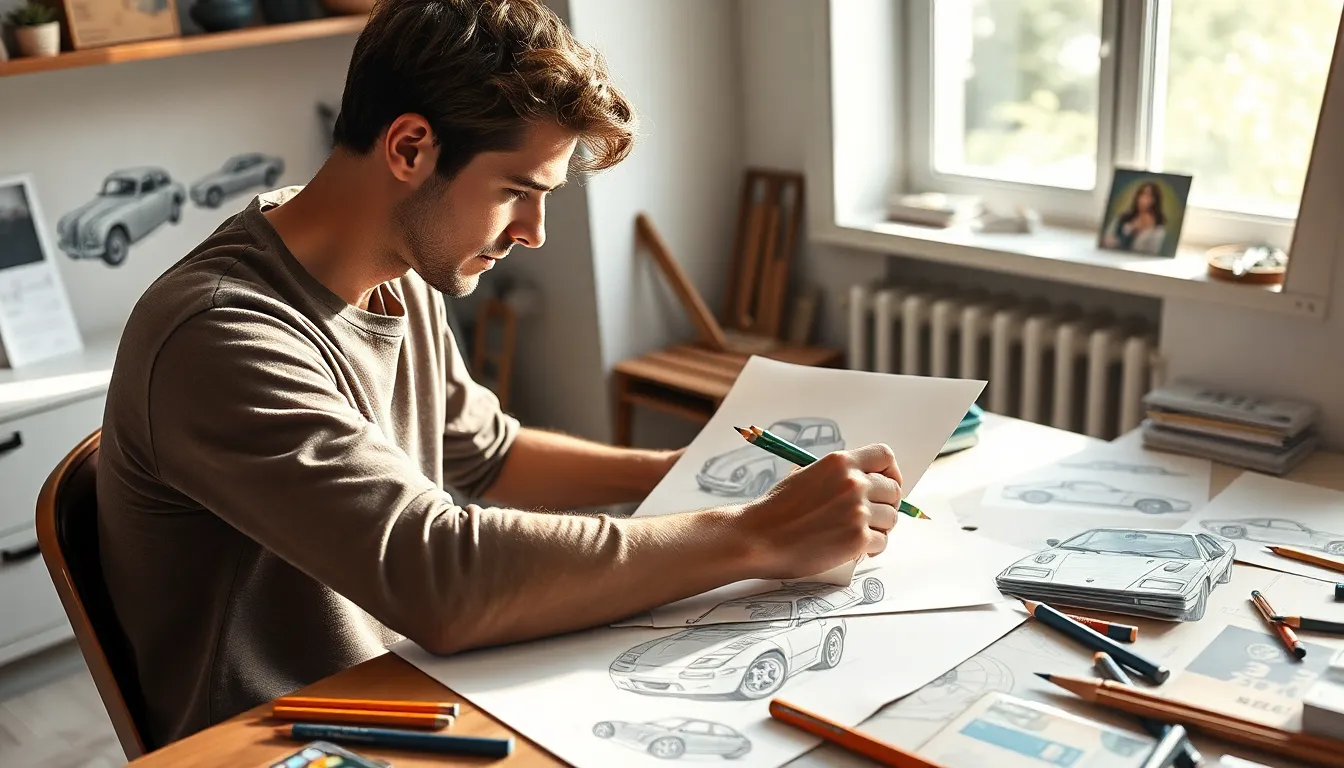
Drawing diverse car types helps you develop versatility and expand your artistic range. Each vehicle category offers unique design challenges that’ll strengthen your fundamental skills.
Sketch Classic Muscle Cars
Classic muscle cars feature bold, powerful proportions that make them exciting to draw. Start with a long rectangular body that’s wider at the rear than the front, creating that iconic wedge shape we associate with American muscle.
Focus on these distinctive muscle car elements:
- Hood scoops sit prominently on the front hood, appearing as raised rectangular or oval shapes
- Wide stance requires drawing wheels positioned further apart than typical sedans
- Chrome bumpers need clean, reflective surfaces with subtle shading underneath
- Racing stripes run down the center of the car as parallel lines
Draw the front end with an aggressive grille that dominates the face of the vehicle. Position dual headlights on either side, making them round or rectangular depending on your chosen model. Add a prominent hood that extends forward, giving the car its characteristic powerful appearance.
Muscle cars typically have shorter cabin areas compared to their overall length. Create windows that appear smaller relative to the body, emphasizing the car’s muscular proportions. End with exhaust pipes that extend from the rear, often appearing as dual round or rectangular outlets.
Draw Modern Electric Vehicles
Modern electric vehicles showcase sleek, aerodynamic designs that prioritize efficiency and futuristic aesthetics. Begin with smoother, more curved shapes compared to traditional gas powered cars, as electric vehicles often feature flowing lines that reduce air resistance.
Electric vehicle characteristics to emphasize:
- Closed grilles appear as smooth panels rather than open air intakes
- Flush door handles sit nearly flat against the body surface
- Distinctive wheel designs often feature aerodynamic spoke patterns
- Clean body lines flow uninterrupted from front to rear
Start the front profile with a more rounded nose since electric cars don’t require large air intakes for cooling. Draw headlights that wrap around the corners, creating a modern appearance that many electric vehicles share. Position charging ports as small rectangular or circular elements, typically on the front fender or rear quarter panel.
Electric vehicles often have unique roof lines that slope dramatically toward the rear. Create this silhouette by drawing a gentle curve from the windshield to the rear spoiler. Add door handles that appear integrated into the body, contributing to the vehicle’s streamlined appearance.
Create Vintage Car Designs
Vintage cars from the 1920s through 1960s offer charming design elements that teach proportion and decorative details. Start with higher, more upright proportions compared to modern vehicles, as vintage cars typically featured taller cabins and more vertical windshields.
Key vintage car features include:
- Running boards extend along the sides as narrow platforms below the doors
- Exposed headlights mount separately from the body on chrome stalks or fenders
- Wire spoke wheels require detailed radial line patterns from center to rim
- Chrome trim appears as bright strips along body panels and window frames
Begin vintage car drawings with more angular, boxy shapes that reflect the manufacturing techniques of earlier eras. Draw fenders that appear separate from the main body, often bulging outward to cover the wheels completely. Position headlights as prominent circular elements that sit forward of the main body.
Vintage cars feature distinctive details like external spare tire mounts, often positioned on the rear or side of the vehicle. Add these as circular shapes with visible tire tread patterns. Create windows with thicker frames and more pronounced pillars, giving the cabin a sturdy, substantial appearance that contrasts beautifully with modern streamlined designs.
Apply Color to Your Easy Car Drawings
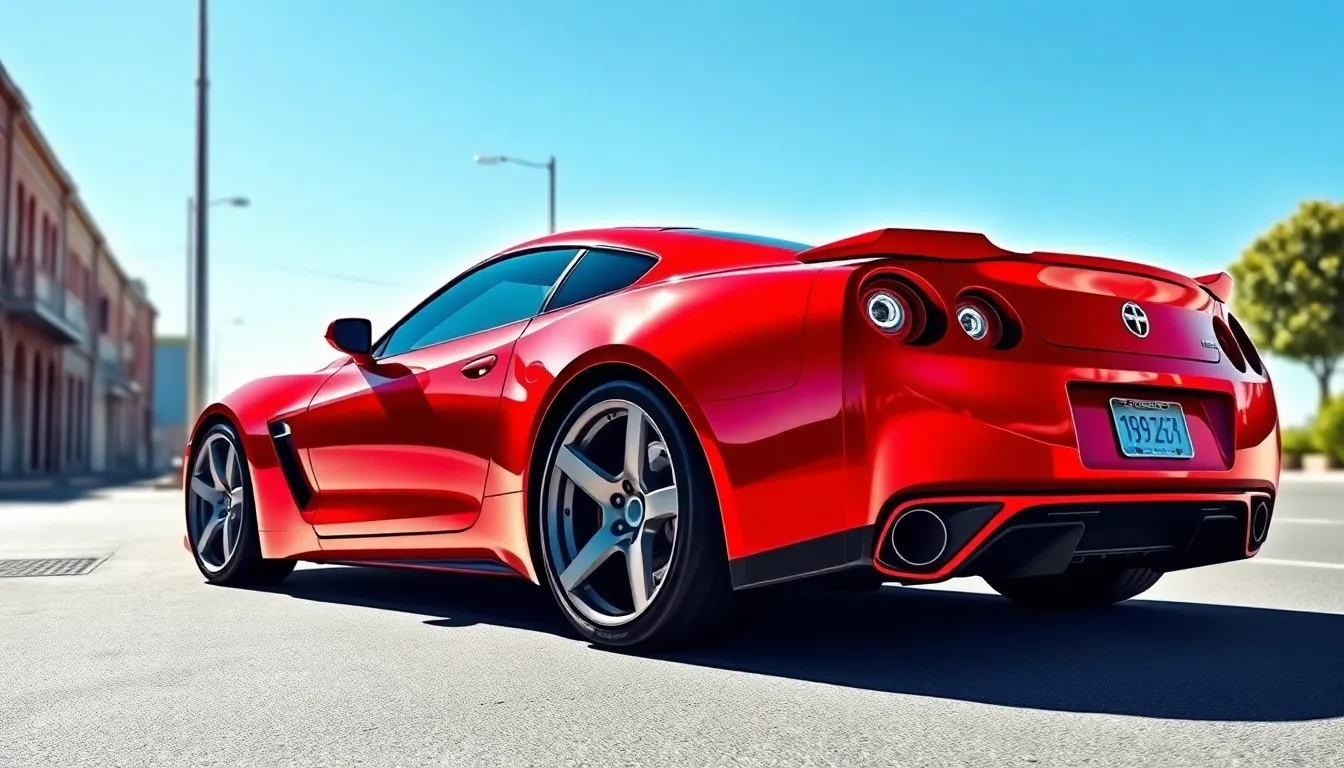
Coloring transforms our simple car sketches into vibrant, realistic vehicles that capture attention and demonstrate artistic skill. We’ll explore three fundamental techniques that bring life to our automotive artwork.
Choose Realistic Car Paint Colors
Common car colors create instant recognition and credibility in our drawings. We recommend starting with classic options like deep navy blue, metallic silver, or glossy black for sedans and luxury vehicles. Sports cars work exceptionally well with bold reds, bright yellows, or electric blues that emphasize their ever-changing nature.
Metallic finishes require special attention to color selection and application. We suggest using slightly cooler versions of base colors to simulate metal properties—choose steel blue instead of regular blue, or champagne gold rather than bright yellow. These subtle adjustments create convincing metallic appearances without complex techniques.
Reference real vehicles when selecting color combinations for accuracy. We observe that modern electric cars often feature unique colors like pearl white, matte gray, or distinctive two tone combinations. Classic muscle cars traditionally sport racing stripes in contrasting colors, while vintage automobiles showcase warmer tones like cream, burgundy, or forest green.
Add Reflective Surface Effects
Mirror like surfaces on car bodies reflect surrounding environments and light sources. We create these effects by adding lighter versions of our base color in curved areas where light naturally hits the vehicle. Focus on the hood center, door panels, and roof areas for maximum impact.
Window reflections require different techniques than body panel reflections. We use cooler colors like light blue or gray to simulate sky reflections in windshields and side windows. Adding thin white lines along window edges creates the appearance of bright light bouncing off glass surfaces.
Chrome and metal accents need special highlighting techniques to appear realistic. We apply silver or light gray base colors to bumpers, door handles, and trim pieces, then add pure white highlights along edges where light would naturally catch these surfaces. Small touches of darker gray in recessed areas create depth and dimension.
Use Simple Color Gradients
Smooth transitions between light and dark areas create professional looking results without advanced techniques. We start with our base car color and gradually blend to lighter shades on upper surfaces and darker tones on lower areas. This mimics natural lighting conditions and adds dimensional quality.
Curved surface gradients follow the natural flow of car body panels. We apply lighter colors along the center of hoods, doors, and roof areas, then gradually darken toward panel edges. This technique works particularly well with colored pencils or digital drawing tools that allow easy blending.
Shadow gradients underneath the vehicle ground the car drawing realistically. We use darker versions of surrounding surface colors—gray for concrete or green for grass—and create soft edges that fade outward from directly beneath the car. These cast shadows provide visual weight and prevent our colored cars from appearing to float above the ground.
Fix Common Car Drawing Mistakes
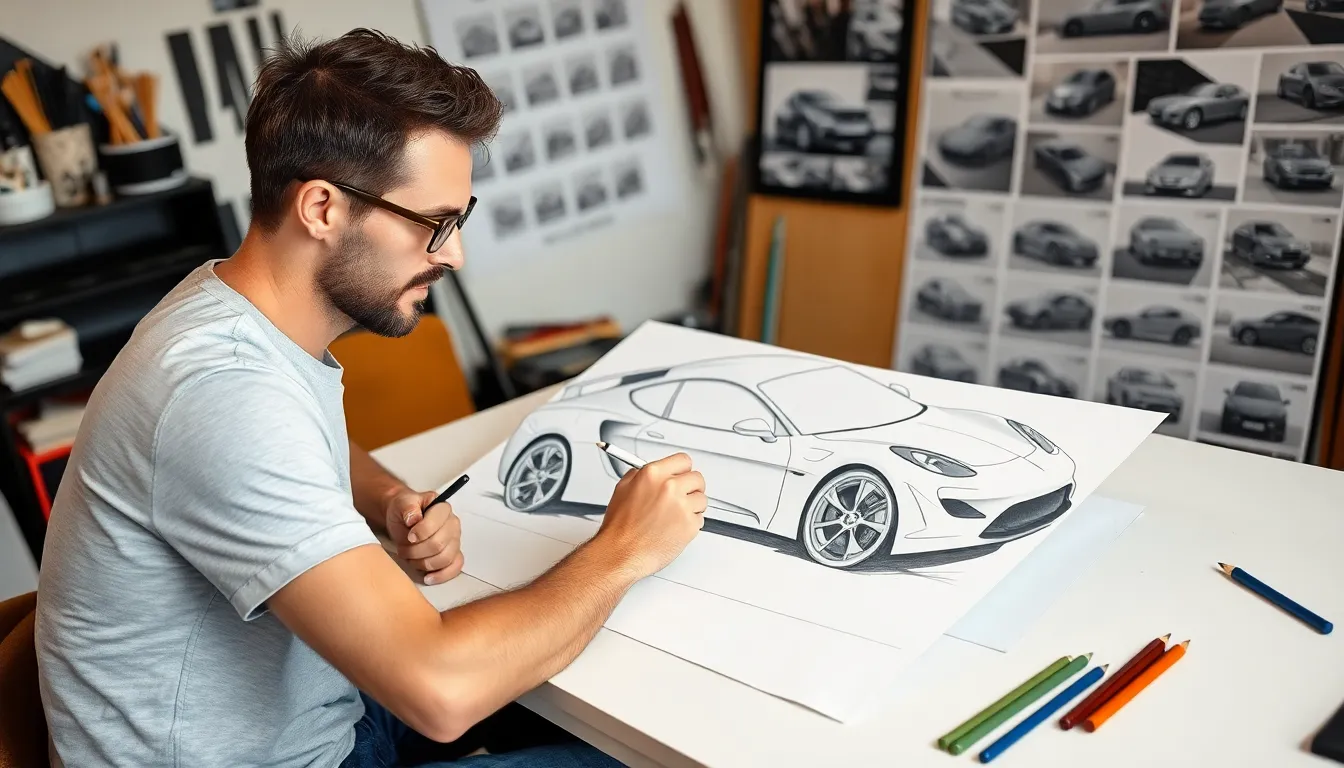
Even experienced artists encounter recurring problems when drawing cars. We’ll address the three most common issues that prevent your car drawings from looking professional and realistic.
Correct Proportion Problems
Proportion mistakes happen when we misjudge the relationship between different car parts. The most frequent error involves making wheels too small compared to the car body. We recommend following the standard rule where wheel diameter should measure approximately one-sixth of the car’s total length.
Body height creates another common proportion challenge. Most passenger cars follow a 3-to-1 ratio between length and height. Sports cars typically use a 4-to-1 ratio while SUVs and trucks use closer to 2.5-to-1 ratios.
Window placement affects the entire car’s visual balance. Position the windshield at roughly 30 degrees from vertical for sedans. Make sure side windows don’t extend too far forward or backward compared to the door panels.
Hood and trunk proportions need careful attention. The hood should occupy about 40% of the car’s total length while the passenger cabin takes up 35% and the trunk area uses the remaining 25%.
Avoid Symmetry Issues
Symmetry problems occur most frequently in front-view car drawings. We need to ensure both headlights match in size shape and position. Draw a light vertical centerline down your paper to help maintain perfect symmetry throughout the drawing process.
Grille alignment causes many symmetry failures. Make sure the grille sits perfectly centered between the headlights. Use the same spacing measurements on both sides of your centerline reference.
Wheel positioning creates obvious symmetry errors when misaligned. Both wheels must sit at exactly the same height from the ground. They should also maintain identical distances from the car’s vertical centerline.
Side mirror placement often breaks symmetry in three-quarter view drawings. Position mirrors at matching angles and distances from the windshield pillars. Remember that the far-side mirror should appear smaller due to perspective but maintain the same basic shape.
Fix Perspective Errors
Perspective mistakes make car drawings look flat or unrealistic. The most common error involves drawing all four wheels the same size in three-quarter view. The wheels farther from the viewer should appear smaller and more oval-shaped.
Vanishing point confusion leads to distorted car bodies. Establish a single vanishing point before you start drawing. All parallel lines on the car should converge toward this point including the roof line door edges and bumper elements.
Foreshortening errors affect the car’s depth perception. Elements closer to the viewer need to appear larger while distant parts should look compressed. The front bumper in a three-quarter view should appear wider than the rear bumper.
Horizon line placement impacts the entire drawing’s believability. Position your horizon line at the viewer’s eye level. Cars drawn below this line should show their undersides slightly while cars above it should reveal their roof details.
Practice With Step-by-Step Car Drawing Tutorials
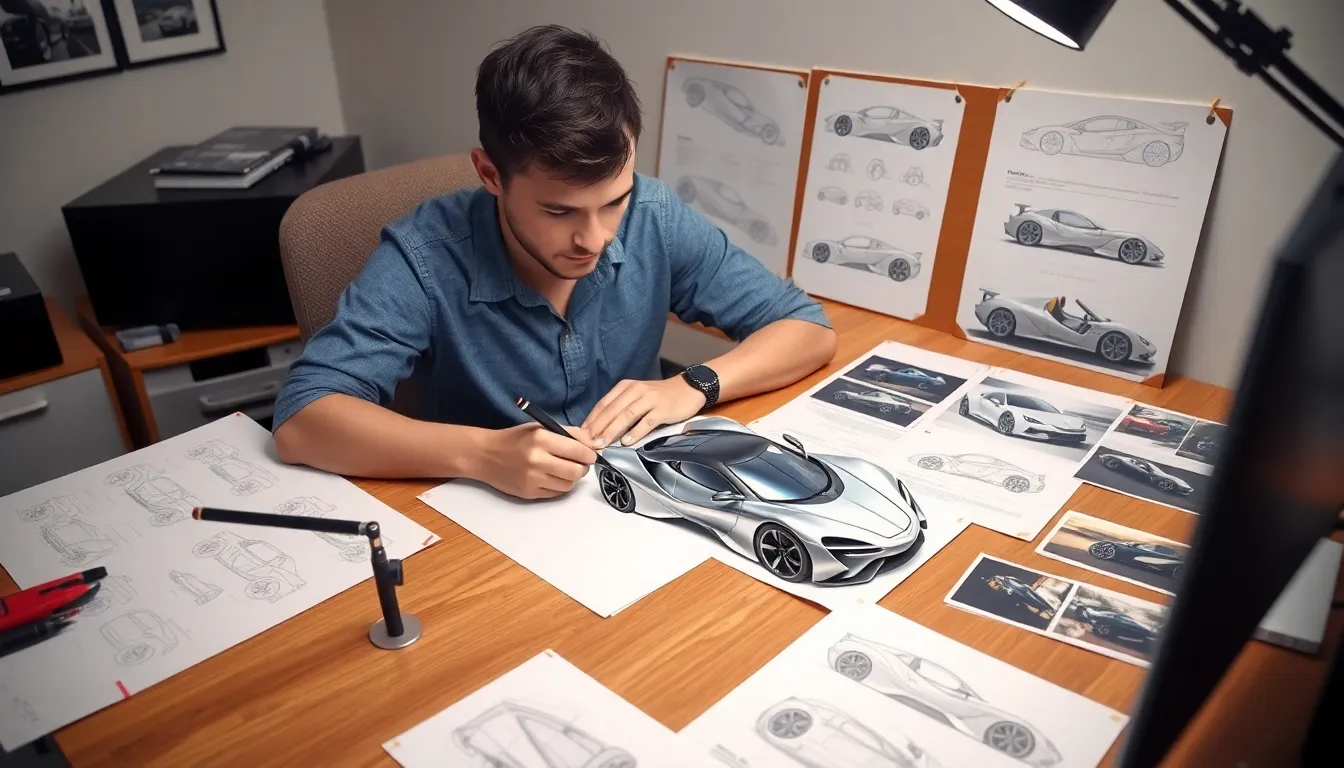
We’ve covered essential techniques for creating realistic car drawings. Now let’s focus on structured practice methods that’ll accelerate your drawing progress through guided exercises and systematic skill building.
Follow Guided Drawing Exercises
Start with detailed video tutorials that break down complex car designs into manageable 5-10 minute segments. We recommend beginning with basic sedan tutorials before advancing to sports cars or trucks, following the instructor’s timing and technique closely. Pause frequently during your first attempts to ensure you’re matching each step accurately.
Practice drawing templates provide excellent structured learning opportunities for developing muscle memory and proportion understanding. Download printable car drawing worksheets that include light guidelines for body shapes, wheel placement, and detail positioning. These templates eliminate guesswork while you focus on perfecting line quality and shading techniques.
Repeat the same tutorial multiple times to build consistency and confidence in your drawing approach. We suggest completing identical exercises at least three times, noticing how your accuracy and speed improve with each repetition. This repetitive practice reinforces proper proportions and helps you internalize the correct sequence of drawing steps.
Use Reference Photos Effectively
Select high-quality side-view photographs that clearly show the car’s profile without perspective distortion or shadows obscuring important details. We recommend using images from automotive websites or manufacturer galleries rather than casual snapshots, as these typically offer better lighting and clearer detail visibility.
Print reference images at actual drawing size to maintain accurate proportions while sketching. Place your reference photo directly beside your drawing paper, ensuring you can easily compare measurements and angles without constantly looking up. This setup prevents neck strain and helps maintain consistent focus on your artwork.
Study multiple angles of the same car model to understand how different perspectives affect proportions and detail visibility. Examine front, rear, and three-quarter views alongside your primary side-view reference to better comprehend the vehicle’s three-dimensional form. This comprehensive approach improves your spatial understanding and drawing accuracy.
Build Drawing Skills Progressively
Master basic shapes before adding complexity by spending dedicated time on rectangles, ovals, and connecting lines until you can draw them confidently from memory. We suggest practicing geometric car foundations for 10-15 minutes daily before attempting detailed drawings. This fundamental skill building creates a solid foundation for more advanced techniques.
Gradually increase detail levels over multiple drawing sessions rather than attempting to include every element in your first attempt. Begin with simple outlines, then add wheels and windows, followed by lights and handles, finishing with shading and reflections. This layered approach prevents overwhelm and ensures each element receives proper attention.
Set exact practice goals for each drawing session to maintain focused improvement and track your progress effectively. Dedicate individual sessions to mastering particular skills like wheel proportions, window angles, or headlight shapes rather than trying to improve everything simultaneously. This targeted practice accelerates skill development and builds confidence in exact areas.
Conclusion
Drawing cars doesn’t have to be overwhelming when we break it down into manageable steps. With consistent practice and the right approach we can transform simple geometric shapes into detailed automotive artwork that captures both accuracy and personality.
Remember that every professional artist started exactly where we are now. The key lies in building our foundation methodically – from basic shapes to complex details – while maintaining patience with our progress.
We’ve equipped ourselves with proven techniques that work for beginners and experienced artists alike. Whether we’re sketching our first sedan or tackling advanced shading these methods will serve as our reliable roadmap to automotive drawing success.
Keep practicing regularly and don’t hesitate to revisit earlier techniques as we advance. Our car drawings will improve dramatically with each session making this rewarding skill even more enjoyable over time.
Frequently Asked Questions
How difficult is it to learn car drawing as a beginner?
Car drawing is very approachable for beginners. Even professional artists start with basic geometric shapes like rectangles and ovals. The key is breaking down complex car designs into simple, manageable steps. With practice and the right techniques, anyone can learn to draw recognizable cars regardless of their current skill level.
What basic shapes should I use when starting to draw cars?
Start with fundamental geometric shapes: rectangles for the main body and cabin, and ovals for wheels and curved elements. Use the 3-to-1 length-to-height ratio rule for proper car proportions. Connect these shapes with smooth lines to create realistic contours and add depth through layering.
Which car types should beginners practice drawing first?
Begin with three essential car types: classic sedans, basic sports cars, and simple trucks. Start with side view profiles as they’re easier to master. Sedans use long rectangles for bodies, sports cars feature flattened rectangles with low cabins, and trucks combine square cabs with rectangular beds.
How important is symmetry in car drawing?
Symmetry is crucial, especially for front-view car drawings. Misaligned headlights, grilles, and wheels can make your drawing look unprofessional. Always ensure that elements on both sides of the car match perfectly. Use guidelines to maintain proper alignment and create a polished, realistic appearance.
What’s the best way to draw car wheels and tires?
Start with perfect circles using a compass or circular template. Maintain proper proportions between the outer tire and inner rim circles to create depth. Begin with simple spoke designs for rims, then gradually add complexity. Include realistic tire treads and shading to enhance the three-dimensional appearance.
How can I add depth and realism to my car drawings?
Use shading techniques with a consistent light source. Identify three shadow types: cast shadows, core shadows, and reflected light areas. Map shadow areas before shading and use pencil gradients for smooth transitions. Add highlights to curved body panels and reflective surfaces for dimensional quality.
What are the most common mistakes in car drawing?
The three main mistakes are proportion problems (especially wheel-to-body ratios), symmetry issues in front-view drawings, and perspective errors that make drawings appear flat. Always establish proper proportions, ensure perfect symmetry, and use vanishing points to create realistic perspective and depth.
Should I use color in my car drawings?
Yes, color can significantly enhance your drawings. Choose realistic paint colors for recognition and credibility. Focus on metallic finishes, reflective surface effects, and simple color gradients. Add reflections on car bodies and windows to create professional-looking, vibrant automotive artwork that stands out.
How should I practice to improve my car drawing skills?
Follow a structured approach: use detailed video tutorials, practice with drawing templates, and work with reference photos. Repeat the same tutorial multiple times to build consistency. Master basic shapes before adding complexity, and set specific practice goals for each session to track your progress effectively.
What details should I add to make my car drawings look realistic?
Focus on essential details like door handles, windows, headlights, taillights, side mirrors, and antennas. Pay attention to their proper placement and alignment. These finishing touches transform basic outlines into recognizable, complete car drawings that look authentic and professional.

